Articles8 min read

Why My Daughter's Teacher Said "Stop Practicing Letters"

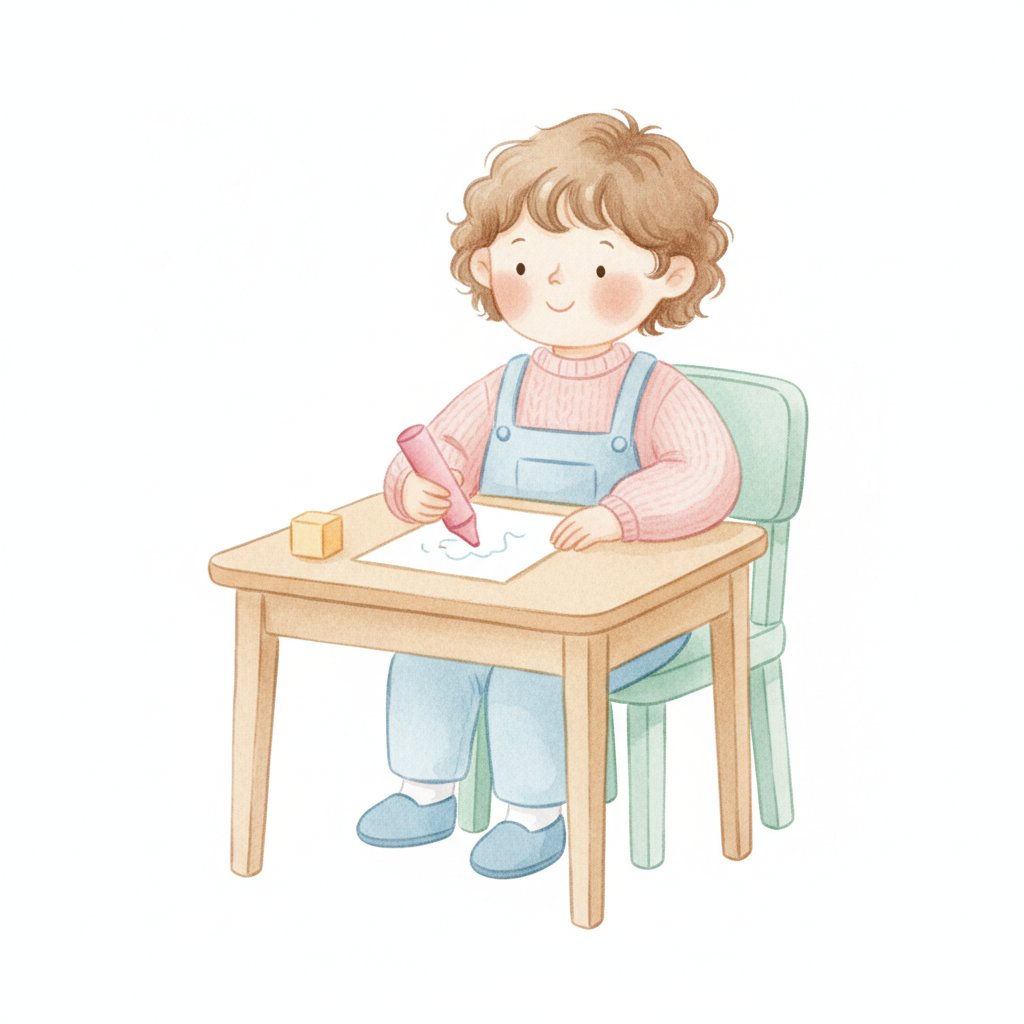
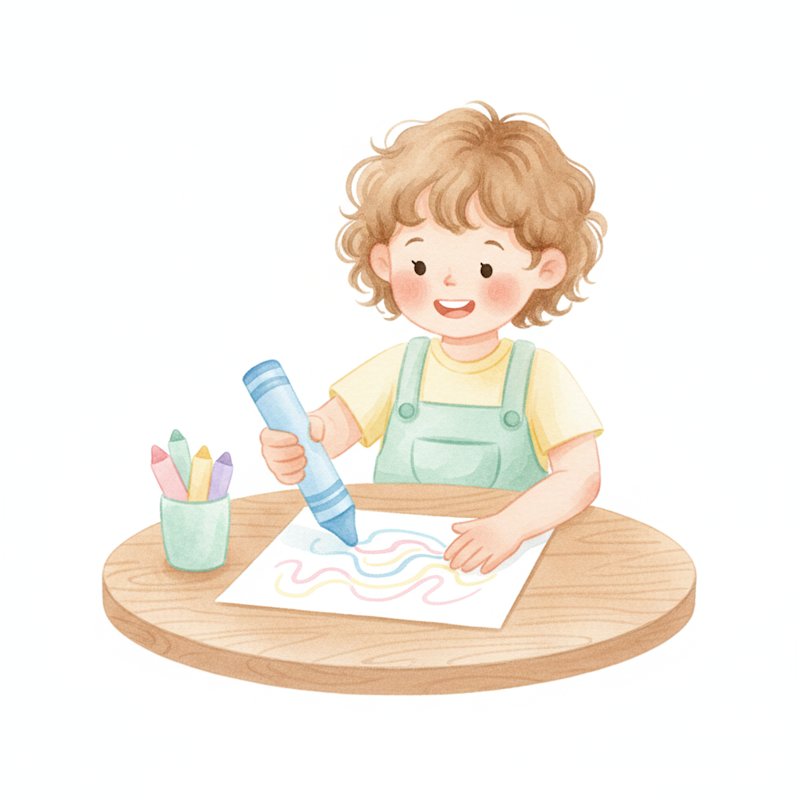
When my daughter was four, I bought a handwriting workbook. Every night, we sat at the kitchen table tracing letters. She hated it. The letters were shaky, she pressed too hard, and she'd cry when her A didn't look like the model. After two weeks, her preschool teacher pulled me aside: "She's not ready for letter formation. She needs to strengthen her hand muscles first. Try playdough and tweezers instead."

The teacher was right. According to the American Occupational Therapy Association, handwriting is a complex skill that requires the coordination of visual-motor integration, fine motor control, posture, and cognitive processing. Children need foundational skills — hand strength, pencil grip, and stroke fluency — BEFORE formal letter practice. Skip the foundation and you get frustrated children and poor handwriting habits.

This guide covers 20+ handwriting activities for ages 3-6, organized in developmental sequence: hand strengthening → pencil grip → stroke practice → letter formation. Build the foundation first and letters will come naturally. Pair it with our fine motor guide for hand-strengthening exercises and our writing guide for broader pre-writing skills.

Pencil Grip Development: What's Normal

Fisted grasp (1-2 years): The child wraps their entire fist around the crayon and scrubs it across the paper. This is whole-arm drawing — the shoulder and elbow do the work.

Palmar grasp (2-3 years): The crayon rests in the palm with the thumb on top. The wrist is straight. The child has more control but still uses the whole arm.

Static tripod grasp (3-4 years): The thumb, index, and middle finger hold the pencil. The ring and pinky fingers are tucked but not yet mobile. The wrist is slightly bent. Movement comes from the wrist and elbow, not the fingers.

Dynamic tripod grasp (4-6 years): The "ideal" grip: thumb and index finger pinch the pencil, middle finger supports from below. The pencil rests in the web space. Movement comes from the fingers — the hand glides across the paper while the fingers make small, precise movements.

Grip StageAge RangeShould I Correct It?
Fisted1-2No — developmentally normal
Palmar2-3No — developmentally normal
Static tripod3-4No — it's developing
Dynamic tripod4-6Gently model correct grip
Lateral tripod4+Acceptable variant
Quadrupod4+Acceptable variant

Key principle: Don't force a 3-year-old into a dynamic tripod. The grip develops from the shoulder outward — first the whole arm, then the wrist, then the fingers. Trying to speed up this sequence creates tension and frustration. Instead, build hand strength (below) and the grip will mature naturally.

Before pencil meets paper: finger tracing on flashcards
Our Alphabet Monster Flashcards are the perfect pre-handwriting tool: children trace each letter with their INDEX FINGER before they ever pick up a pencil. The large, clear letter forms give the hand the muscle memory of each stroke direction. 'Trace A: down, down, across.' The monster provides a visual anchor — 'This is Monster A's shape' — that makes the abstract letter concrete. 26 letters, 26 finger-tracing warmups.

Hand Strengthening (Before Pencil Work)

1. Playdough letter snakes
Materials: Playdough.

What to do: Children roll playdough into "snakes" and form letters on a mat. The rolling strengthens the fingers and the letter-forming builds shape awareness without pencil demands. "Roll a long snake. Now bend it into an S! Can you make an O?"

Why it works: Playdough provides resistance that builds the intrinsic hand muscles needed for sustained handwriting. Children who struggle with pencil control often have weak hand muscles — the solution isn't more pencil practice, it's more resistance play. For more hand-strengthening, see our fine motor guide.

2. Tweezer pickup
Materials: Tweezers, small objects (pom-poms, beans, beads), sorting cups.

What to do: Children use tweezers to pick up small objects and sort them into cups. The pincer grip (thumb-index squeeze) is the same motion used for pencil grip. 5-10 minutes daily builds the pinch strength needed for writing.

3. Hole punch art
Materials: Hole punch, paper.

What to do: Children use a hole punch to create designs in paper. The squeezing motion strengthens the hand. "Punch holes around the edge to make a lace card. Punch holes in a pattern."

4. Clothespin activities
Materials: Clothespins.

What to do: Attach and remove clothespins from a line, a box edge, or a circle of cardboard. The squeezing motion builds the three-finger grip. Count clothespins as you go for math integration. For more counting, see our number activities.

5. Spray bottle art
Materials: Spray bottles with watered-down paint, paper.

What to do: Children spray paint onto paper to create art. The trigger-pulling strengthens the index finger and builds sustained grip. "Spray a flower! Spray a rainbow!"

Pre-Writing Stroke Practice (Ages 3-5)

6. Stroke sequence progression
Materials: Paper, crayons or markers.

What to do: Teach strokes in developmental order: (1) vertical lines (|), (2) horizontal lines (—), (3) circles (O), (4) crosses (+), (5) diagonal lines (/), (6) X shapes, (7) triangles (△). Each stroke is a building block for letter formation. Don't move to the next stroke until the previous one is controlled.

Why it works: Letters are made of strokes. If a child can't draw a diagonal line, they can't form letters like A, K, M, N, R, V, W, X, Y, Z. Master the strokes and the letters follow naturally. For more pre-writing, see our writing guide.

7. Salt tray writing
Materials: Shallow tray, salt.

What to do: Spread a thin layer of salt in a tray. Children write strokes and letters with their index finger. The tactile feedback reinforces motor memory. Shake the tray to erase and start over. Low pressure — mistakes disappear instantly.

8. Sky writing
What to do: Children "write" large strokes and letters in the air with their whole arm. "Make a BIG A in the sky! Reach up, sweep down, sweep down, reach across!" The gross motor movement teaches stroke direction before the fine motor demands of pencil work.

9. Tracing roads
Materials: Paper with "roads" (dashed lines in various patterns).

What to do: Children drive a small car along the road: straight roads (vertical lines), curvy roads (waves), zigzag roads (diagonal lines). The car gives the stroke a purpose and the road gives it a boundary.

10. Gross motor stroke practice
What to do: Children make strokes with large movements: paint with a broom on the sidewalk, draw in shaving cream on a table, trace with a flashlight beam on the wall. Large movements teach stroke direction before small movements teach precision. For more large-movement activities, see our gross motor guide.

Writing is a routine, not an event
Our Morning Routine Visual Schedule Cards build the daily structure that makes handwriting practice possible: 'Check your schedule. Find the writing step. Sit down. Grip your pencil. Go.' Children who follow visual routines develop the self-regulation needed for sustained writing tasks — they can sit, focus, and complete a multi-step activity independently. Handwriting fluency comes from consistent daily practice, not occasional marathon sessions.

Letter Formation Activities (Ages 4-6)

11. Capital letters first (the right order)
What to do: Teach capital letters before lowercase. Capitals are simpler (straight lines and curves), all start at the top, and are the same height. Group letters by formation:

  • Vertical and horizontal: F, E, L, T, I, H
  • Curve letters: C, O, G, Q, S
  • Diagonal letters: A, V, W, X, K, M, N, Y, Z
  • Special: B, D, J, P, R, U

Why it works: Grouping by formation means children learn the motor pattern once and apply it to multiple letters. A child who can write V can also write W and A (same diagonal strokes, different arrangement). For more letter learning, see our alphabet guide.

12. Starting dot method
Materials: Paper with letters drawn in light gray, a green dot at the start point and a red dot at the end point.

What to do: Children trace from green (start) to red (stop). The dots teach the correct starting point and directionality. "Start at the green dot. Which way does the letter go?"

13. Rainbow writing
Materials: Paper, multiple colored crayons.

What to do: Children trace the same letter 5 times in 5 different colors (like a rainbow). Each trace is a repetition that builds motor memory. The colors make it visually appealing instead of tedious. "Trace A in red, now orange, now yellow, now green, now blue!"

14. Letter building with sticks
Materials: Craft sticks (short and long), curve pieces (pipe cleaners).

What to do: Children build letters with sticks and curves before writing them. The construction teaches the component parts: "T needs one long stick and one short stick. O needs one curve." For more building activities, see our shape guide.

15. Name writing mastery
What to do: Teach children to write their name first — it's the most motivating word they know. Start with the first letter, add letters one at a time. Practice on everything: sign-in sheets, artwork, nametags. For more name activities, see our name recognition guide.

Writing Posture and Environment

16. The 90-90-90 rule
What to do: Proper writing posture: feet flat on the floor (90° at ankles), knees at 90°, hips at 90°. The writing surface should be at elbow height when seated. Children who dangle their feet or sit too high at the table compensate with their whole body, which makes handwriting harder.

17. Slanted surface writing
Materials: 3-ring binder, tape.

What to do: Tape paper to a slanted binder. The slant positions the wrist in extension (bent back slightly), which is the optimal position for finger movement. Children who write on flat tables often flex their wrists, which limits finger mobility.

18. Stabilized paper
What to do: Teach children to hold the paper steady with their non-writing hand. "One hand writes, one hand holds the paper." Many young children let the paper slide around, which distorts their letter formation.

19. The writing warm-up
What to do: Before writing, do 2 minutes of hand exercises: squeeze a stress ball 10 times, open and close fingers fast, touch each finger to the thumb, make "spiders" on the table. The warm-up activates the muscles and increases blood flow to the hands.

20. Writing stations
Materials: A dedicated writing area with properly sized furniture, varied writing tools, and paper options.

What to do: Create a writing station with: short pencils (golf pencils — they force a tripod grip), triangular crayons, thick markers, and various paper types (lined, blank, textured). The inviting space encourages voluntary writing practice. For more center setup, see our classroom organization guide.

Name + date=daily handwriting practice
Our Days of the Week Poster makes daily name-and-date writing meaningful: 'Write your name. Now write today's day. MONDAY.' The date gives PURPOSE to the writing — it's not practice for practice's sake, it's real communication. Children who write their name and the day every morning develop fluent, automatic handwriting faster than children who only practice in workbooks. Seven days of the week=seven handwriting repetitions.
1.Should my 4-year-old be writing letters already?
Some 4-year-olds are ready, others aren't. Look for these readiness signs: can draw a person with 6+ body parts, can copy a cross and a square, can hold a pencil with a static tripod grip, shows interest in writing. If these signs are present, start with capital letters in fun contexts (name writing, signs for play). If not, focus on hand strengthening and pre-writing strokes. There's no rush — pushing before readiness creates resistance.
2.My child holds the pencil weird. Should I correct it?
If the grip is functional (the writing is legible and the child doesn't fatigue), leave it alone. Many adults have non-standard grips and write perfectly well. If the grip causes pain, fatigue, or illegible writing, try: short pencils (golf pencils force a better grip), triangular pencil grips, or placing a small pom-pom in the palm to tuck the ring and pinky fingers. Never force a grip change through pain or frustration.
3.Should I use lined or unlined paper for preschoolers?
Start with unlined paper for free exploration (ages 3-4). Move to paper with a bold baseline only (ages 4-5). Add a midline for lowercase letters (ages 5-6). Full standard lined paper is too complex for most preschoolers — the three lines (top, middle, bottom) are confusing and limiting. One line is enough to start.
4.How long should a preschool handwriting session last?
5-10 minutes maximum for focused practice. Preschoolers don't have the attention span or hand stamina for longer sessions. Quality reps matter more than quantity: 5 minutes of correct practice is better than 20 minutes of sloppy practice. End while the child is still willing — if they're frustrated, the session was too long.