Articles6 min read

The Camera That Changed How Children See

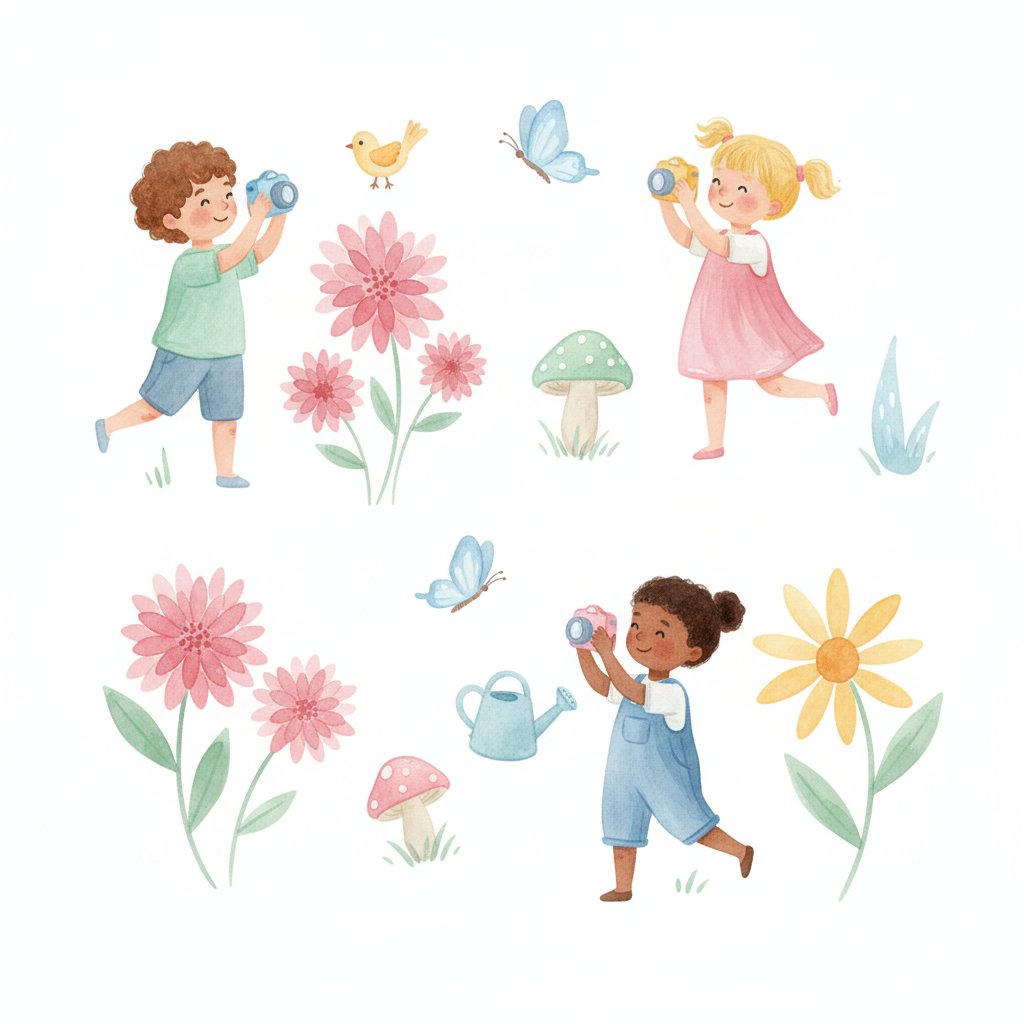
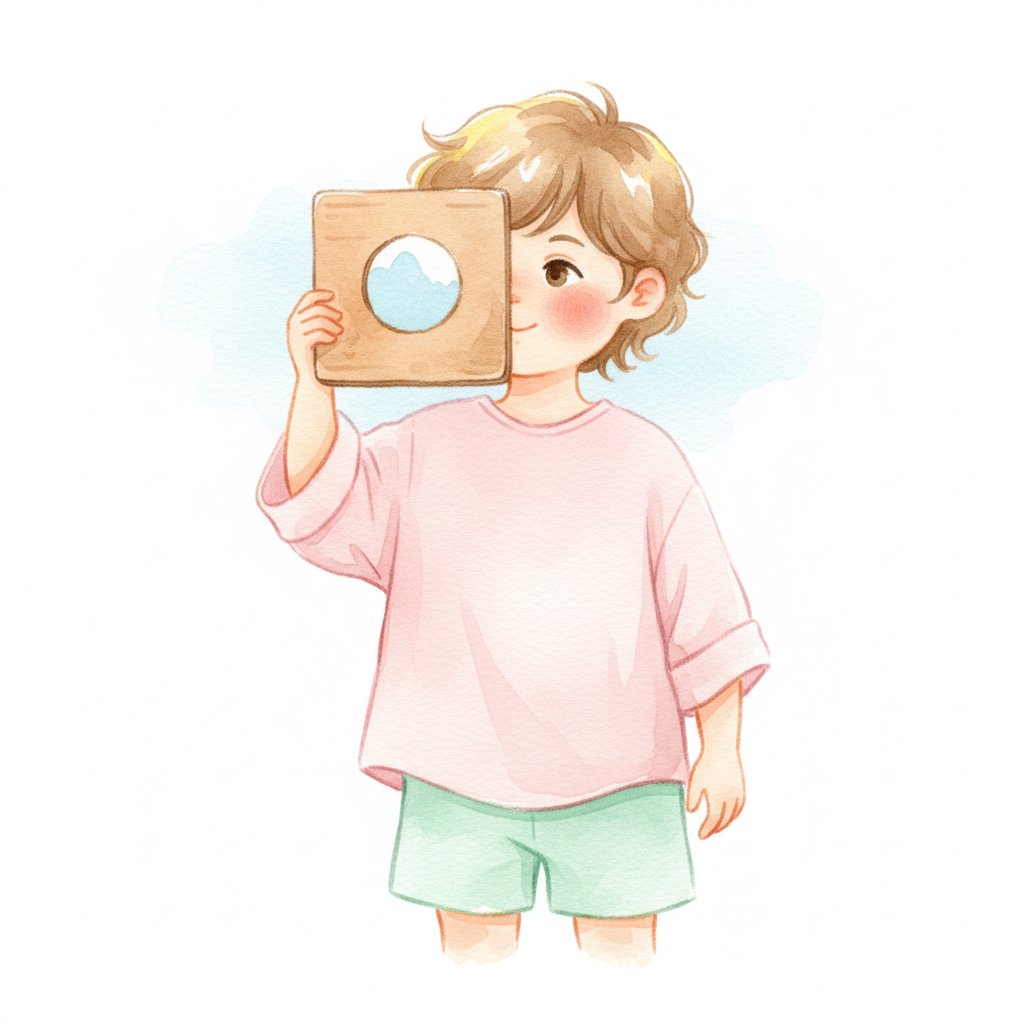
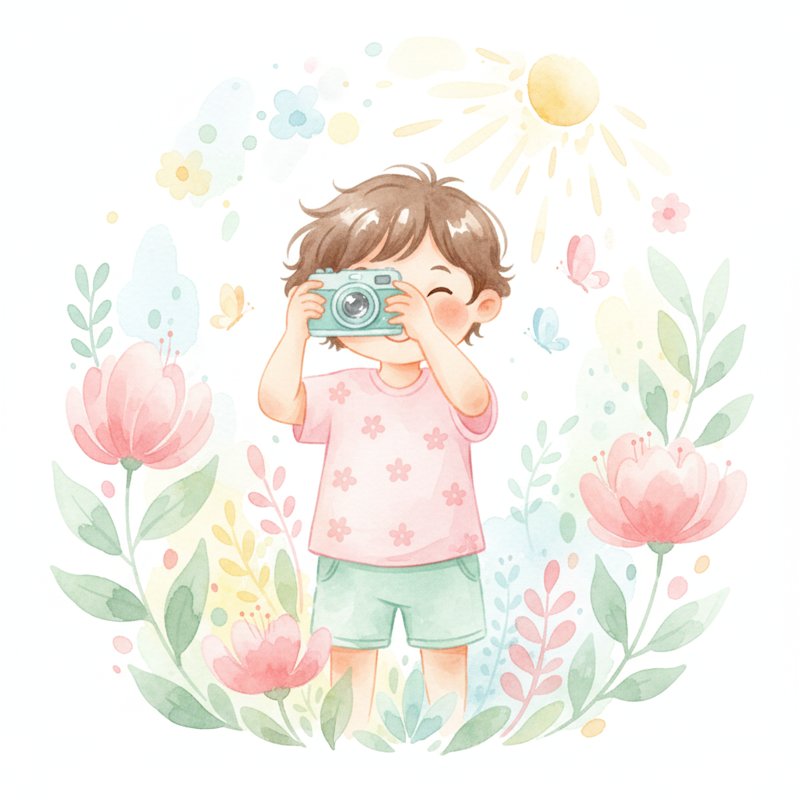
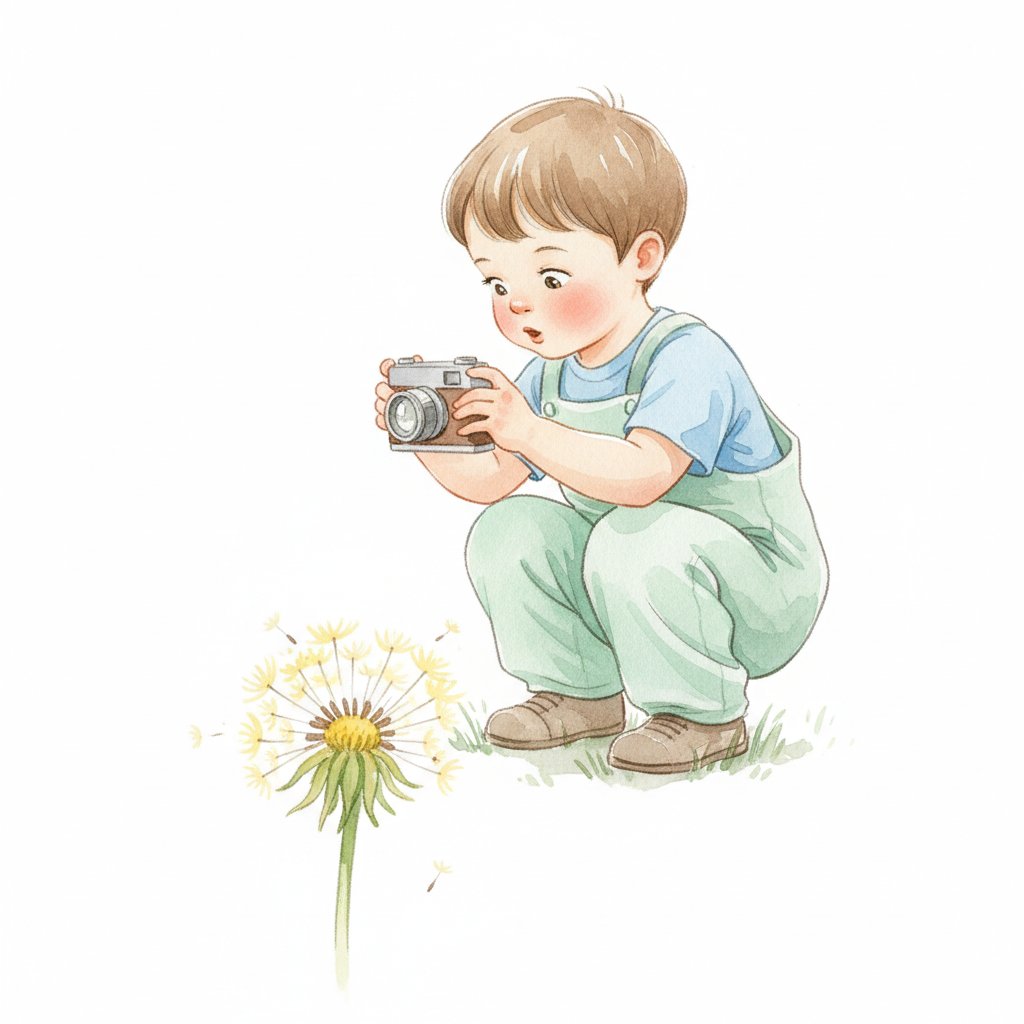
I gave five-year-old Emma an old digital camera (the kind that survives drops) and said: "Take 10 photos of things you think are BEAUTIFUL." She came back with: a dandelion crack through the sidewalk, a raindrop on a leaf, her friend's smile, the pattern of bricks, a butterfly, her own shoes, the shadow of a tree, a crayon, her teacher's hands, and a puddle reflecting the sky. When we looked at the photos together, she said: "I never NOTICED the puddle had the sky in it before." That sentence is the entire purpose of photography for children. The camera makes you STOP and LOOK. It teaches you that the world is full of things you walk past every day without seeing. A camera is not just a tool for capturing images — it is a tool for NOTICING.

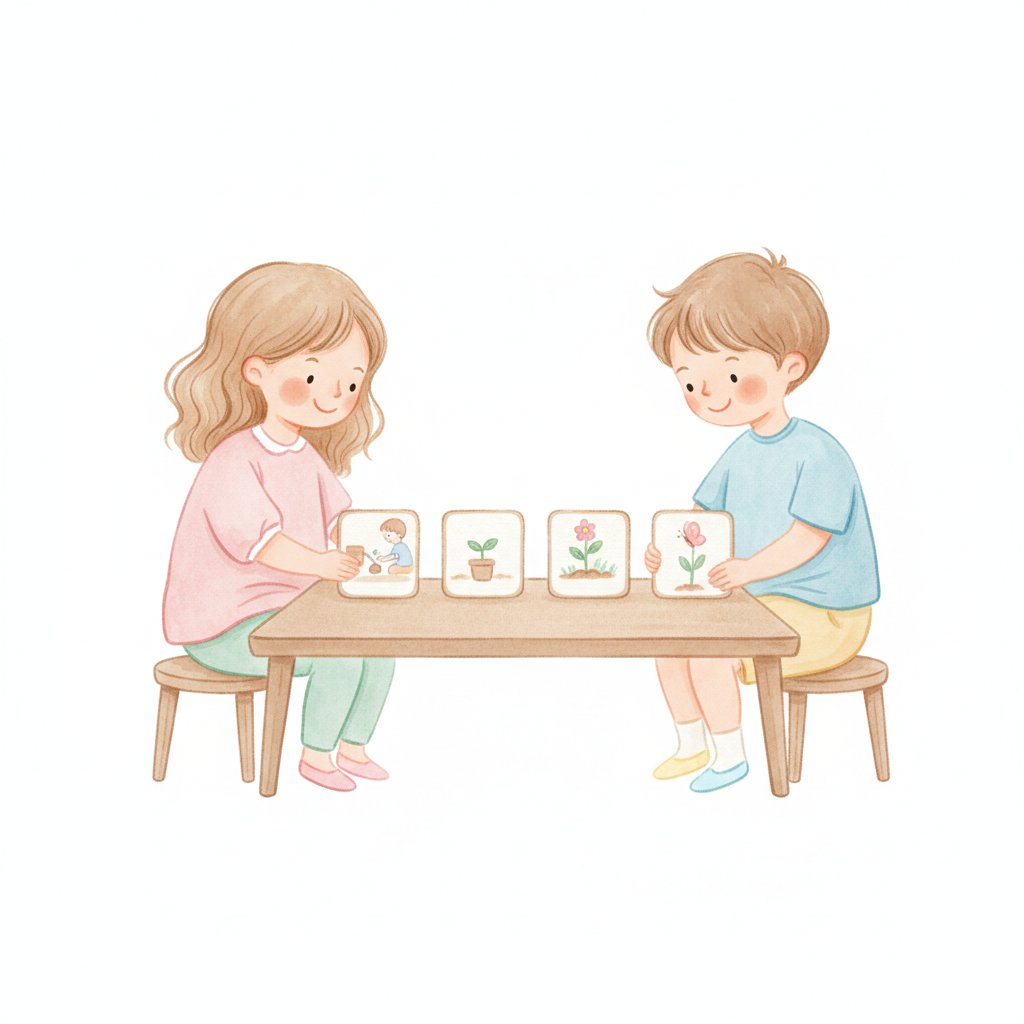
According to the National Art Education Association, visual activities develop observation skills, visual literacy (reading and creating images), perspective-taking (seeing from different angles), storytelling through images, and the ability to communicate ideas visually. These skills support literacy, science, and social-emotional development.

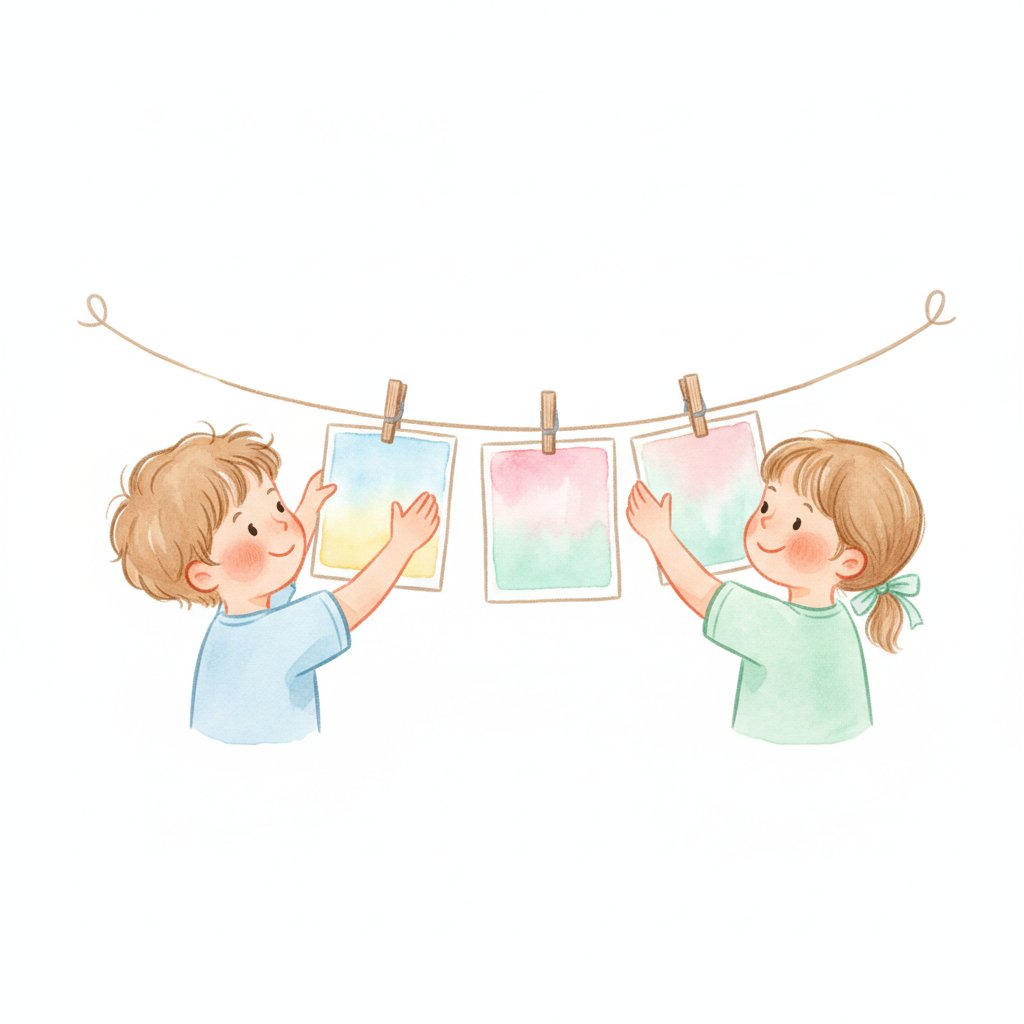
This guide covers 20+ photography and visual activities for ages 3-6. Pair it with our art guide for visual arts and our storytelling guide for narrative skills.

Camera Exploration Activities (Ages 3-6)

1. Beauty hunt
Materials: Camera (phone, tablet, or kid camera).

What to do: "Take 10 photos of things you think are BEAUTIFUL. There are no wrong answers — beauty is whatever YOU think is beautiful." The hunt teaches aesthetic judgment and personal expression. For more exploration, see our outdoor guide.

Why it works: Photography is powerful for preschoolers because it gives them a TOOL for showing what they see. Children notice things adults miss — a bug on a leaf, a crack in the sidewalk, a cloud shaped like a rabbit. The camera validates their perspective: "What you see MATTERS enough to capture." This is profoundly empowering for small children in a world built for tall people. Photography also teaches visual COMPOSITION instinctively — children learn that some photos look better than others because of how things are arranged in the frame.

2. Color photo hunt
Materials: Camera, color cards.

What to do: "Take a photo of something RED. Something BLUE. Something YELLOW. Something GREEN. Something PURPLE." The color hunt teaches color identification through photography. For more colors, see our color guide.

3. Shape hunt
Materials: Camera.

What to do: "Find and photograph: a circle, a square, a triangle, and a rectangle. Where are shapes hiding in our room?" The shape hunt teaches geometry through the camera lens. For more shapes, see our shape guide.

4. Bug's eye view
Materials: Camera.

What to do: "Put the camera on the GROUND and take a photo looking UP. Now the grass looks like a FOREST and your shoes look like GIANT buildings!" The perspective teaches seeing from different viewpoints. For more size, see our opposites guide.

5. Same object, 5 angles
Materials: Camera, one object.

What to do: "Photograph this chair from the front, the back, above, below, and the side. It looks DIFFERENT from every angle!" The angles teach perspective and point of view. For more angles, see our shape guide.

Your flashcards are the photo assignment
Our Colors Flashcards become a photo scavenger hunt: 'Pick a card — RED. Your mission: find and photograph 3 red things in the next 2 minutes! Go! Now ORANGE. Now YELLOW.' Each flashcard is a photo challenge. Children hunt for the color, frame the shot, and capture it. Then come back and compare: 'My red is a fire truck! Mine is an apple! Mine is a crayon!' Same color, different objects, twelve perspectives. The flashcards organize the hunt; the camera captures the discoveries. Eleven colors, eleven hunts, thirty-three photos.

Visual Storytelling Activities (Ages 3-6)

6. Photo story sequence
Materials: Camera.

What to do: "Take 4 photos that tell a story: first, then, next, finally. Example: seed in dirt, sprout, flower, sunflower!" The sequence teaches narrative through images. For more storytelling, see our storytelling guide.

7. Day in photos
Materials: Camera, all day.

What to do: "Take one photo every hour to show your day. At the end, arrange them in order and tell the story of your day." The photo day teaches timeline and sequence. For more time, see our days guide.

8. Emotion photos
Materials: Camera.

What to do: "Take photos of faces showing: happy, sad, angry, surprised, scared, silly. Make an emotion poster!" The emotion photos teach feelings vocabulary. For more feelings, see our feelings guide.

9. Before and after
Materials: Camera.

What to do: "Take a photo of the block tower BEFORE it falls. Now knock it down. Take a photo AFTER. What changed?" The before-and-after teaches change over time. For more science, see our science guide.

10. Alphabet photo book
Materials: Camera.

What to do: "Find something that starts with A and photograph it. Then B, C, D... all the way to Z! Print the photos and make an alphabet book!" The alphabet hunt teaches letter-sound correspondence through photography. For more alphabet, see our alphabet guide.

Photograph the weather every day
Our Weather Flashcards become a daily photo challenge: 'Pick the weather card that matches today. Now go outside and photograph PROOF: If it is sunny, photograph a shadow. If it is rainy, photograph a puddle. If it is cloudy, photograph the clouds. If it is windy, photograph something blowing.' Each flashcard is a photography assignment. The photo is EVIDENCE of the weather. Over a month, children build a photo weather journal: 30 days, 30 photos, a visual record of the sky. The flashcard names the weather; the camera captures it. Twelve weather cards, twelve photo assignments, one visual science journal.

Observation and Framing Activities (Ages 3-6)

11. Framing with hands
Materials: No camera needed.

What to do: "Make a rectangle with your fingers — that is your FRAME. Look through it at the room. What do you see? Now make the frame SMALLER. Now BIGGER. How does what you see CHANGE?" The framing teaches composition without a camera. For more visual skills, see our art guide.

12. Viewfinder walk
Materials: Cardboard frame (viewfinder).

What to do: "Hold the viewfinder up and look through it as you walk. It helps you FOCUS on one thing at a time instead of seeing everything at once." The viewfinder teaches selective attention.

13. Shadow photography
Materials: Camera, sunny day.

What to do: "Photograph only SHADOWS today: your shadow, a tree shadow, a building shadow, a toy shadow. Shadows are dark shapes on light ground." The shadow photography teaches light awareness. For more shadows, see our light guide.

14. Texture close-ups
Materials: Camera with macro or zoom.

What to do: "Get VERY close to something and take a photo. So close that you cannot tell what it is! Show the photo to a friend: 'What is THIS?' The mystery teaches that things look different up close." The close-ups teach detail observation. For more textures, see our texture guide.

15. Reflection photos
Materials: Camera, mirrors, puddles.

What to do: "Photograph reflections: yourself in a mirror, trees in a puddle, the room in a spoon. Why is the spoon reflection UPSIDE DOWN?" The reflections teach physics of light. For more reflection, see our light guide.

More Visual Activities (Ages 3-6)

16. Photo sorting
Materials: Printed photos from the week.

What to do: "Sort your photos: things that are INSIDE vs. OUTSIDE. Things that are LIVING vs. NON-LIVING. Things that are BIG vs. SMALL." The sorting teaches categorization through visual data. For more sorting, see our sorting guide.

17. Photo journal
Materials: Notebook, printed photos.

What to do: "Glue one photo per page. Under each photo, write or dictate a sentence about it. By the end of the month, you have a photo journal!" The journal teaches writing through images. For more writing, see our writing guide.

18. Photo memory game
Materials: Pairs of printed photos.

What to do: "Mix up the photos face down. Turn over two. Do they MATCH? The photos are from your own life — things you photographed this week!" The memory game teaches visual memory with personally meaningful images. For more memory, see our memory guide.

19. Photo display gallery
Materials: Photos, string, clips.

What to do: "Choose your 5 BEST photos from the week. Hang them on the gallery string. Tell us WHY you chose each one." The gallery teaches curation and self-expression.

20. Photo gift
Materials: Camera, frame.

What to do: "Take a photo of something beautiful and give it to someone you love. Tell them: 'I saw this and thought of you!'" The gift teaches generosity and connection through art. For more kindness, see our kindness guide.

Photograph every feeling
Our Emotions Flashcards become a photo emotion chart: 'Pick the HAPPY card. Now photograph someone looking happy. Pick the SAD card. Photograph sad. Pick the ANGRY card. Photograph angry.' Print the photos and replace the drawn faces on the flashcards with REAL faces from your classroom. The children become the emotion models. When a classmate looks at the chart, they see THEIR FRIENDS showing each feeling — not generic cartoon faces, but faces they know and love. The flashcards name the feeling; the camera captures the real face. Twelve emotions, twelve photos, one personal emotion chart.
1.What kind of camera should preschoolers use?
Any camera that survives drops works: an old smartphone or tablet in a rugged case, a kid-specific digital camera (VTech or Fisher-Price make durable ones), a disposable camera (teaches that photos are limited and precious), or even a pretend camera made from a cardboard box. The LEARNING comes from LOOKING, not from the device. A child framing a shot with their fingers learns the same composition skill as a child with a DSLR.
2.How do I use photos for learning without printing costs?
Use a tablet or phone and review photos on-screen instead of printing. Create digital slideshows. Project photos on a wall or whiteboard. Use a shared album that parents can see. If you do print, use a black-and-white laser printer on plain paper — children do not need glossy color prints. Many activities (sorting, sequencing, memory) work with digital photos displayed on a tablet.
3.What if a child takes inappropriate photos?
Set clear rules before handing out cameras: "We only photograph THINGS, not people's bodies without permission. We do not take photos in the bathroom. We show our photos to a teacher before sharing." Review all photos before any sharing or display. Teach CONSENT early: "Ask before you take someone's picture. If they say no, that is okay — photograph something else instead." These are lifelong digital citizenship skills.
4.How does photography support literacy?
Photography supports literacy in four ways: (1) VOCABULARY — children label what they photograph (building descriptive language). (2) NARRATIVE — sequencing photos into stories teaches beginning, middle, and end. (3) WRITING MOTIVATION — children want to write captions for their photos. (4) VISUAL LITERACY — reading photographs (interpreting what they show) is a prerequisite for reading text. Children who can "read" a photo can learn to read a book.