Articles7 min read

The Quietest Hour in Our House Involves a Ball of Dough

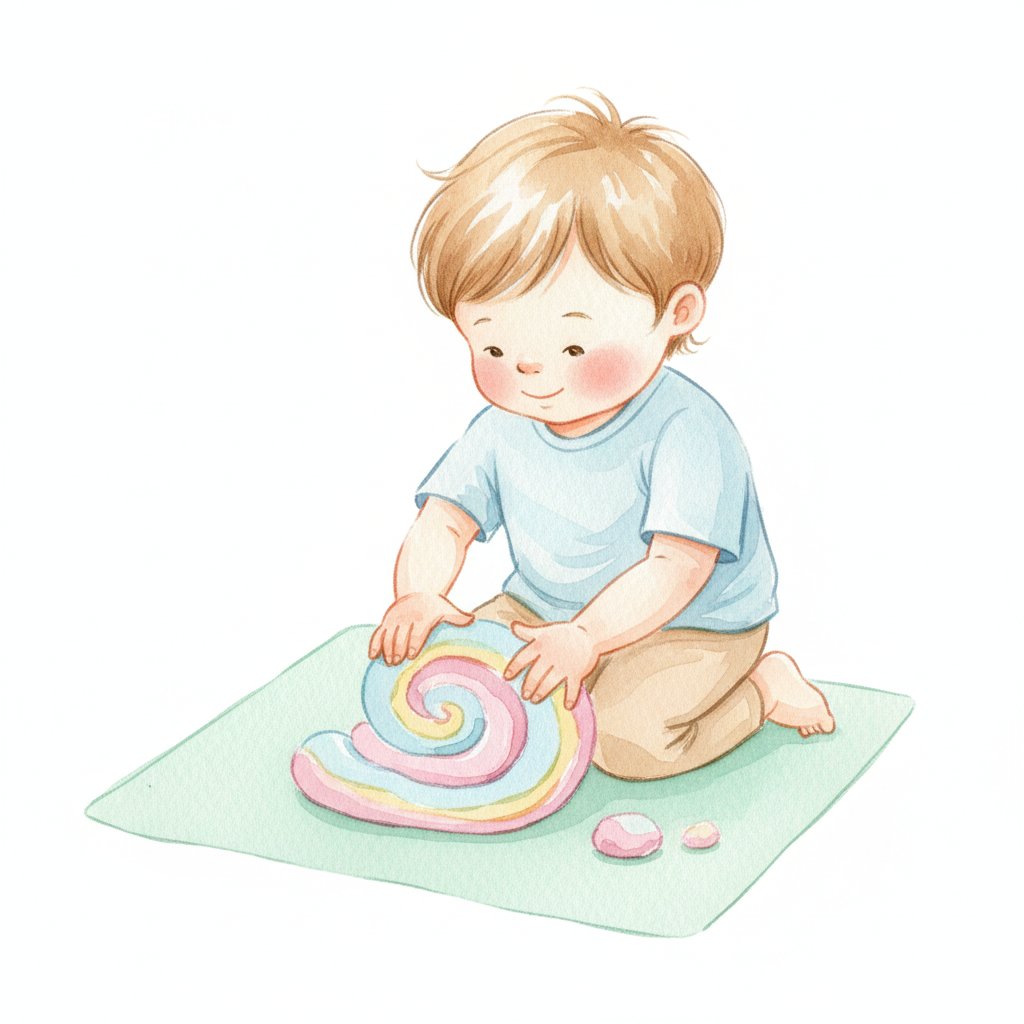
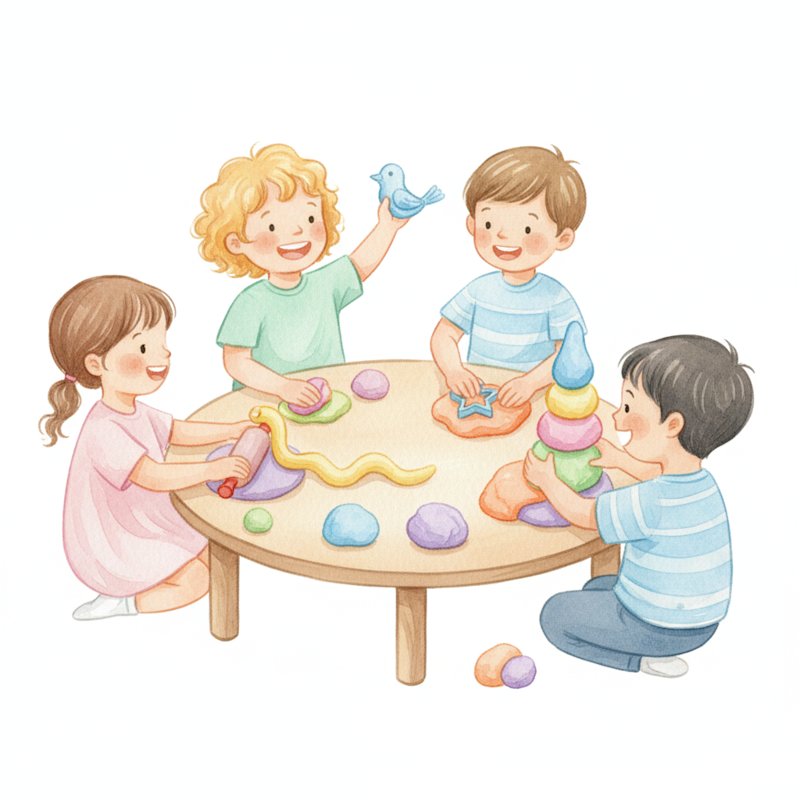
My daughter can't sit still for a worksheet. Five minutes and she's under the table. But give her a ball of playdough and she's focused for an hour — rolling, cutting, pressing, sculpting. I realized she wasn't "playing" — she was doing intensive hand therapy disguised as fun. Every roll strengthened her fingers. Every press developed her pincer grip. Every sculpture required planning and fine motor control.

According to the American Occupational Therapy Association, playdough is one of the most effective tools for developing the hand strength and dexterity needed for handwriting, buttoning, cutting, and self-care. The resistance of the dough activates the intrinsic hand muscles in a way that no other activity can — and children choose it voluntarily because it's inherently satisfying.

This guide covers 20+ playdough activities for ages 3-6, organized by skill: hand strengthening, literacy, math, science, and creativity. Pair it with our fine motor guide for more hand-strengthening ideas and our sensory guide for more tactile play.

Hand Strengthening with Playdough (Ages 3-6)

1. The squeezing warm-up
Materials: Playdough.

What to do: Before any playdough activity, do a hand warm-up: (1) Squeeze a ball of dough in your fist 10 times, (2) Roll it between both palms, (3) Pinch it with thumb and each finger, (4) Flatten it by pressing with the palm. The warm-up activates every hand muscle.

Why it works: The resistance of playdough provides "heavy work" for the hands — similar to weightlifting for adults. The squeezing, rolling, and pinching motions target the exact muscles needed for pencil grip, scissor use, and buttoning. For more hand strengthening, see our fine motor guide.

2. Snake factory
What to do: Children roll playdough into "snakes" of different thicknesses. "Roll a thin snake! Roll a FAT snake! Roll the longest snake you can!" Rolling with flat palms builds bilateral coordination and hand strength simultaneously.

3. Playdough press-in
Materials: Playdough, small objects (beads, buttons, coins, pasta).

What to do: Children press small objects into a flattened piece of playdough. "Press 10 beads into the dough. Now pull them all out!" The pressing and pulling both build finger strength. For more small-object activities, see our sorting guide.

4. Playdough cutting
Materials: Playdough, child-safe scissors, plastic knife.

What to do: Children cut playdough "snakes" into pieces with scissors or a plastic knife. Playdough provides more resistance than paper, building scissor hand strength. "Cut the snake into 5 pieces! Cut them all the same size!" For more cutting practice, see our scissor skills guide.

5. Playdough hide and seek
Materials: Playdough, small objects (coins, beads, plastic animals).

What to do: Hide small objects inside balls of playdough. Children dig through the dough to find them. "There are 5 treasures hidden inside! Find them all!" The digging, pulling, and squishing are all hand strengtheners disguised as a treasure hunt.

Stamp, press, learn: letter pressing with flashcards
Our Alphabet Monster Flashcards become letter-pressing templates: flatten playdough, press the flashcard into it letter-side down, and peel it back to reveal a letter impression. 'What letter did Monster A make in the dough?' Children press, peel, identify, and repeat for all 26 letters. The tactile impression builds letter memory through touch — not just sight.

Literacy Activities with Playdough (Ages 3-6)

6. Playdough letter formation
Materials: Playdough, letter cards or mats.

What to do: Children roll snakes and form letters on letter mats. Start with simple letters: L, T, I, O, C. The rolling-forming sequence teaches letter structure without the fine motor demands of pencil writing. "Roll a snake. Bend it into an L! Now try a C!"

Why it works: Playdough letter formation teaches the STRUCTURE of letters (what shapes they're made of, what order the strokes go in) without requiring the precision of pencil writing. Children learn that A is two diagonal lines and a crossbar before they learn to draw those lines with a pencil. For more letter activities, see our alphabet guide.

7. Letter stamping
Materials: Playdough, alphabet stamps or magnetic letters.

What to do: Children press letter stamps into flattened playdough. Stamp names, sight words, or the alphabet. The pressing is satisfying and the result is a clear letter impression. "Stamp your name! Stamp CAT!"

8. Playdough sight words
Materials: Playdough, sight word cards.

What to do: Children form sight words with playdough snakes: AND, THE, IS, IT. The multisensory approach (seeing the word, feeling the shapes, moving the hands) creates stronger memory than flashcards alone. For more sight word work, see our sight words guide.

9. Name sculpture
What to do: Children form the letters of their name in playdough and stand them up to make a 3D name sculpture. "Build your name so it stands UP!" The 3D element adds an engineering challenge.

10. Story scene
Materials: Playdough, small props (trees, animals, people).

What to do: Children create a scene from a story with playdough. "Make the three bears' house! Make their bowls of porridge! Make their beds!" The scene-building requires recalling story details and representing them in 3D. For more storytelling, see our storytelling guide.

Math Activities with Playdough (Ages 3-6)

11. Number formation
Materials: Playdough, number cards.

What to do: Children roll playdough snakes and form numbers 1-10. "Roll a snake and make a 3! Can you make an 8?" Number formation in playdough teaches the motor plan for each digit. For more number work, see our number activities.

12. Playdough counting mats
Materials: Playdough, counting mats with numbers and dots.

What to do: Each mat has a number. Children make that many playdough balls to place on the mat. "This mat says 5. Make 5 apples!" The one-to-one correspondence between the number and the objects builds counting accuracy.

13. Shape sculpting
What to do: Children sculpt geometric shapes: circles, squares, triangles, rectangles. "Make a circle! Now press it flat. Make a square — it needs four sides that are the same!" For more shape work, see our shape guide.

14. Pattern snakes
Materials: Playdough in 2-3 colors.

What to do: Children roll a long snake and add colored balls in a pattern: red-blue-red-blue. "Make an AB pattern on your snake! Can you make an ABC pattern?" The pattern transfers from abstract to tangible. For more patterns, see our pattern guide.

15. Playdough fractions
Materials: Playdough, plastic knife.

What to do: Children cut a playdough ball into halves, then quarters. "This is ONE whole ball. Cut it in HALF. Now you have TWO pieces. Cut each half again — now you have FOUR pieces!" The physical cutting makes fractions concrete. For more early math, see our sorting guide.

Flashcards meet playdough: sculpt and match
Our Shapes Flashcards are the perfect playdough sculpting prompt: pick a card, sculpt that shape. 'You picked the hexagon! Can you make a playdough hexagon? Count the sides — 1, 2, 3, 4, 5, 6!' Each card becomes a hands-on challenge. Children SEE the shape, BUILD the shape, COUNT the sides, and REMEMBER the name. Multisensory learning at its best.

Science and Creativity with Playdough (Ages 3-6)

16. Color mixing lab
Materials: Playdough in primary colors (red, blue, yellow).

What to do: Children mix colors to discover new ones. "What happens when you mix red and blue? Squish them together and find out!" The physical mixing teaches color theory through direct experience. "Red + blue=purple! What about red + yellow?" For more color learning, see our color activities guide.

Why it works: Color mixing in playdough is irreversible (you can't un-mix) and dramatic (the color change is immediate). The vivid result makes the color relationship unforgettable in a way that worksheets can't replicate.

17. Fossil pressing
Materials: Playdough, small objects (shells, leaves, toy dinosaurs, coins).

What to do: Children press objects into playdough and remove them to reveal "fossils." "Press the leaf. What shape did it leave? Press the dinosaur foot!" The impressions teach observation and comparison. For more science activities, see our science experiments guide.

18. Playdough faces
What to do: Children make playdough faces expressing different emotions. "Make a happy face! Now a sad face! A surprised face!" The face-building requires attention to the details of emotional expression: eyebrows, mouth shape, eye position. For more emotions work, see our feelings guide.

19. Habitat building
Materials: Playdough, small animal figures.

What to do: Children create habitats for animals. "Build a pond for the duck. Build a tree for the monkey. Build a cave for the bear." The habitat-building requires understanding what each animal needs — connecting creativity to science. For more animal activities, see our safari animals guide.

20. Playdough bakery
Materials: Playdough, cookie cutters, rolling pins, muffin tins.

What to do: Set up a "bakery" where children make playdough cookies, cakes, and breads. The rolling, cutting, and shaping are all fine motor exercises. Add a price list and ordering system for math integration. For more kitchen play, see our cooking activities guide.

Educational posters + playdough=3D learning
Our 8 Educational Posters become 3D playdough challenges: 'The solar system poster shows Mercury, Venus, Earth... Build each planet with playdough! Make Earth blue and green. Make Mars red. Make Saturn with rings!' The poster is the reference; the playdough is the medium. Children SEE the 2D image, BUILD the 3D version, and LEARN the content through their hands.
1.Is homemade or store-bought playdough better for activities?
Both work. Homemade is cheaper, customizable (add glitter, scent, color), and you know the ingredients. Store-bought lasts longer and has consistent texture. For children with gluten sensitivities, use a gluten-free recipe. For children who might eat it, use an edible recipe (peanut butter playdough, marshmallow dough). The ACTIVITIES matter more than the dough itself.
2.How do I keep playdough activities interesting day after day?
Rotate the TOOLS, not the dough. Same playdough, different props: Monday=cookie cutters, Tuesday=rolling pins and plastic knives, Wednesday=beads and buttons to press in, Thursday=animal figures for habitat building, Friday=alphabet stamps. New tools make old dough feel new again. Also rotate the CHALLENGE: "Today make letters! Tomorrow make faces! Friday make a zoo!"
3.My child eats playdough. What should I do?
Use an edible recipe: 1 cup peanut butter + 1 cup powdered sugar + 2 tablespoons honey. It tastes good, it's safe to eat, and it still provides the resistance for hand strengthening. Or try marshmallow playdough: 6 large marshmallows + 1 tablespoon coconut oil + 2 tablespoons cornstarch, microwaved and kneaded. Both are taste-safe alternatives.
4.Can playdough activities replace handwriting practice?
For ages 3-4, yes. Playdough builds the hand strength and dexterity that make handwriting possible. A 3-year-old with strong hands from daily playdough work will be ready for pencil work earlier than a 3-year-old who started pencil practice without the foundation. For ages 5-6, playdough is a supplement to (not replacement for) actual handwriting practice.