Articles10 min read

Science Experiments for Preschoolers: 20+ Simple Activities Using Household Items

Practical science experiments for preschoolers you can set up in under ten minutes using supplies already in your classroom. Covers individual exploration, small-group collaboration, and whole-class engagement — with adaptations for different ability levels.

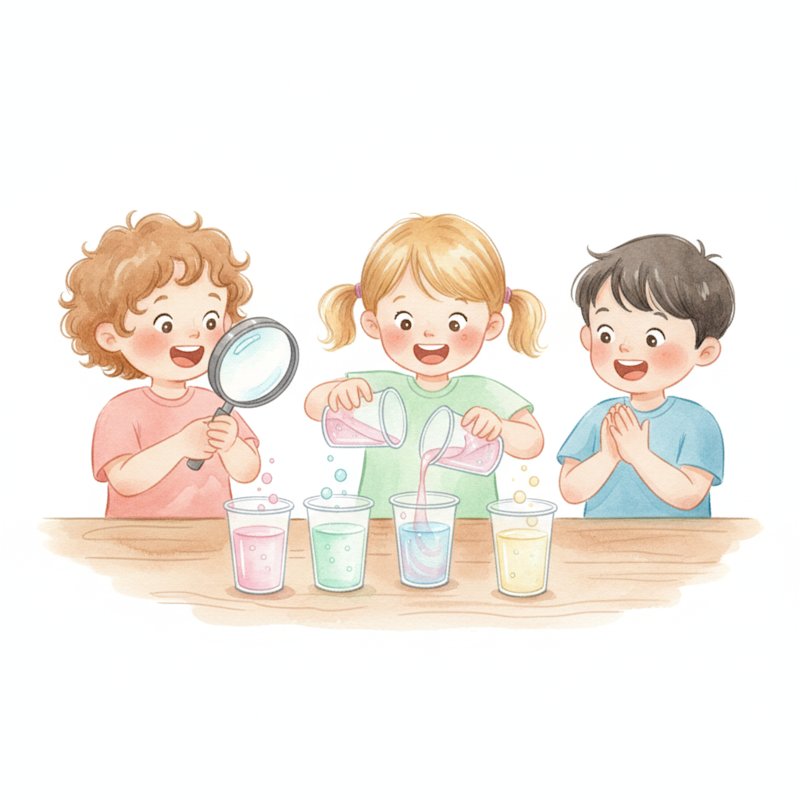
Watercolor illustration of cheerful young children doing simple science experiments at a table with cups of colorful liquid and a magnifying glass

The Volcano That Changed My Classroom

The first time I did the baking soda volcano with a group of four-year-olds, I expected excitement. I got pandemonium. Children screamed. They jumped. One child literally fell off his chair. Then they all shouted: "DO IT AGAIN!" We did it again. And again. And again — five times that morning. On the sixth eruption, a girl named Maya said: "What happens if we use more vinegar?" So we tested it. "What about more baking soda?" Tested. "What if we use warm water instead of cold?" Tested.

That morning, those four-year-olds did exactly what scientists do: observe, ask questions, form hypotheses, test, and compare results. They just didn't know it. According to the National Science Teachers Association, children are natural scientists — they just need materials, time, and an adult who says "let's find out" instead of "because I said so."
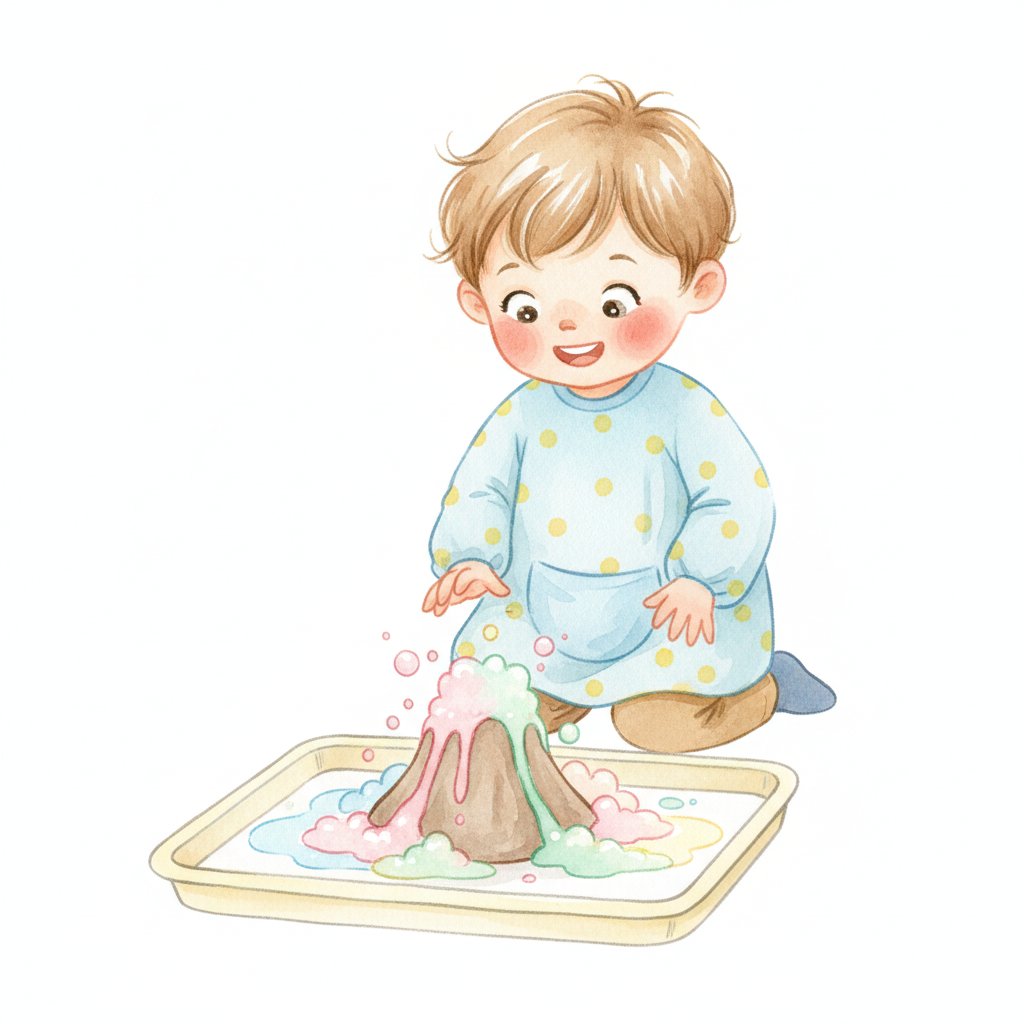
A young child watching with delight as a baking soda volcano erupts with bubbly colorful foam

This guide covers 20+ science experiments for ages 3-6, organized by concept: chemistry (reactions), physics (forces and motion), biology (living things), and earth science (weather and nature). Every experiment uses household materials. Pair it with our STEM activities for engineering and technology projects and our weather activities for meteorology exploration.
Why Science at Age 4 Matters

The curiosity window: Between ages 3 and 6, children's brains are uniquely wired for scientific thinking. They ask "why" approximately 40,000 times per year (yes, researchers actually counted). Each "why" is a hypothesis. Each "let me try" is an experiment. This curiosity-driven exploration builds neural pathways that become harder to develop later.

What preschool science teaches (it's not the facts):

Process SkillWhat It Looks LikeWhy It Matters
Observation"The ice is getting smaller!"Foundation of all scientific inquiry
Prediction"I think the rock will sink"Hypothesis formation
Comparison"This one is bigger than that one"Measurement and data analysis
Communication"The red one made bubbles"Recording and sharing findings
Persistence"It didn't work — let me try again"Scientific resilience
A curious young child observing a small object closely through a magnifying glass

The role of the adult: Your job isn't to explain science — it's to ask questions. "What do you think will happen?" "What did you notice?" "What would happen if we changed this?" These questions teach the scientific method more effectively than any lecture.

Safety note: All experiments in this guide use non-toxic household materials. Adult supervision is required for every activity. Even with safe materials, preschoolers should never conduct experiments unsupervised.

Weather flashcards turn sky-watching into data collection
Our Weather Flashcards give preschool scientists a vocabulary tool for daily observation: hold up the card that matches today's sky. Track patterns over a week — 'How many sunny days? How many rainy?' Real data, real science, real vocabulary. Eight weather words, endless experiments.

Chemistry Experiments (Ages 3-6)

1. Baking soda and vinegar volcano
Materials: Baking soda, white vinegar, food coloring, tall container, tray to catch overflow.

What to do: Put 2 tablespoons of baking soda in the container. Add a few drops of food coloring. Pour in vinegar. Watch it erupt.

The science: Baking soda (a base) and vinegar (an acid) react to produce carbon dioxide gas. The gas creates bubbles that push the liquid up and out — the "eruption."

Extend it: "What happens with more vinegar? More baking soda? What if the water is warm?" Let children change one variable at a time — that's controlled experimentation.

2. Color mixing magic
Materials: Red, blue, and yellow food coloring, clear cups of water, eyedroppers or spoons.

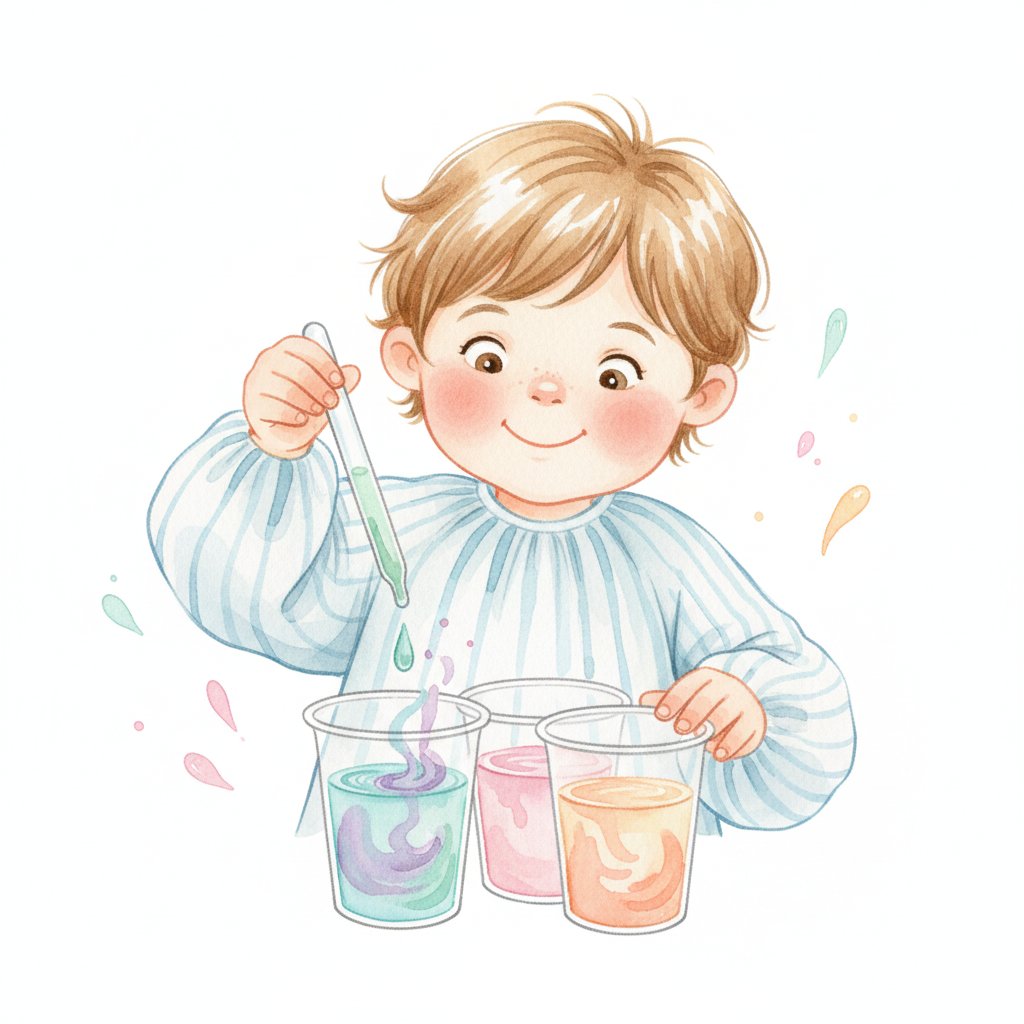
What to do: Fill cups with water. Add one color to each of three cups. Children use droppers to mix colors in empty cups: red + blue, red + yellow, blue + yellow.

The science: Primary colors combine to make secondary colors. Children learn that materials can change when combined — a fundamental chemistry concept.

Extend it: "Can you make green? Can you make orange? What happens if you add ALL three colors?" For more color exploration, see our color activities guide.

A young child using an eyedropper to mix colored water in clear cups

3. Dancing raisins
Materials: Clear carbonated water (Sprite, seltzer), raisins, tall clear glass.

What to do: Pour carbonated water into the glass. Drop in 5-6 raisins. Watch them dance — sinking, rising, sinking again.

The science: Carbon dioxide bubbles attach to the wrinkly surface of the raisins, making them buoyant enough to rise. At the surface, bubbles pop, and the raisin sinks again.

4. Milk and food coloring swirl
Materials: Whole milk, food coloring, dish soap, shallow plate.

What to do: Pour milk onto the plate. Add drops of food coloring (don't stir). Dip a cotton swab in dish soap, then touch it to the milk's surface. Watch the colors swirl.

The science: Soap breaks the surface tension of the milk and bonds with the fat molecules, creating currents that move the food coloring. It's beautiful and it's chemistry.

5. Dissolving speed test
Materials: Sugar, salt, flour, sand, 4 cups of warm water, spoons.

What to do: Put one spoonful of each substance in separate cups of warm water. Stir the same amount. Which dissolves fastest?

The science: Different substances dissolve at different rates based on their molecular structure. This introduces solubility — a core chemistry concept — through simple comparison.

Physics Experiments (Ages 3-6)

6. Sink or float
Materials: Large container of water, assorted items (coin, cork, plastic toy, rock, leaf, spoon, apple, crayon).

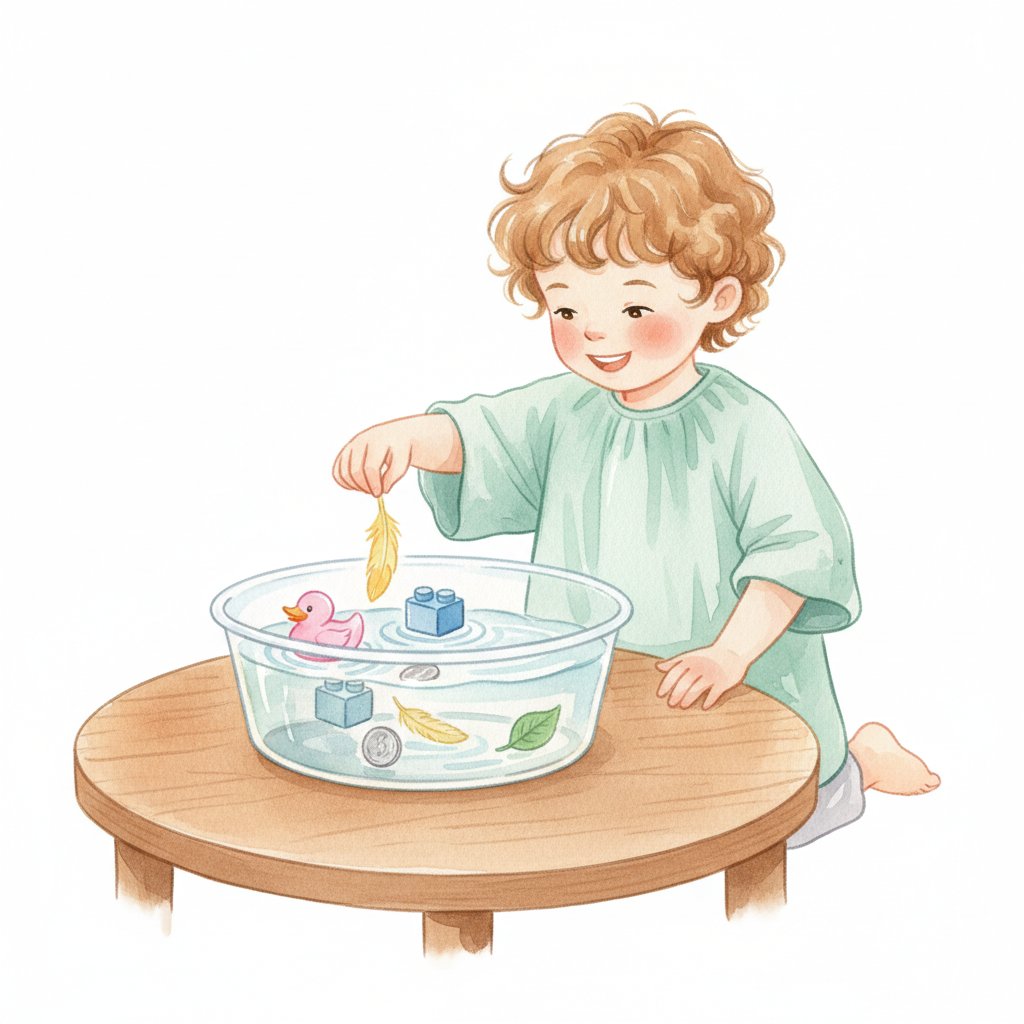
What to do: Children predict whether each item will sink or float, then test. Record results with a simple chart (smiley face for correct prediction).

The science: Density determines whether objects sink or float. Objects less dense than water float; more dense objects sink. Children don't need the vocabulary — they're building the intuition through repeated testing.

Extend it: "Can you make a sinking object float?" (Put it on a boat made of aluminum foil.) This is engineering-meets-physics.

A young child dropping objects into a clear tub of water to test whether they sink or float

7. Magnet scavenger hunt
Materials: Magnet wands or strong magnets, assortment of classroom objects.

What to do: Children test which objects the magnet picks up. Sort into two piles: magnetic and non-magnetic.

The science: Magnets attract materials containing iron, nickel, or cobalt. Not all metals are magnetic (aluminum cans aren't). Children discover this through testing.

8. Shadow tracing
Materials: Sunny day, chalk, outdoor space.

What to do: Children stand in the sun while a partner traces their shadow with chalk. Return 2 hours later and trace again. Compare: "Did the shadow move? Is it longer or shorter?"

The science: The sun's position changes throughout the day, changing shadow length and direction. This introduces the concept that the Earth rotates — the foundation of astronomy.

9. Ramp racing
Materials: Cardboard ramp (propped on books), toy cars of different sizes and weights, measuring tape.

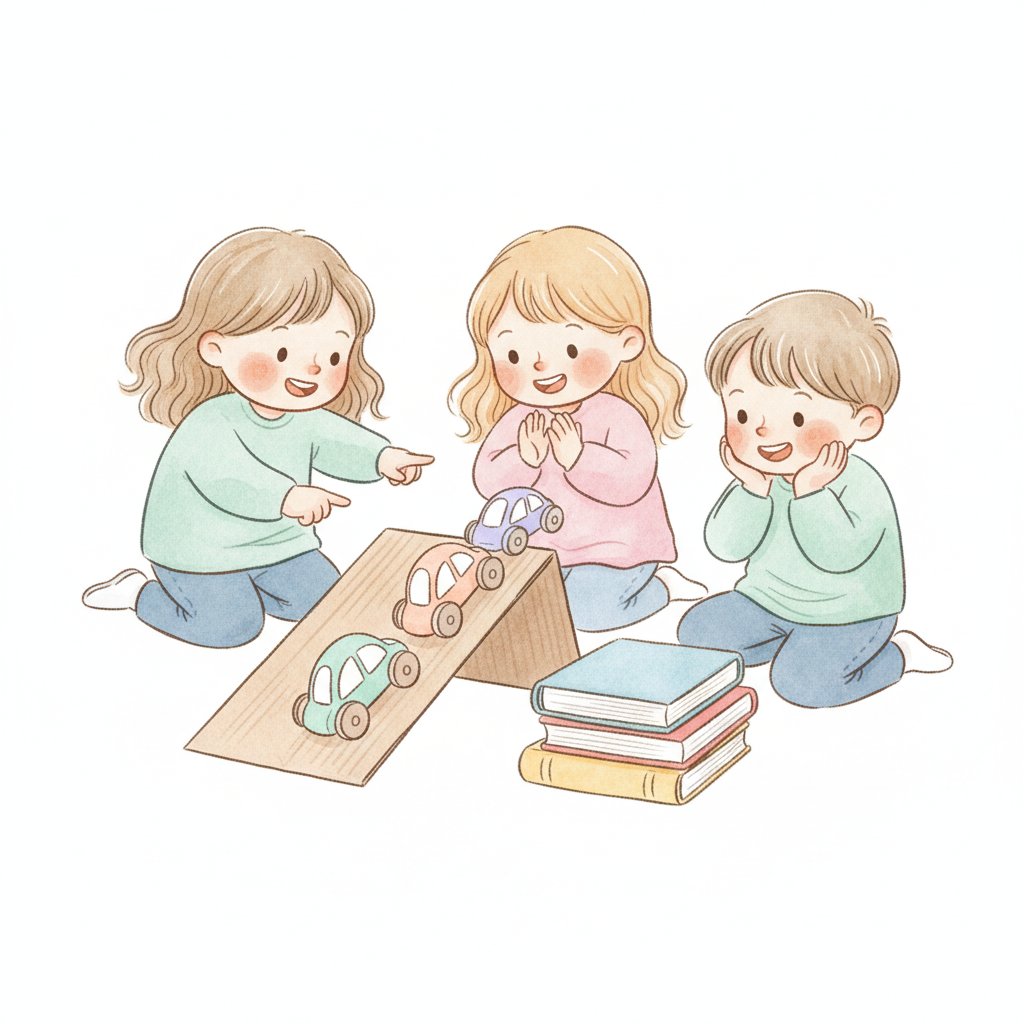
What to do: Release cars from the top of the ramp. Which goes farthest? Try different ramp heights. Measure distances.

The science: Higher ramps provide more gravitational potential energy, converting to more kinetic energy (speed). Heavier cars have more momentum. Children learn about gravity, energy, and friction through play. For more physics-meets-fun, see our gross motor activities.

Cheerful young children racing toy cars down a cardboard ramp propped on books

10. Sound vibrations
Materials: Plastic wrap, rubber band, bowl, rice grains.

What to do: Stretch plastic wrap tightly over the bowl. Secure with a rubber band. Sprinkle rice on top. Have children say "AHHHH" loudly near the bowl. Watch the rice jump.

The science: Sound is vibration. Vocal cords vibrate, creating sound waves that travel through air and make the plastic wrap vibrate, which makes the rice dance.

Human body poster: the biology section of your science center
Our Human Body Poster for Kids shows all major organs and systems — hang it in the science center and children reference it during body-related experiments. 'Where are my lungs? Right here on the poster!' A single poster turns your science area into an anatomy lab for little ones.

Biology Experiments (Ages 3-6)

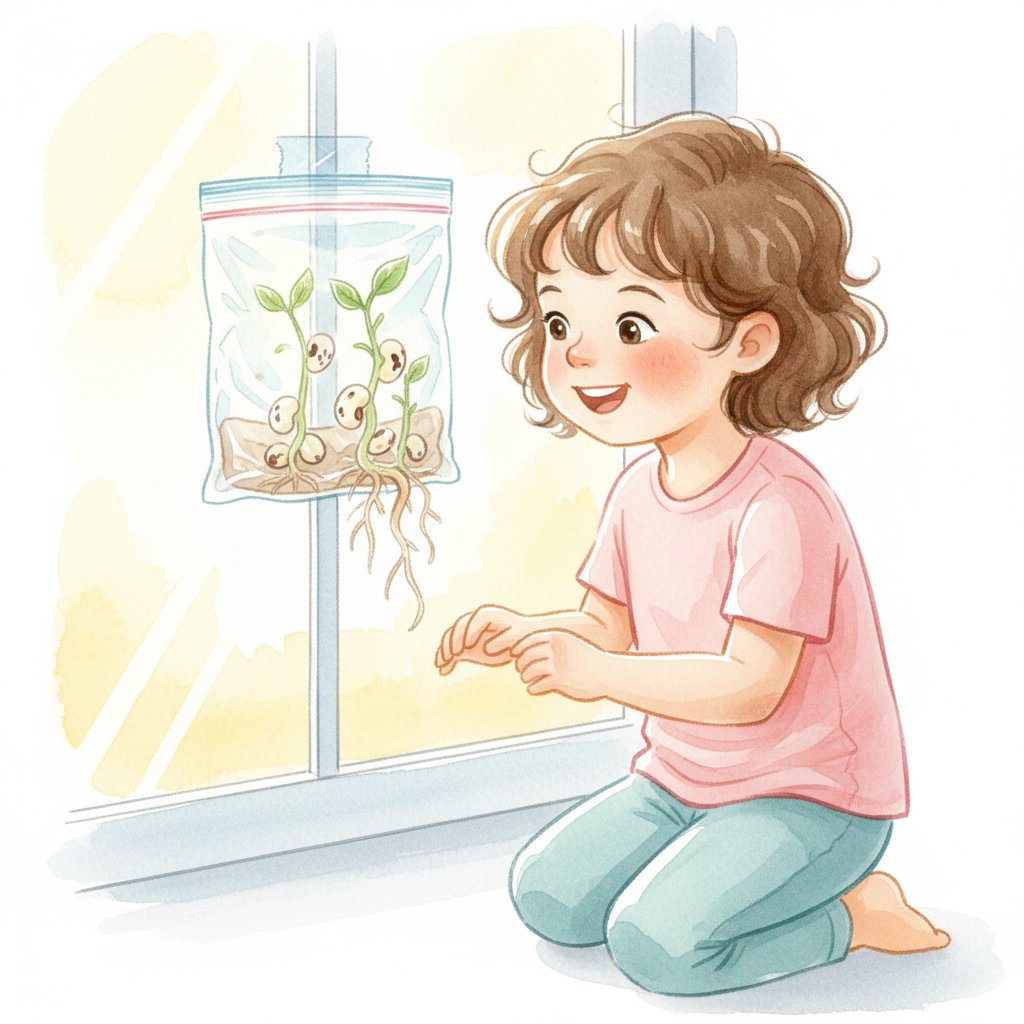
11. Seed sprouting in a bag
Materials: Zip-lock bag, paper towel, water, bean seeds, tape.

What to do: Wet the paper towel, place it in the bag with a few beans. Tape the bag to a sunny window. Check daily. Roots appear in 2-3 days, shoots in 4-5 days.

The science: Seeds contain everything a new plant needs to begin growing. Water activates enzymes that break down stored food, fueling root and shoot growth. Children observe the entire germination process through the clear bag.

Extend it: Plant one bag in a dark closet. Compare growth with the sunny window bag. "Do plants need light?" That's a controlled experiment.

A young child looking at bean seeds sprouting roots inside a clear bag taped to a sunny window

12. Leaf exploration
Materials: Collected leaves from outdoors, magnifying glasses, paper, crayons.

What to do: Collect leaves from different trees. Examine with magnifying glasses. Do leaf rubbings by placing paper over a leaf and rubbing with a crayon. Compare shapes, sizes, and vein patterns.

The science: Leaves are food factories. Their veins carry water in and sugar out. Different tree species have differently shaped leaves — classification is a core biology skill.

13. Ant observation
Materials: Slice of apple or cracker, magnifying glass, outdoor space with ants.

What to do: Place food on the ground near an ant trail. Observe for 10 minutes. What do the ants do? Do they communicate? How long before more ants arrive?

The science: Ants communicate through chemical signals (pheromones). When one ant finds food, it leaves a scent trail that other ants follow. Children observe social insect behavior in real time.

14. Breathing and heart rate
Materials: Nothing special — just bodies.

What to do: Have children sit quietly and feel their heartbeat (hand on chest). Then run in place for 30 seconds. Feel the heartbeat again. "What changed? Why?"

The science: Exercise increases heart rate because muscles need more oxygen. The heart pumps faster to deliver it. This connects to our body parts activities for more anatomy exploration.

15. Worm observation (if you're brave)
Materials: Garden soil, earthworms (from a bait shop or garden), magnifying glass, spray bottle with water.

What to do: Place worms on moist soil. Observe how they move. Gently spray water. Watch them burrow. Return worms to the garden after observation.

The science: Earthworms breathe through their skin, which must stay moist. They aerate soil as they burrow, helping plants grow. Children learn about decomposers and soil ecosystems.

Earth Science Experiments (Ages 3-6)

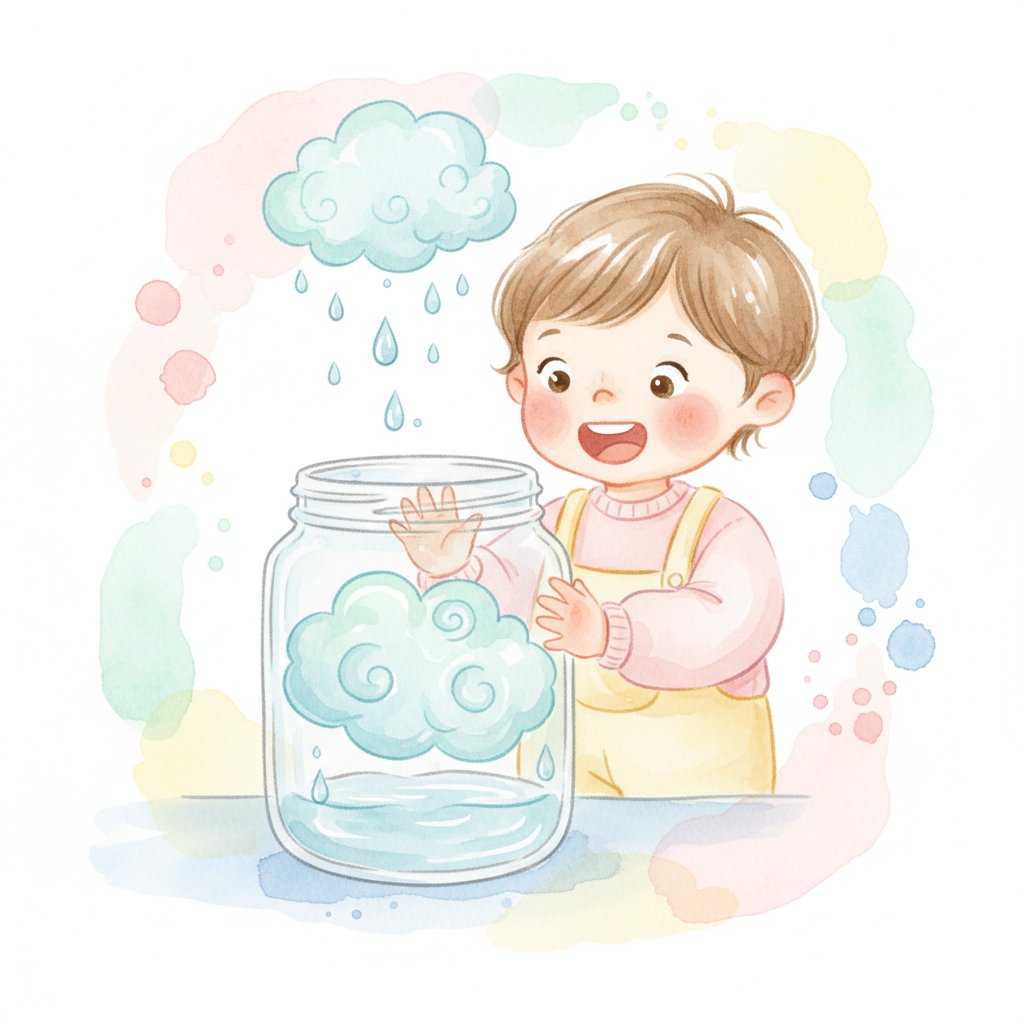
16. Rain in a jar
Materials: Clear jar, hot water (adult handles), ice, plate.

What to do: Fill jar 1/3 with hot water. Place a plate on top. Put ice on the plate. Watch "rain" form on the inside of the jar and drip down.

The science: Hot water evaporates (turns to gas). The cold plate cools the vapor, causing condensation (gas turns back to liquid). When droplets get heavy enough, they "rain." This is the water cycle in a jar.

A young child watching water droplets form and rain down inside a clear glass jar

17. Soil layers in a bottle
Materials: Empty clear bottle, soil, sand, gravel, water.

What to do: Layer gravel, then sand, then soil in the bottle. Pour water slowly on top. Observe how water moves through the layers and which particles settle where.

The science: Different materials have different particle sizes. Water moves through large particles (gravel) faster than small ones (clay soil). This introduces permeability and filtration.

18. Nature color hunt
Materials: Color cards (paint swatches from a hardware store work great), outdoor space.

What to do: Give each child a color card. Challenge them to find something in nature that matches. Green leaf, brown bark, yellow flower, gray rock.

The science: Colors in nature come from pigments (chlorophyll makes leaves green) and minerals (iron makes rocks red). This is observational science — training the eye to notice patterns and variations in the natural world.

19. Wind detection
Materials: Streamers (crepe paper), pinwheels, bubbles.

What to do: Take materials outside on a windy day. Which way do the streamers blow? Does the pinwheel spin? Which direction do bubbles travel?

The science: Wind is moving air. We can't see it but we can see its effects on objects. Children learn to infer the invisible from the visible — a core scientific reasoning skill.

20. Ice melting race
Materials: Ice cubes, bowls, various materials (warm water, salt, sugar, cold water, just air).

What to do: Place one ice cube in each bowl with different conditions. Predict which melts fastest. Time and compare.

The science: Heat transfers from warmer materials to the ice, causing melting. Salt lowers the melting point of ice, making it melt faster at the same temperature. Children compare rates of change — data analysis in action.

Science Fridays: weekly experiment routines made visual
Our Days of the Week Poster helps children track which day is science day. Post it in the science center: 'Monday — observe, Wednesday — experiment, Friday — record results.' Routine cards give science the same predictable structure as circle time. Predictable routines build anticipation and deeper engagement.
1.Are these experiments safe for 3-year-olds?
Yes, all experiments use non-toxic household materials (baking soda, vinegar, water, food, etc.). Adult supervision is required for every activity. The primary risk is slipping on spilled water — use trays and towels. For the ice/melting activities, use cold water rather than hot for the youngest children.
2.Do I need to explain the science to preschoolers?
No — and you shouldn't try. The goal at ages 3-6 is to build the PROCESS of science (observe, predict, test, compare), not to teach scientific facts. When children ask "why?," respond with "What do you think?" or "Let's find out together." Their own discoveries teach more than any explanation.
3.How do I handle it when an experiment fails?
Celebrate it. Failed experiments are the best teaching moments. "Hmm, that didn't work. Why do you think it didn't? What should we change?" Model curiosity, not disappointment. Children who learn that failure is information — not a verdict — become resilient scientists and resilient learners.
4.Can I do these in a small space without a dedicated science center?
Absolutely. Most of these experiments happen on a single tray or in a bowl. A "science kit" (a box with baking soda, vinegar, food coloring, magnets, a magnifying glass, and a measuring spoon) fits in a shoebox and enables 10+ experiments. Science doesn't require a lab — it requires curiosity.