Why Scissor Skills Matter
Cutting with scissors is one of the best fine motor activities for young children. It requires:
- Bilateral coordination — using both hands together (one holds, one cuts)
- Hand strength — repeated squeezing builds grip
- Eye-hand coordination — following a line with the blade
- Motor planning — knowing when to open, close, and turn the scissors
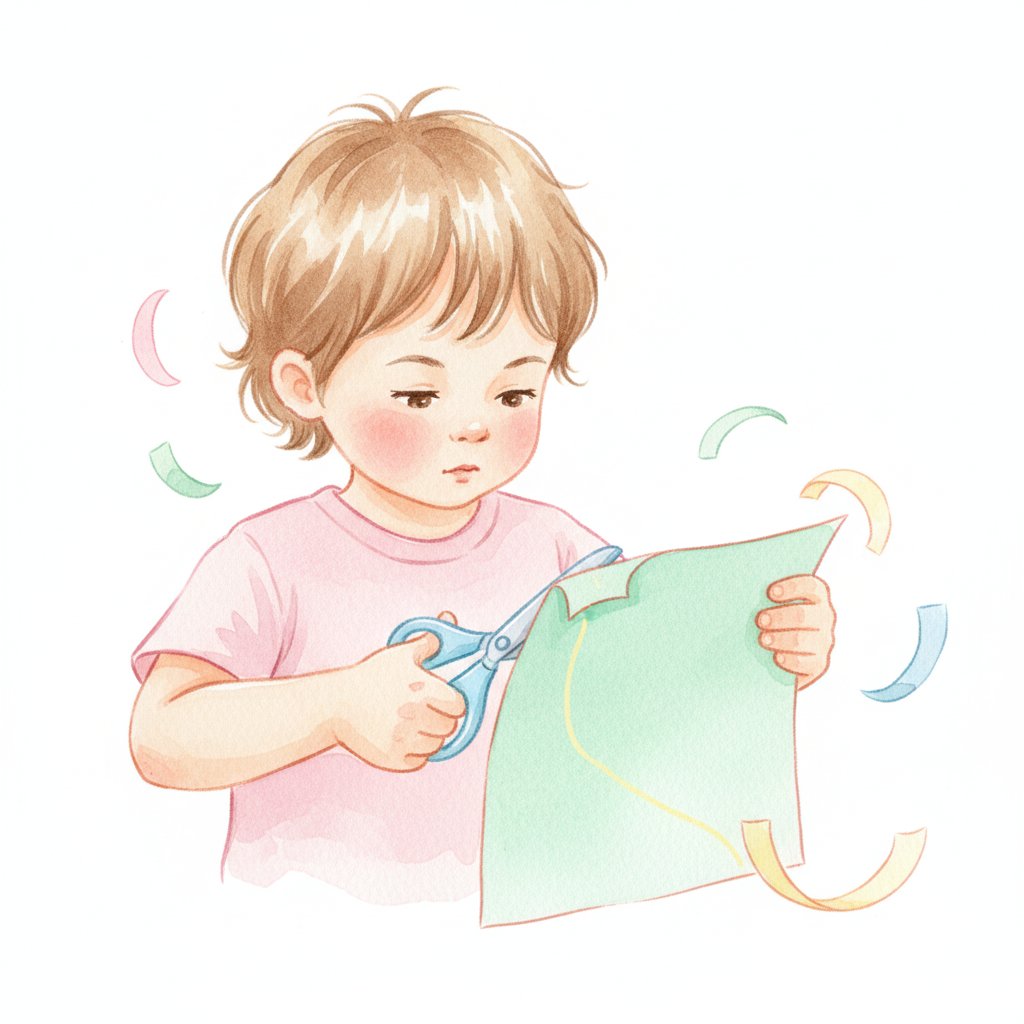
The American Occupational Therapy Association identifies scissor skills as a key school-readiness indicator. Children who can cut along lines by kindergarten have an easier time with writing, drawing, and other classroom tasks.
For more activities that build hand strength and coordination, see our fine motor skills activities for kids and kindergarten readiness checklist for parents.
Scissor Safety First
Before starting any cutting activity:
- Use child-safe scissors — blunt tips, spring-assisted if possible
- Model safe holding — thumbs on top, blades pointing away from body
- Supervise always — especially under age 5
- Set rules — "Scissors are for paper only. Not hair, clothes, or fingers."
- Put away when done — Scissors live in a specific place, not on the floor
Scissor Skill Progression (Ages 2-6)
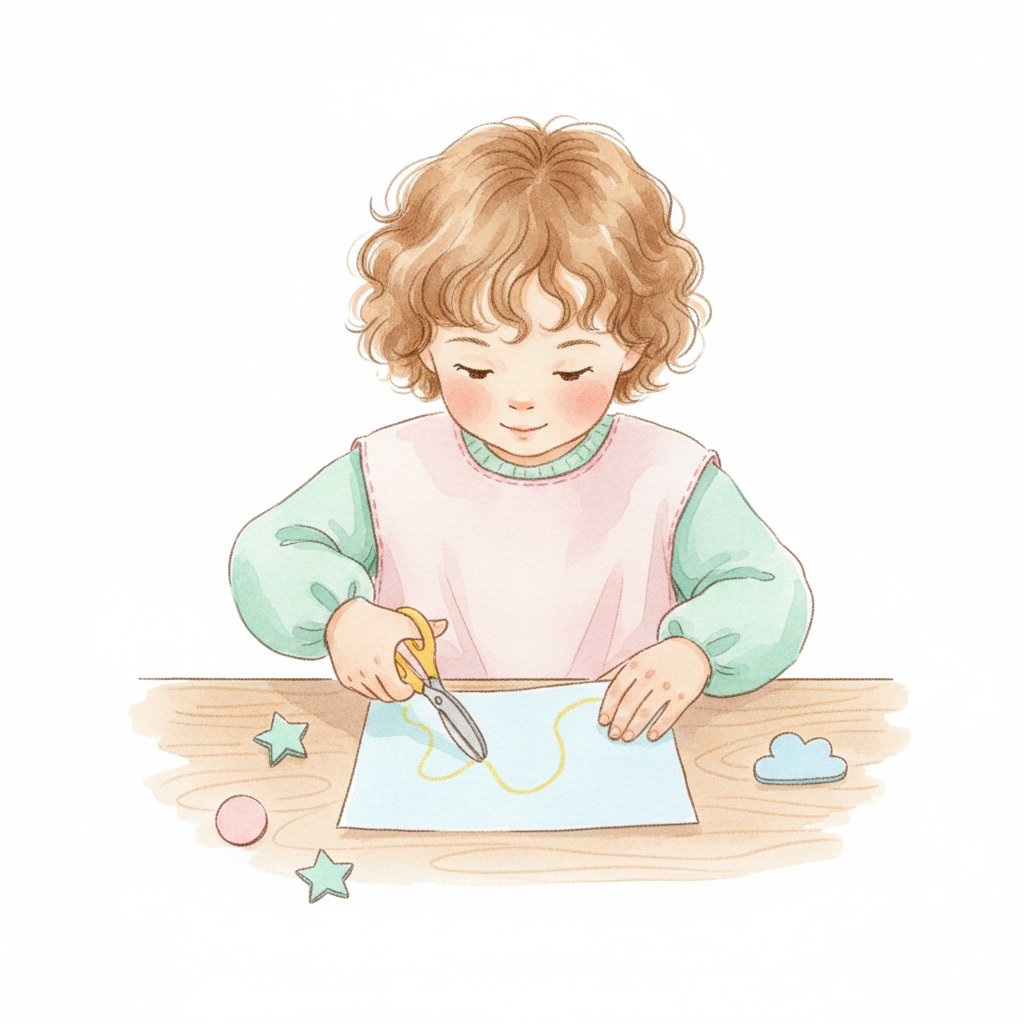
Children develop scissor skills in a predictable order. Each stage builds on the last.
Stage 1: Snipping (Age 2½-3)
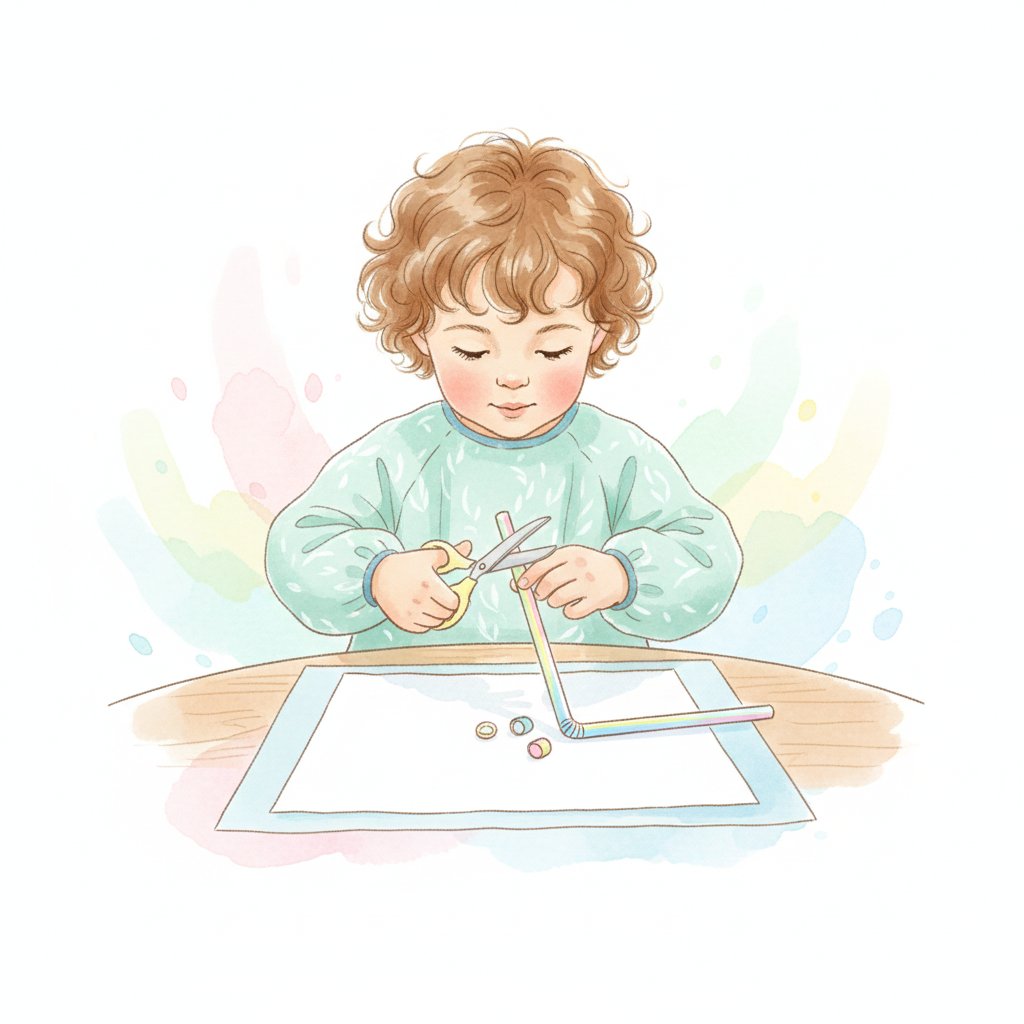
One snip cuts through paper. Use thin paper strips — one snip and the piece falls off. Very satisfying.
Stage 2: Fringing (Age 3)
Multiple snips along the edge of paper to create a fringe. The paper stays attached — your child makes repeated cuts without cutting through.
Stage 3: Straight Lines (Age 3½-4)
Cut along a straight line drawn on paper. Start with thick lines (1 inch), then narrow to ½ inch.
Stage 4: Curved Lines (Age 4)
Cut along gentle curves. The helper hand needs to rotate the paper now — this is a big coordination step.
Stage 5: Shapes (Age 4½-5)
Cut out circles, squares, and triangles. Corners require stopping and turning the paper.
Stage 6: Complex Shapes (Age 5-6)
Cut out detailed shapes like animals, letters, or number outlines. This requires planning, precision, and patience.
10 Scissor Activities by Stage
Snipping Activities (Stage 1)
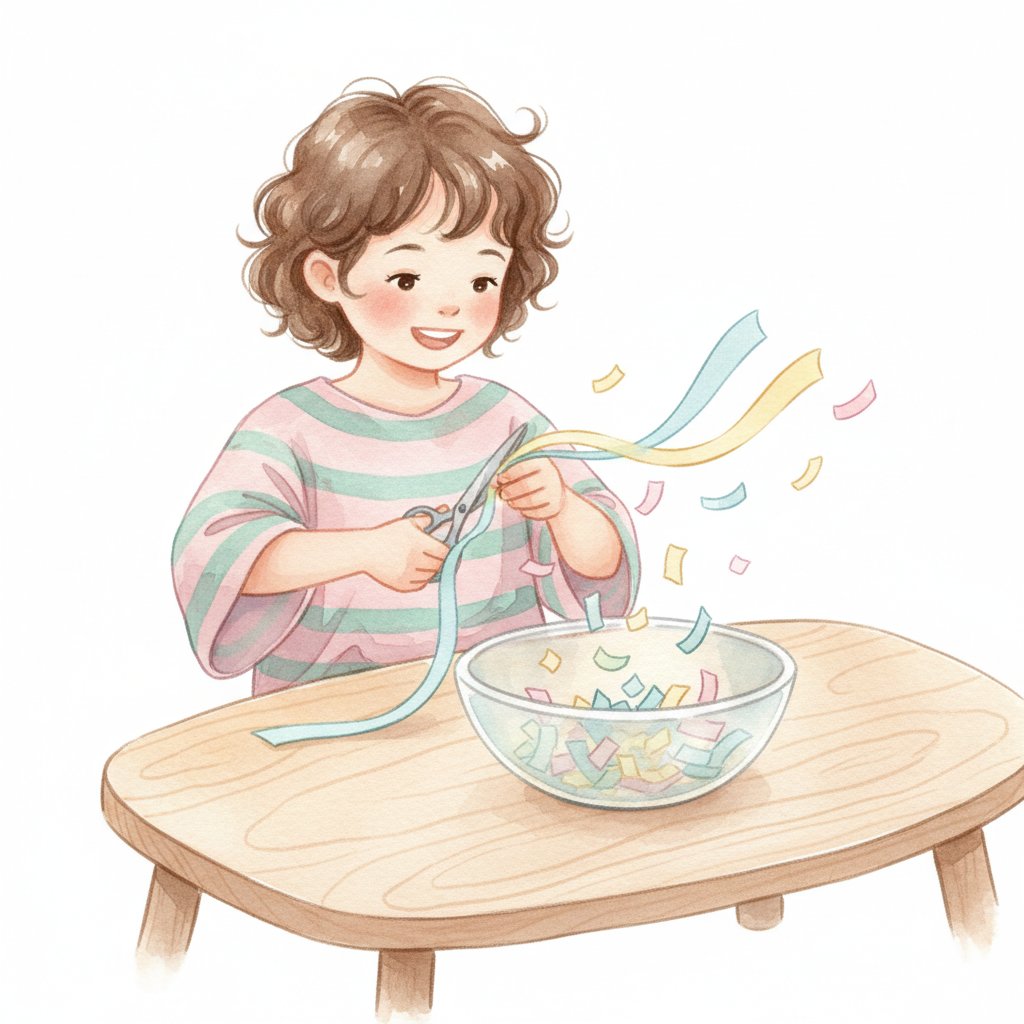
1. Confetti Cutting
Give your child thin paper strips in bright colors. They snip small pieces into a bowl. Use the confetti for a craft project (glue onto a picture).
2. Grass Cutting
Draw a green strip of "grass" on paper. Your child snips straight up to create grass blades. Fun and simple.
3. Snip Sorting
Snip pieces from colored paper strips. Sort the pieces by color into cups. Combines cutting with color recognition.
Fringing Activities (Stage 2)
4. Paper Lion Mane
Cut a circle from paper for a lion's face. Your child fringes around the edge to create the mane.
5. Flower Petals
Draw a circle with petals around it. Your child fringes between the petals. Pair with our shape activities for an integrated lesson.
Line Cutting Activities (Stage 3-4)
6. Cutting Roads
Draw roads on paper with thick lines. Your child "drives" the scissors along the road — staying between the lines.
7. Shape Cutting Cards
Draw basic shapes (square, triangle, circle) on paper with thick outlines. Your child cuts along the outlines. Use shape flashcards as templates.
8. Zigzag Challenge
Draw zigzag lines on paper. Cutting zigzags requires opening and closing the scissors with each turn. Great for building rhythm.
Shape Cutting Activities (Stage 5-6)
9. Picture Puzzles
Print a simple picture (animal, vehicle, character). Your child cuts it into 4-6 pieces, then reassembles the puzzle.
10. Number Cut-Outs
Draw large numbers on paper. Your child cuts them out and glues them in order. See our teaching number recognition guide for number-learning activities to pair with this.
Common Scissor Problems and Fixes
"My child holds scissors upside down"
— Put a sticker on the thumb hole: "Sticker on top!" This visual cue reminds them which way the scissors go.
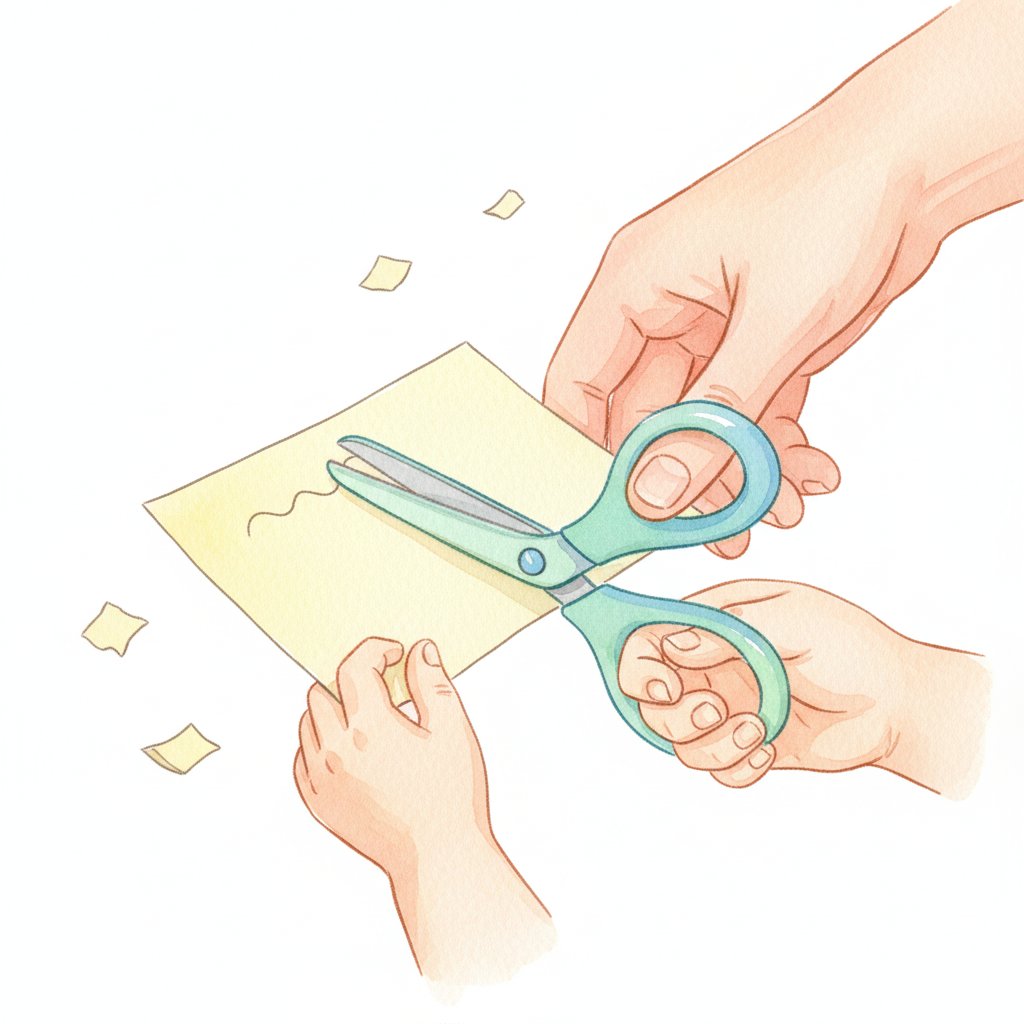
"They can't coordinate both hands"
— Practice tearing paper first. Tearing requires both hands working together but is easier than cutting. Then move back to scissors.
"They chew through the paper instead of cutting smoothly"
— Use stiffer paper (cardstock or construction paper). Flimsy paper bunches up. Stiffer paper gives a clean cut and better feedback.
"Their helper hand doesn't move"
— Draw arrows on the paper showing which direction to turn. Remind them: "Your cutting hand stays still; your helper hand moves the paper."
"They fatigue quickly"
— Hand fatigue is normal at first. Keep sessions short (2-3 minutes). Build hand strength with fine motor activities between cutting sessions. Spring-assisted scissors reduce effort for beginners.
Best Scissors by Age
| Age | Scissor Type |
|---|---|
| 2-3 | Spring-assisted (self-opening) plastic scissors |
| 3-4 | Blunt-tip metal scissors with large handles |
| 4-5 | Standard blunt-tip scissors |
| 5-6 | Pointed-tip scissors (with supervision) |
Printable Cutting Practice
Our printable cutting worksheets pair perfectly with these scissor activities. For more pre-writing skills that complement cutting practice, see our sensory play ideas for toddlers and preschoolers which includes tactile activities that strengthen the same hand muscles.
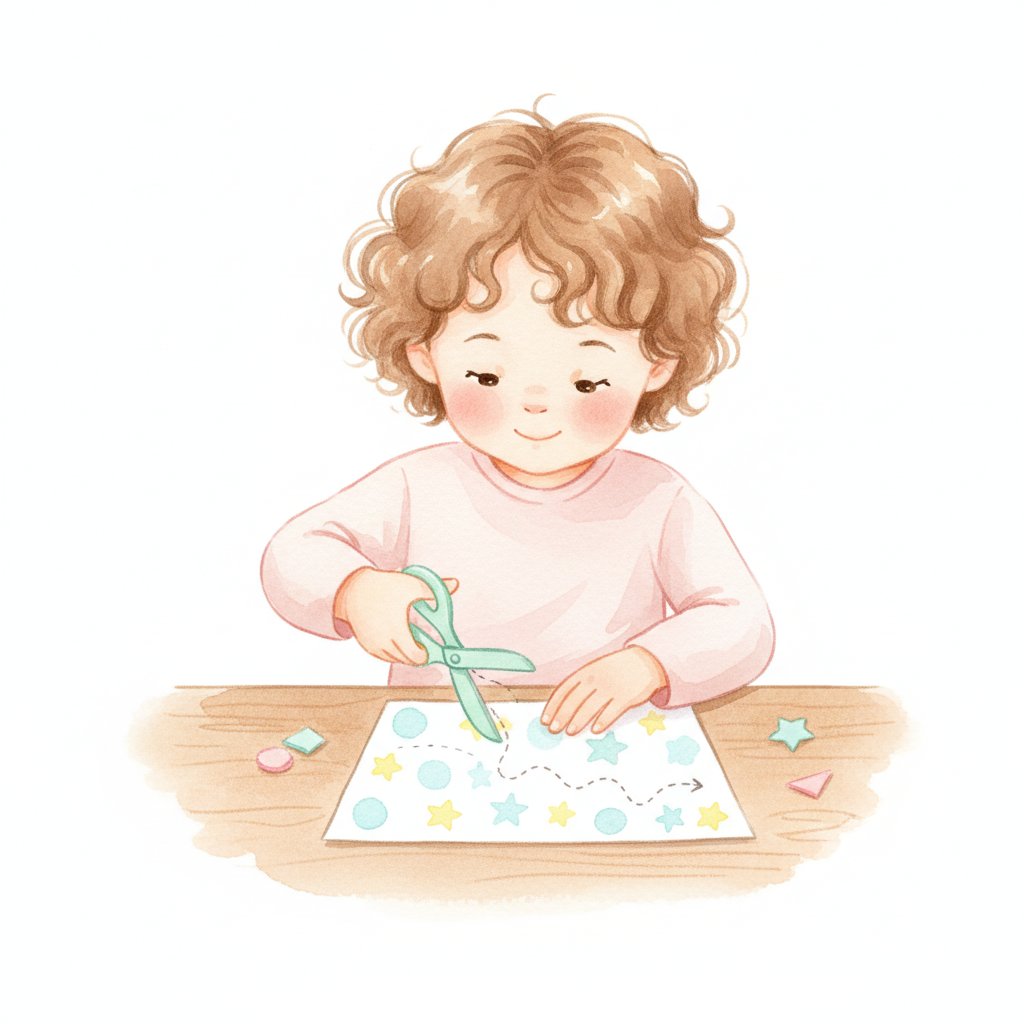
Create cutting practice sheets at home:
- Draw thick lines on paper for straight-line practice
- Use our printable flashcards guide for printing tips
- Print on cardstock for stiffer paper that's easier to cut
- Draw shapes from our shape flashcards for cutting templates
- Use colored paper to make cutting practice more engaging
Looking for learning tools? Our Monster Feelings Flashcards help kids identify and express emotions — and handling flashcards builds the same hand strength and coordination needed for scissor skills.
More fine motor & learning guides:
- Fine Motor Skills Activities
- Handwriting Readiness for Kindergarten
- Shape Flashcards for Kids
- Number Flashcards for Kids
- Counting Activities for Preschoolers
- Color Activities for Preschool
- Classroom Posters for Teachers
- Self-Regulation Strategies for Kids
- Teaching Number Recognition