Articles8 min read

The First Cut Is the Hardest (Then It Gets Easier)

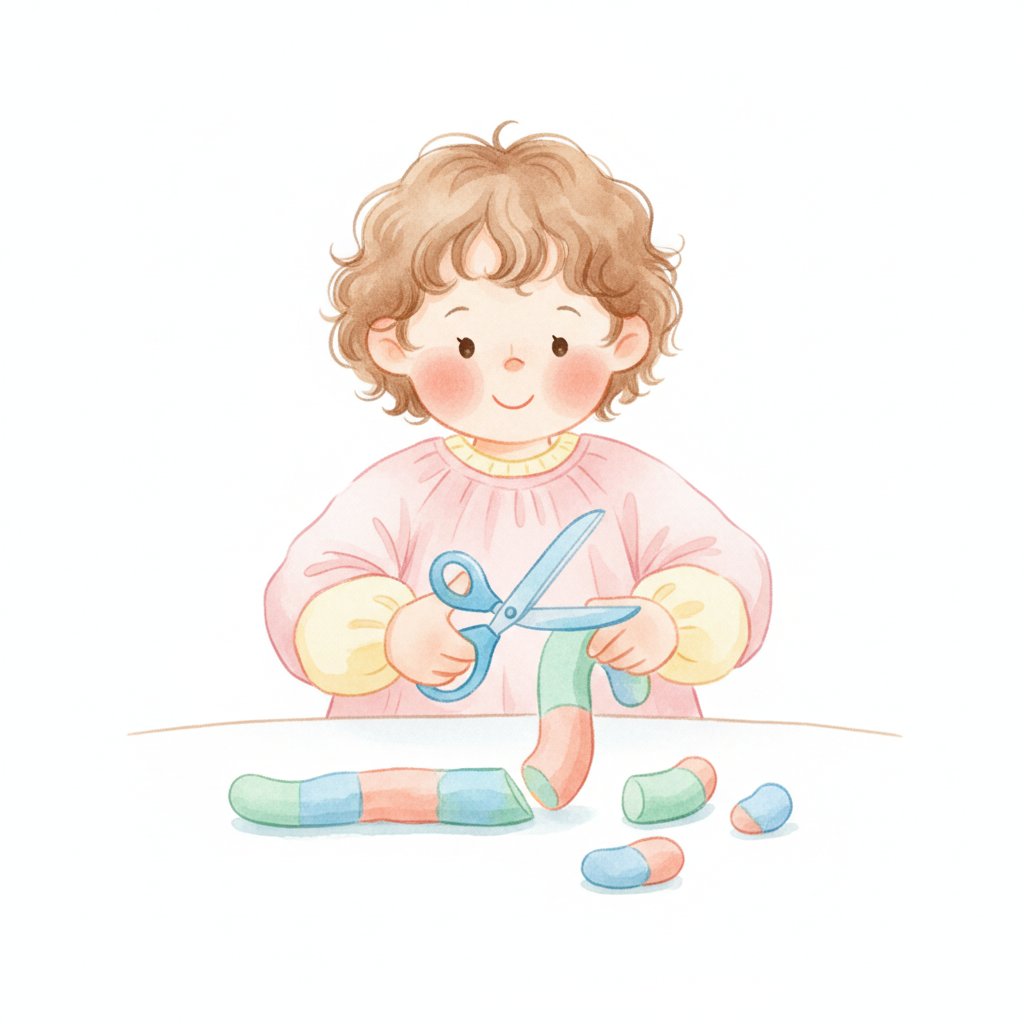
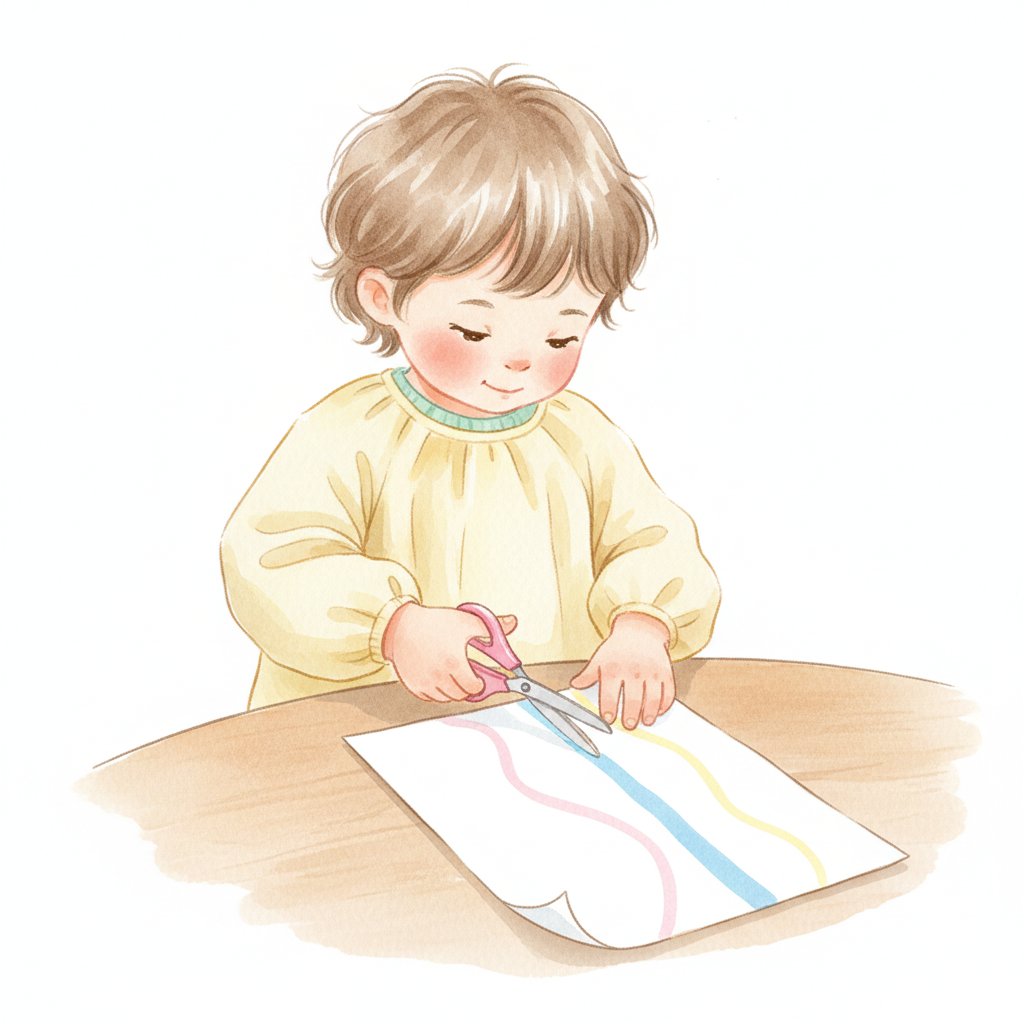
Teaching a child to use scissors is like teaching them to ride a bike — it feels impossible until suddenly it clicks. I watched my daughter struggle for weeks. She'd hold the scissors backwards, cut air, get frustrated, and quit. Then one afternoon she picked up the scissors, held them correctly (by accident), and snipped a piece of paper. She stared at the two pieces like she'd performed magic. "I CUT IT!" she shouted. Within a week she was cutting straight lines. Within a month, curves. All because that first successful snip gave her the confidence to keep trying.

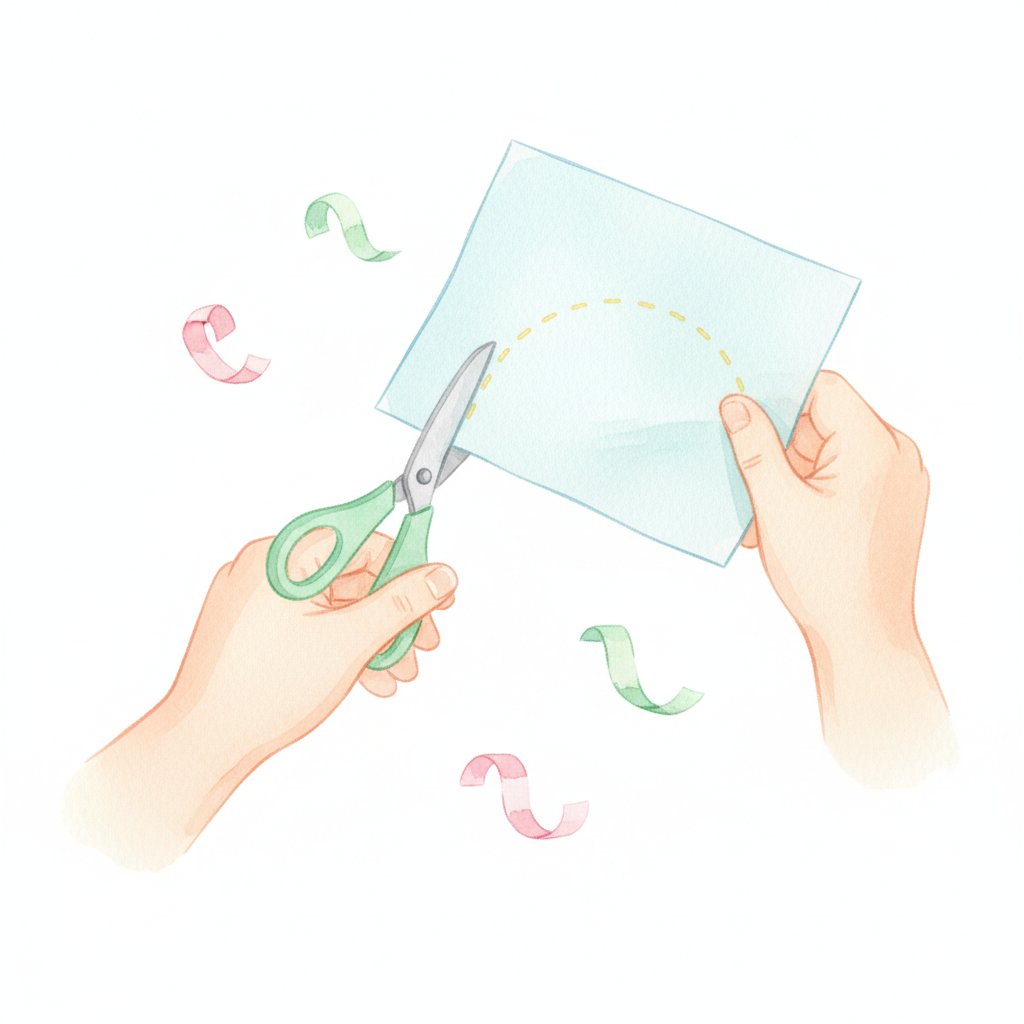
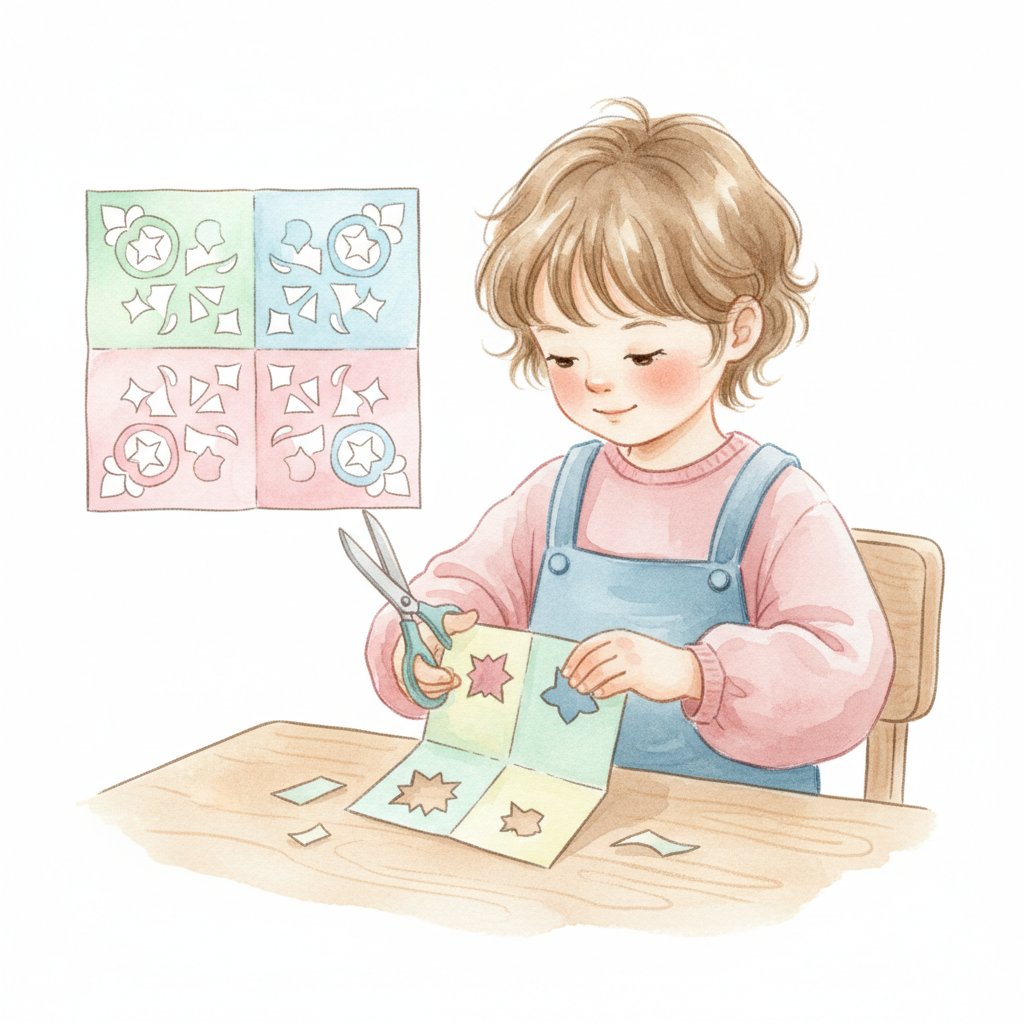
Scissor skills develop in a predictable sequence: snipping (one cut) → fringing (multiple cuts along an edge) → straight lines → curved lines → complex shapes. Each stage builds the hand strength and bilateral coordination (two hands working together) that children need for handwriting. According to the American Occupational Therapy Association, scissor use is one of the best predictors of fine motor readiness for kindergarten.

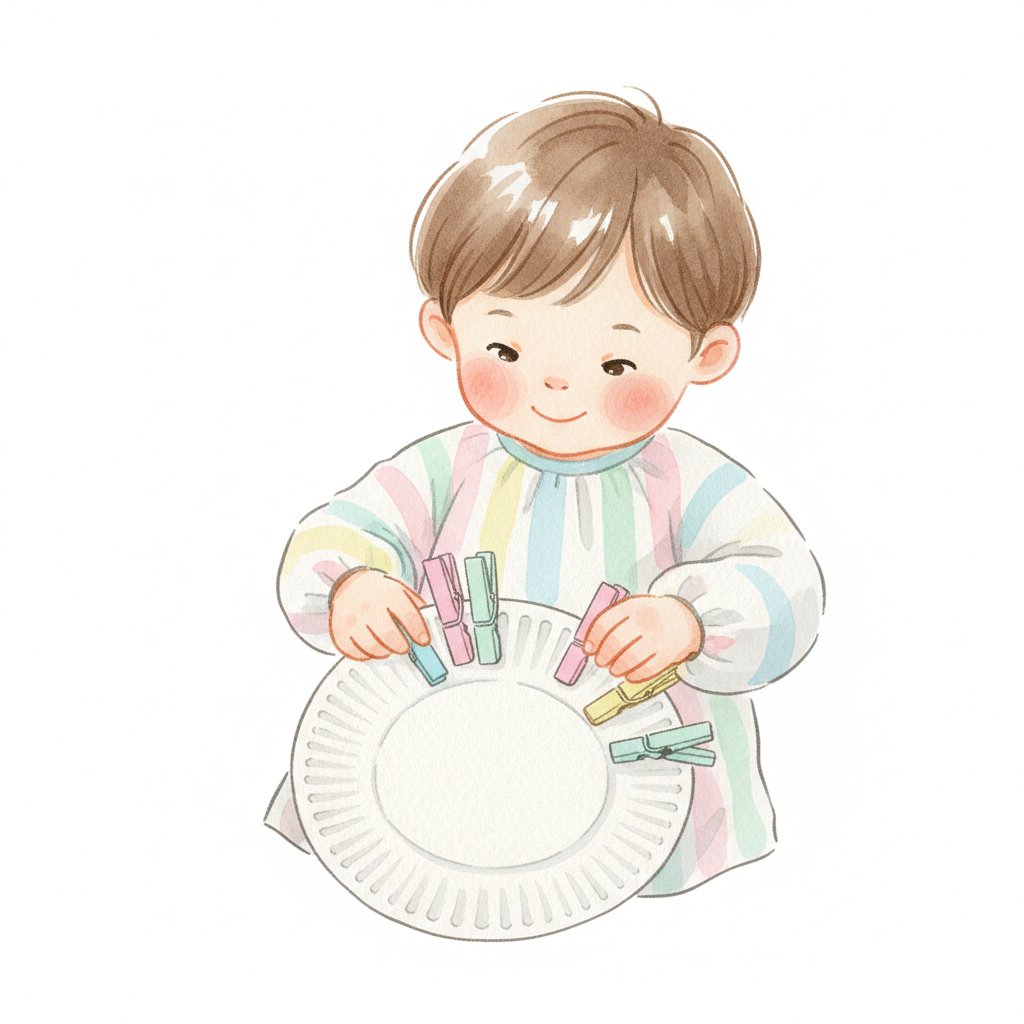
This guide covers 20+ scissor skills activities for ages 3-6, organized by difficulty level. Pair it with our fine motor activities for more hand-strengthening and our art activities for creative projects that use cutting.

Scissor Skills Development: What to Expect and When

The developmental sequence:

AgeSkillWhat It Looks Like
2-2.5SnippingOne cut through thin paper
2.5-3Forward cuttingCuts along a straight line (2-3 inches)
3-3.5FringingMultiple snips along an edge
3.5-4Straight linesCuts along a drawn line with some accuracy
4-4.5Curved linesNavigates gentle curves
4.5-5Circles and cornersCuts out simple shapes
5-6Complex shapesCuts out detailed shapes with precision

The two-hand partnership: Cutting requires one hand to hold the scissors and the other hand to hold and turn the paper. This bilateral coordination is the same skill used for writing (one hand holds the pencil, the other holds the paper) and tying shoes. Children who struggle with cutting often need help with bilateral coordination.

Choosing the right scissors:

  • Age 2-3: Spring-loaded self-opening scissors (reduce frustration)
  • Age 3-4: Small blunt-tip scissors with short blades (easier to control)
  • Age 4-5: Standard children's scissors
  • Left-handed children: Always provide true left-handed scissors (not ambidextrous)

Safety rules to teach first:

  1. Scissors are for paper only (not hair, clothes, or friends)
  2. Hold scissors with blades closed when walking
  3. Pass scissors handle-first to a friend
  4. Sit down while cutting
Cut the shape, name the shape
Our Shapes Flashcards work as cutting templates: children trace a shape onto paper, then cut along the traced line. Start with the square (straight lines, easiest), progress to the circle (hardest). Each shape card becomes a cutting lesson. 12 shapes, 12 levels of cutting challenge.

Beginner Activities: Snipping and Fringing (Ages 2.5-3.5)

1. Play dough snipping
Materials: Play dough rolled into a long "snake," scissors.

What to do: Children snip the play dough snake into pieces. Play dough provides resistance that strengthens hands — more resistance than paper but less frustrating because it doesn't need to be held precisely.

Why start here: Play dough is forgiving. There's no line to follow, no precision needed. The only goal is to make the scissors open and close. Success is immediate.

2. Fringed paper plate
Materials: Paper plate, scissors.

What to do: Children snip around the edge of the paper plate, creating fringe. The plate is easy to hold (one hand grips the center), and the curved edge provides a natural guide.

Extend it: The fringed plate becomes a lion's mane, a sun, or a jellyfish — snipping becomes art.

3. Cutting strips
Materials: Strips of paper (1 inch wide), scissors.

What to do: Children cut across the strip in one snip. Each cut produces a small square. Collect the squares — they're confetti for a celebration or pieces for a mosaic.

Why it works: Narrow strips require only one snip — the simplest possible cutting task. Children experience success immediately and build confidence for longer cuts.

4. Snipping straws
Materials: Plastic drinking straws, scissors, bowl to catch pieces.

What to do: Children snip straws into small pieces. The pieces fly everywhere (children find this hilarious). Collect pieces for threading onto string later — snipping becomes a necklace activity.

Why it works: Straws provide satisfying auditory feedback (the "snip" sound) and the pieces pop apart visually. It's cutting with built-in reward.

5. Nature cutting
Materials: Collected leaves, grass, flowers from outside, scissors.

What to do: Children cut natural materials into pieces. Leaves offer varying thickness. Grass is thin and easy. Flower stems are thicker and require more strength.

Why it works: Different natural materials provide graduated resistance. Children build hand strength through variety.

Intermediate Activities: Straight Lines (Ages 3.5-4.5)

6. Cutting along tape lines
Materials: Paper, colored tape (washi tape or masking tape).

What to do: Place a strip of tape on paper. Children cut along the tape. The tape provides a clear, visible guide that's easier to follow than a drawn line. Remove tape after cutting to reveal a clean cut.

Why it works: Tape is wider and more visible than a pencil line. Children can see it clearly and feel successful.

7. Road cutting
Materials: Paper with "roads" drawn on it (straight black lines with dashes).

What to do: Children "drive" their scissors along the road. "Stay on the road — don't drive on the grass!"

Why it works: The road metaphor gives purpose to the cutting. Children aren't just cutting a line — they're driving somewhere.

8. Cutting to a target
Materials: Paper with lines leading to stickers or pictures.

What to do: Draw lines from the edge of the paper to a sticker. Children cut along the line to "reach" the sticker. "Cut to the star!"

Why it works: The sticker provides a concrete goal. Children know exactly when to stop cutting — when they reach the sticker.

9. Straight-line puzzles
Materials: Picture glued to card stock, scissors.

What to do: Draw 3-4 straight vertical lines across the picture. Children cut along the lines, creating puzzle pieces. Then reassemble the puzzle.

Why it works: Cutting creates a product (puzzle pieces) that has value. Children are motivated to cut accurately because they want the puzzle to fit together.

10. Haircut activity
Materials: Paper with a face drawn at the top and long vertical lines extending downward ("hair").

What to do: Children cut the "hair" to give the paper person a haircut. Some cuts can be short, some long — it's creative cutting with a purpose.

Extend it: After cutting, children draw the face. Haircut + drawing=art project. For more art ideas, see our art activities guide.

Cut out the animals for a farm diorama
Our Farm Animals Flashcards work as cutting templates: children cut out each animal card and stand them up in a recycled-box barn. Cutting + pretend play + animal vocabulary in one activity. 12 animals, 12 cutting exercises, one farmyard adventure.

Advanced Activities: Curves and Shapes (Ages 4.5-6)

11. Spiral cutting
Materials: Paper with a spiral drawn from the outside to the center.

What to do: Children cut along the spiral line. When they reach the center and lift the paper, it becomes a hanging spiral decoration.

Why it works: Spirals require continuous turning of the paper (bilateral coordination) while maintaining a curved cut. It's the perfect bridge between straight lines and circles.

12. Circle cutting (the graduation test)
Materials: Paper with circles drawn in various sizes, scissors.

What to do: Children cut out circles. Start with large circles (easier) and progress to smaller ones. The goal is to stay on the line all the way around.

Why circles are hard: Cutting a circle requires the holding hand to continuously rotate the paper while the cutting hand maintains consistent pressure. This is the most complex bilateral coordination task in early scissor work.

13. Shape cutting challenge
Materials: Paper with shapes drawn: squares, triangles, rectangles, ovals.

What to do: Children cut out each shape. Squares require stopping and turning at corners. Triangles require sharp turns. Ovals require smooth curves.

Extend it: Cut-out shapes become a collage. Children glue shapes onto paper to create pictures: triangles for a house roof, rectangles for the walls, circles for windows. For more shape activities, see our shape activities guide.

14. Cutting snowflakes
Materials: Square paper, folded into a triangle.

What to do: Children cut shapes from the folded edges. Unfold to reveal a snowflake. Every snowflake is unique — and every cut affects the final design.

Why it works: Folded paper cutting teaches cause and effect: "If I cut here, it makes a hole there." It's math (symmetry) and art (design) through scissors.

15. Paper chain making
Materials: Strips of colored paper, scissors, glue or tape.

What to do: Children cut strips of paper (following lines), then link them into a chain. The chain can decorate the classroom for holidays or birthdays.

Why it works: Paper chains require many consistent cuts — repetitive practice disguised as a fun project.

Hand-Strengthening Exercises for Better Cutting

Scissor skills require strong hand muscles — specifically the thumb, index, and middle finger that open and close the blades. These exercises build that strength:

16. Spray bottle play
Materials: Spray bottle filled with water, outdoor space or sink.

What to do: Children spray water at targets (chalk marks on a wall, plastic cups to knock over). Squeezing the spray bottle strengthens the same muscles used for scissors.

17. Clothespin activities
Materials: Clothespins, items to clip them to (paper plates, cardboard edges, string).

What to do: Children pinch clothespins open and clip them onto surfaces. The pinching motion is identical to the scissor-opening motion.

Extend it: Write letters on clothespins. Children clip the correct letter to a card. Pinching + letter practice=multi-skill activity.

18. Tearing paper
Materials: Various types of paper (construction paper, tissue paper, newspaper).

What to do: Children tear paper into pieces for collage. Tearing requires bilateral coordination (two hands pulling in opposite directions) — the same skill as holding paper while cutting.

Why it works: Tearing is a pre-scissor skill. It builds bilateral coordination without requiring tool use. For more pre-scissor fine motor work, see our fine motor activities.

19. Tweezers and tongs
Materials: Tweezers or small tongs, small objects (pom-poms, cotton balls, beans).

What to do: Children use tweezers to pick up and sort objects. The pincer grasp (thumb and index finger) is the same grip used to open scissors.

20. Hole punch challenges
Materials: Single hole punch, paper with marked targets.

What to do: Children squeeze the hole punch at target spots on paper. The squeezing motion strengthens the entire hand — fingers, palm, and forearm.

Add 'Cutting Practice' to your daily routine
Our Morning Routine Visual Schedule Cards include a blank set you can customize. Add 'Scissor Time' between snack and outdoor play. When cutting practice is on the schedule, it happens — and consistency is what builds the skill. Five minutes daily beats thirty minutes once a month.
1.What age should children start using scissors?
Most children can begin snipping with safety scissors between ages 2 and 2.5. Start with spring-loaded self-opening scissors and soft materials (play dough, clay). By age 3, children can cut along short straight lines. By age 4, they can follow longer lines. By age 5, most children can cut out simple shapes. The key is starting with easy materials and short sessions (2-5 minutes).
2.Should left-handed children use left-handed scissors?
Yes — always provide true left-handed scissors for left-handed children. Left-handed scissors have the blades reversed so the child can see the cutting line. Using right-handed scissors with the left hand causes the blades to push apart instead of cut, leading to frustration and incorrect grip. Ambidextrous scissors are not ideal — true left-handed scissors exist and should be provided.
3.My child holds scissors awkwardly. Should I correct their grip?
Gently model correct grip (thumb in the small hole, fingers in the larger hole, thumb on top) but don't over-correct. The correct grip develops gradually as hand strength improves. If a child consistently uses both hands to open and close the scissors, try spring-loaded scissors that self-open — the child only needs to squeeze.
4.How do I know if my child's scissor skills are on track?
By age 4, children should be able to cut along a straight line with reasonable accuracy. By age 5, they should manage curves and simple shapes. If a 4-year-old cannot snip or hold scissors at all, discuss with their teacher or pediatrician — occupational therapy can help with delayed fine motor skills.