Articles21 min read

Cutting Practice Guide: Scissor Skills for Preschool

Teach scissor skills step by step with this developmental guide — from first snips to complex shapes — with 20 free cutting practice worksheets and activities kids love.

Scissor Skills Development: Cutting Practice Guide for Preschool & Kindergarten

Scissor skills are one of those quiet superpowers in early childhood development. When a child learns to cut with scissors, they're not just making snips on paper — they're building hand strength, bilateral coordination, and the eye-hand coordination that makes writing, drawing, and everyday tasks possible. Yet scissor practice often gets less attention than alphabet recognition or counting, leaving many parents and teachers unsure where to start.

The good news: cutting and writing go hand in hand. Children who develop strong scissor skills typically transition to pencil-based activities more easily. If you're also working on pre-writing skills, our free handwriting practice sheets pair naturally with the cutting activities in this guide.

That's a missed opportunity, because cutting practice worksheets for preschool are free, easy to set up, and genuinely fun when you match the right activity to the right stage. The key is following a developmental progression rather than handing a child scissors and hoping for the best. Children who start with simple snipping activities and build toward cutting curves and shapes develop confidence and control much faster than those who skip ahead.

This guide walks you through the entire scissor skills journey. You'll learn why scissor work matters, how to teach proper grip, what to expect at each age, and how to spot potential delays early. We've organised 20 free cutting practice worksheets into five skill levels, complete with engaging themes that keep children motivated. And because worksheets aren't the only way to build cutting skills, you'll also find ten creative scissor activities that use everyday materials.

Whether you're a preschool teacher setting up a cutting station, a homeschool parent building fine motor skills into your routine, or a therapist supporting a child's development, this guide gives you the structure and resources to make scissor practice effective and enjoyable.

Why Scissor Skills Matter for Child Development

Cutting with scissors is one of the most complex fine motor tasks young children learn. It requires both hands to perform different actions simultaneously — one hand operates the scissors while the other holds and turns the paper. This bilateral coordination is a foundational skill that transfers to tasks like tying shoelaces, buttoning shirts, and eventually writing.

The Developmental Benefits

Hand strength. The opening and closing motion of scissors strengthens the small muscles in the hand and fingers. These same muscles control pencil grip, so scissor practice is secretly handwriting practice in disguise.

Eye-hand coordination. Cutting along a line requires children to visually track the path while coordinating their hand movement to follow it. This visual-motor integration is the same skill children need for writing letters on a line.

Bilateral coordination. Using two hands together with each doing a different job trains the brain to coordinate both sides of the body. This skill supports everything from catching a ball to using a knife and fork.

Focus and persistence. Cutting takes concentration. Children who practise cutting regularly develop longer attention spans and greater frustration tolerance — skills that benefit every area of learning.

Scissor Skills Milestones by Age

Every child develops at their own pace, but here's a general timeline:

AgeExpected Skill
2–2.5Holds scissors, makes single snips on paper or playdough
2.5–3Cuts across a short strip of paper with several snips
3–3.5Cuts along a straight line (6-inch path) within 1 inch of the line
3.5–4Cuts gentle curves and corners
4–4.5Cuts circles and simple shapes
4.5–5Cuts more complex shapes with reasonable accuracy
5–6Cuts intricate designs, zigzags, and detailed figures

If your child is roughly within these ranges, they're on track. If they're significantly behind, don't panic — but do read the section on red flags later in this guide.

Scissor Skills Progression: 5 Stages

Teaching scissor skills works best when you follow a clear progression. Each stage builds on the one before it, so children develop confidence before facing harder challenges. Rush through these stages and children get frustrated; take them in order and cutting feels achievable and fun.

Stage 1: Snipping (Ages 2–3)

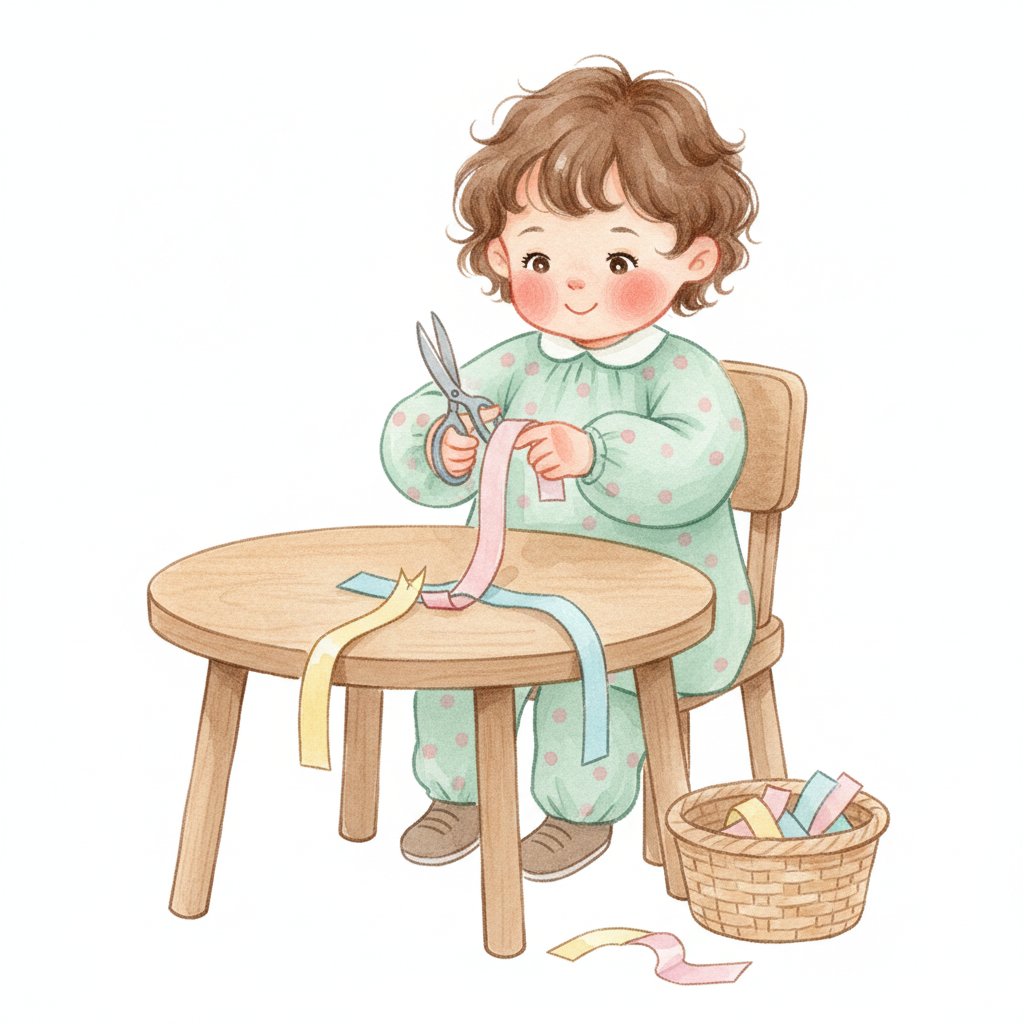
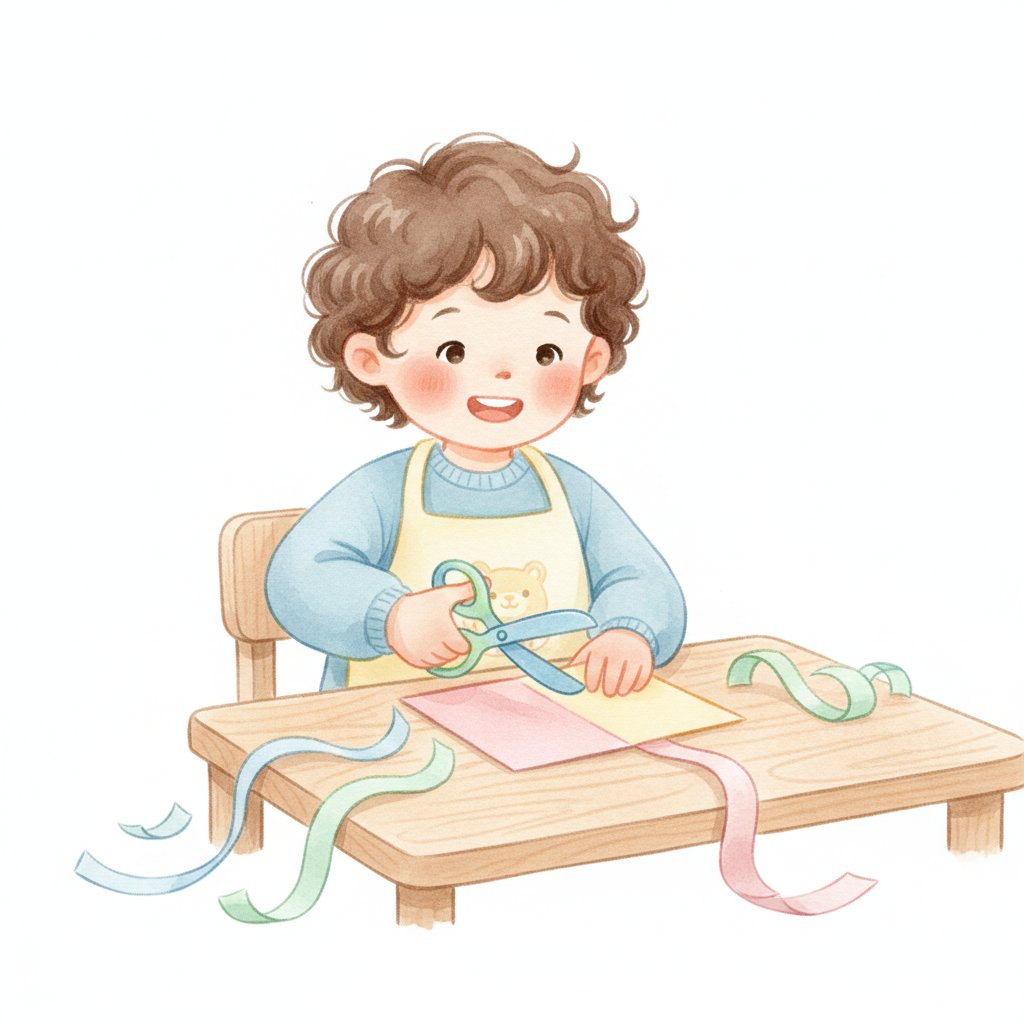
Snipping is the starting point — a single open-close motion that cuts through paper in one bite. At this stage, children are learning the basic mechanics of holding and operating scissors, not following lines.

What it looks like:

  • Making single cuts on narrow strips of paper (1-inch wide strips work well)
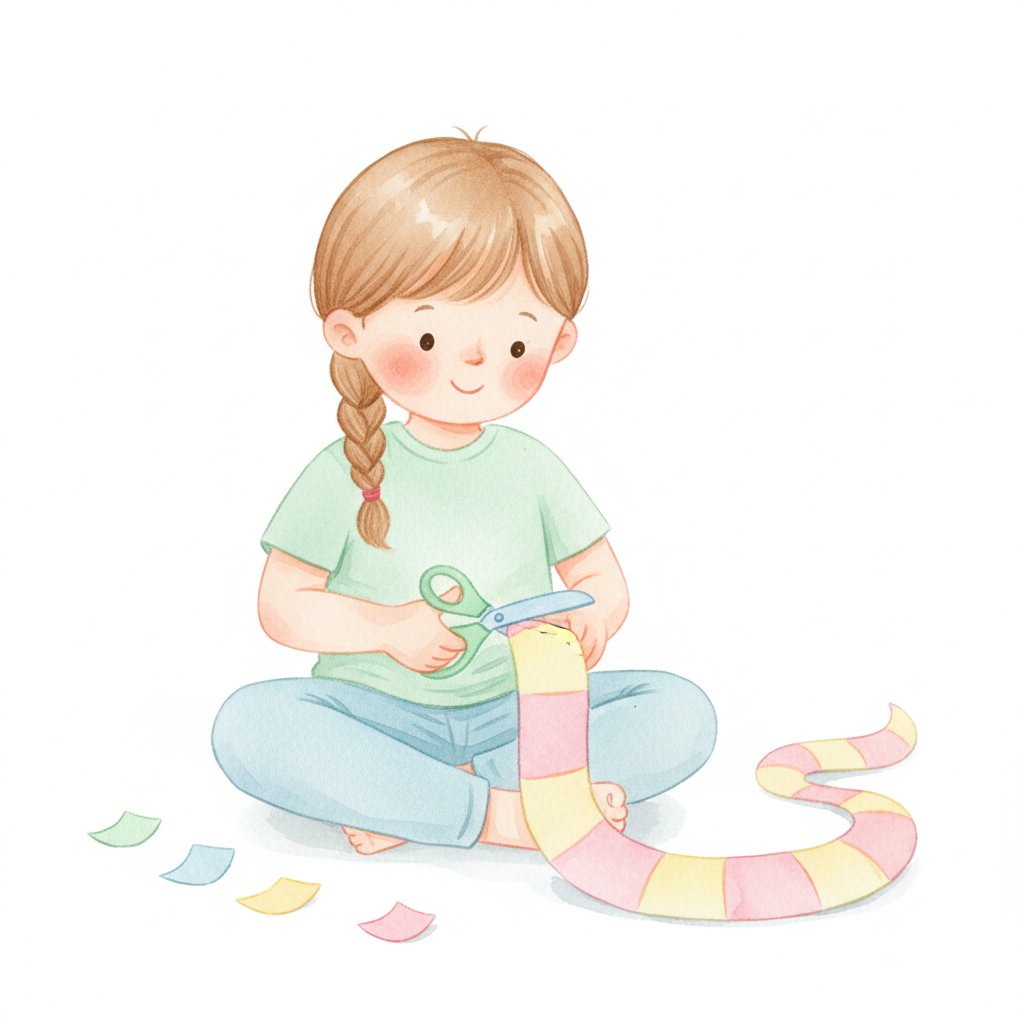
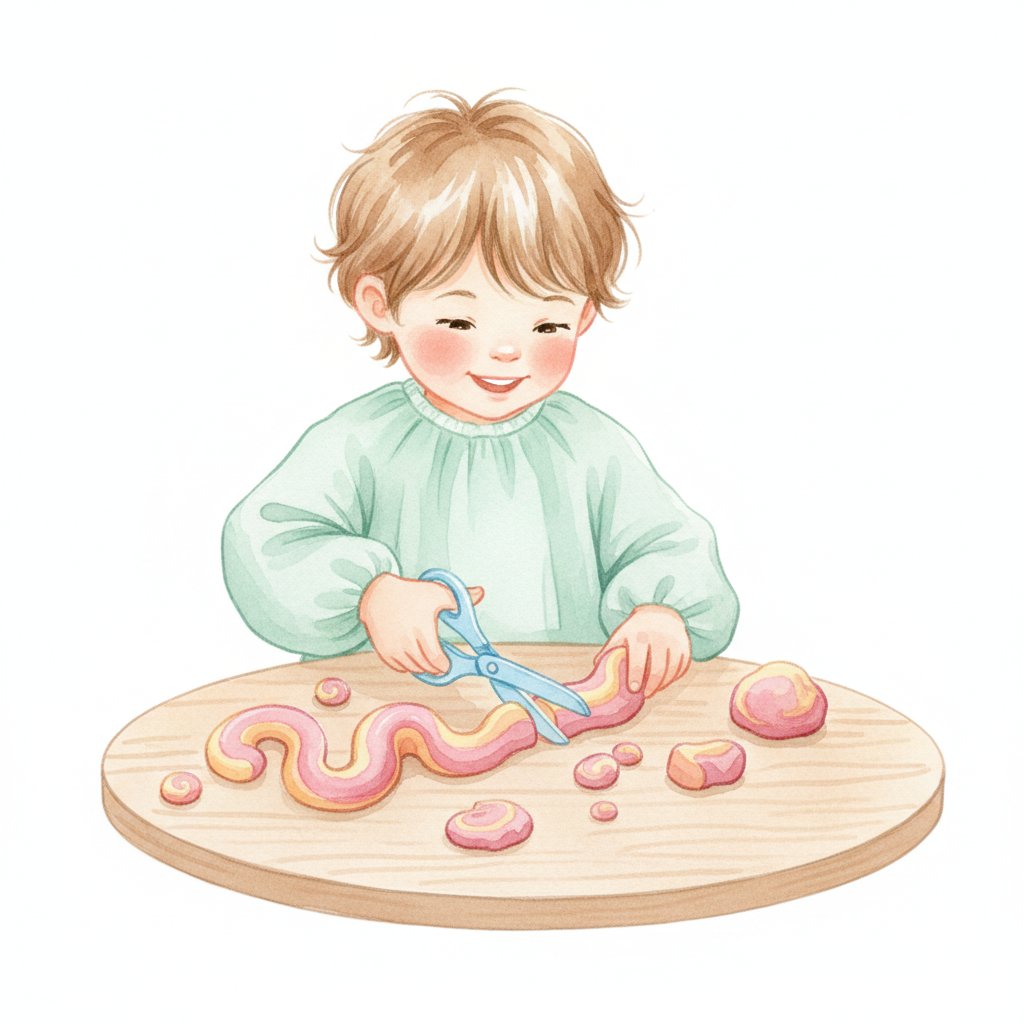
  • Cutting playdough "snakes" into pieces
  • Snipping straws, string, or thin card strips

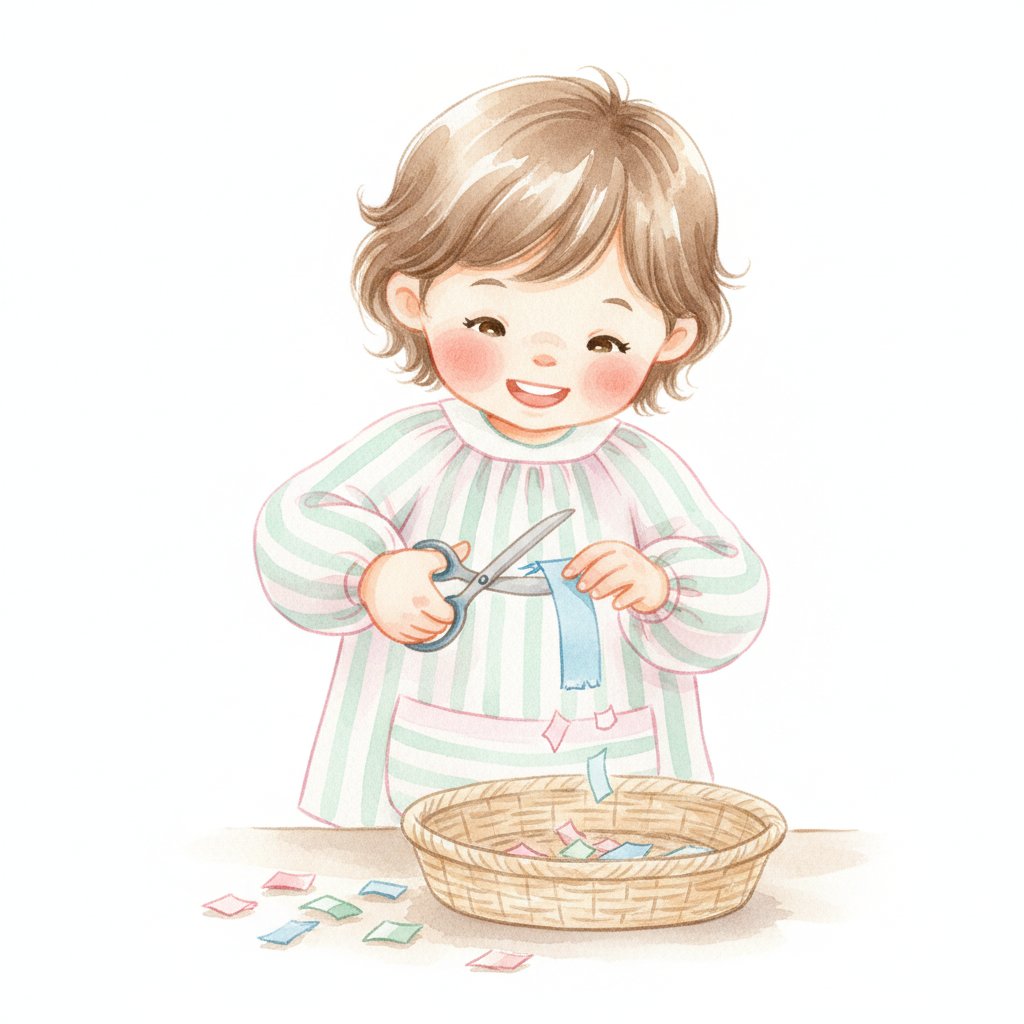
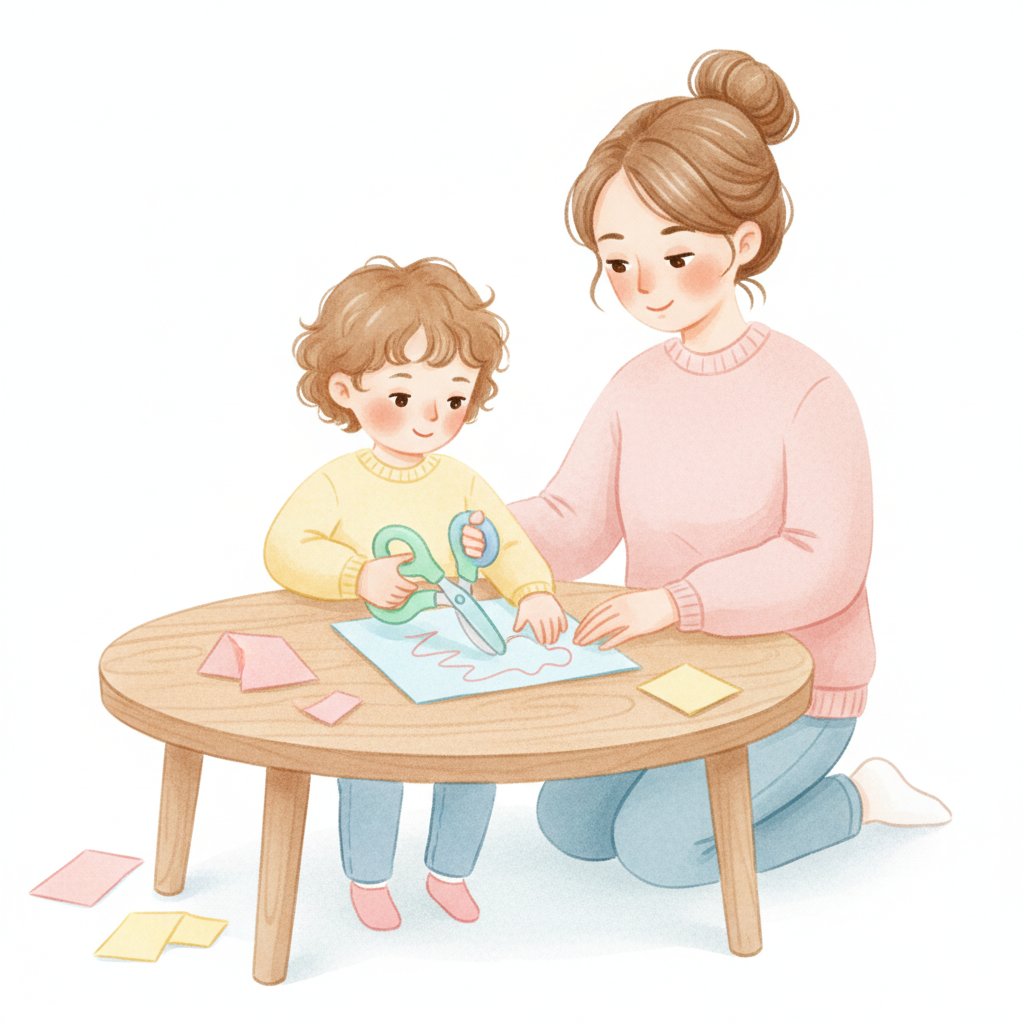
How to practise: Give children a basket of narrow paper strips and let them snip away. The pieces fall into the basket, which is satisfying for young children. Count the pieces together for a maths connection. Alternate with playdough cutting — it's more resistant than paper, which builds hand strength faster.

Stage 2: Straight Lines (Ages 3–4)

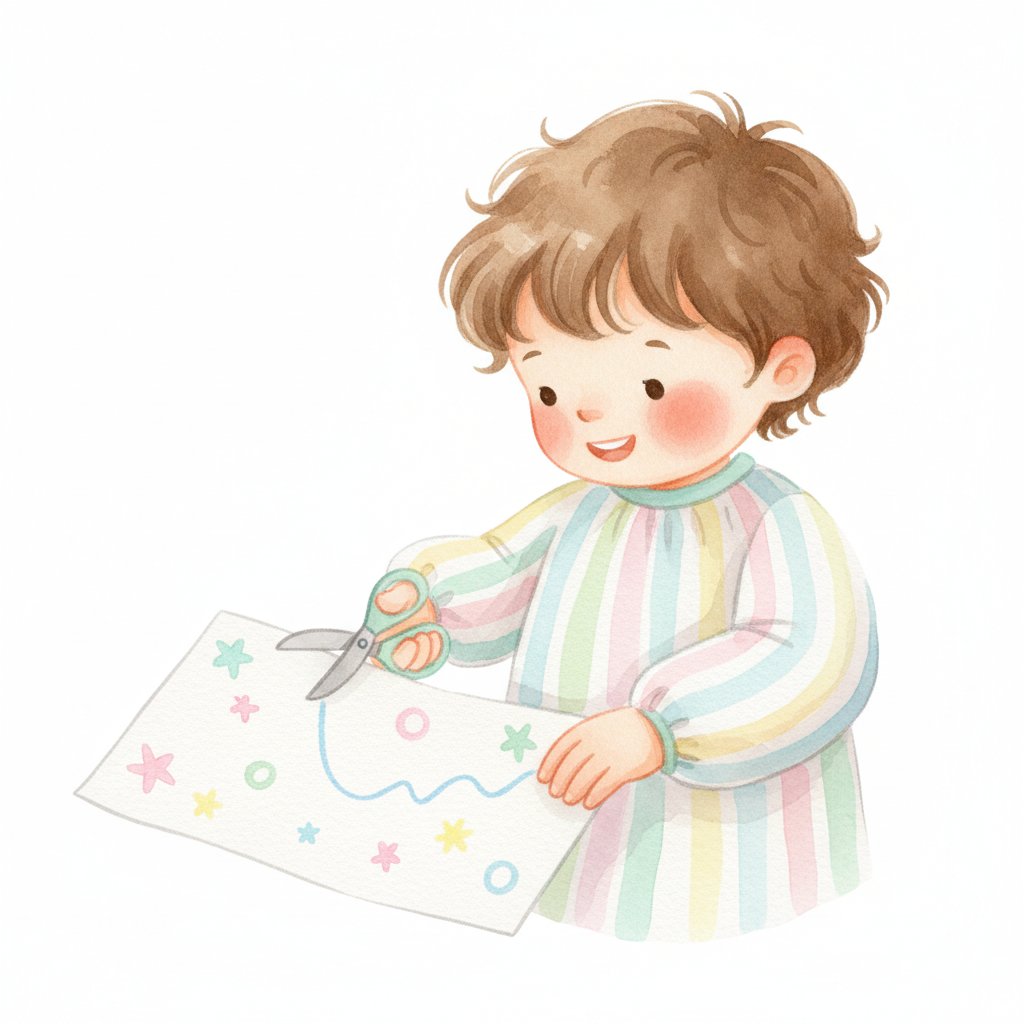
Once children can snip confidently, they're ready to cut along a line. Start with thick, bold lines spaced well apart — the goal is the forward cutting motion, not precision.

What it looks like:

  • Cutting along straight printed lines (1–2 inches long to start)
  • Following roads, paths, or fence patterns on worksheets
  • Cutting strips of paper into pieces with multiple forward snips

How to practise: Worksheets with thick dark lines and engaging themes (roads for toy cars, fences for farm animals) give children a reason to cut. Start with lines that go from bottom to top (toward the child's body) — this is easier than cutting away from the body. Gradually introduce longer lines and thinner guides as control improves.

Stage 3: Curved Lines (Ages 3.5–4.5)

Curves require children to rotate the paper with their helping hand while maintaining a steady cutting rhythm with their cutting hand. This is where bilateral coordination really kicks in.

What it looks like:

  • Cutting along gentle waves and swoops
  • Following spiral paths from outside to centre
  • Cutting snake-shaped paths and race track curves

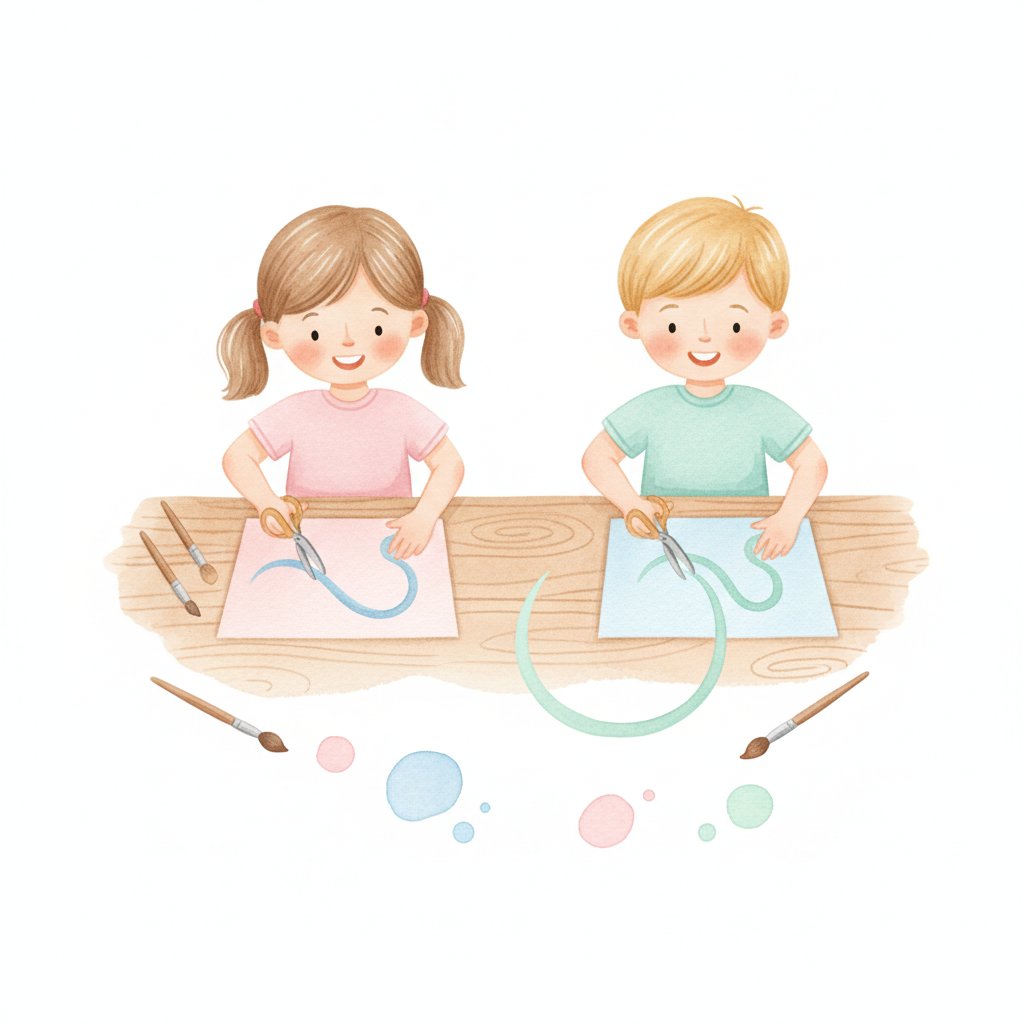
How to practise: Start with wide, gentle curves (like a wide U or soft wave). The key teaching point is turning the paper, not turning the scissors. Children naturally try to twist their wrist to follow the curve — instead, remind them to keep their scissors pointing straight ahead and rotate the paper with their other hand.

Stage 4: Shapes (Ages 4–5)

Cutting shapes combines straight lines, curves, and corners. Children need to stop at corners, change direction, and close shapes — a significant jump in planning and control.

What it looks like:

  • Cutting out circles, squares, and triangles
  • Cutting around simple pictures (sun, house, boat)
  • Starting and stopping at specific points

How to practise: Start with shapes that have thick guide lines and generous size (at least 4 inches across). Squares and triangles come before circles because they use straight lines with clear stop points. Circles require continuous turning, which is harder. Celebrate when children manage to close a shape by meeting their starting point — that's a real milestone.

Stage 5: Complex Patterns (Ages 5–6)

The final stage combines all previous skills with more intricate cutting. Children cut zigzags, spiral paths, detailed animal shapes, and multi-part craft projects.

What it looks like:

  • Cutting zigzag lines and teeth patterns
  • Following spiral paths with decreasing radius
  • Cutting out detailed pictures with inward and outward curves
  • Cutting puzzle pieces that fit together

How to practise: Complex cutting activities should feel like craft projects, not drills. Children might cut out clothing for a paper doll, create a paper chain, or cut spiral snakes that dangle when hung up. The purpose of cutting at this stage is creating something — the skill practice is a bonus.

How to Teach Scissor Skills to Preschoolers: Proper Grip and Technique

The right grip makes cutting easier, safer, and less fatiguing. Teaching it from the start prevents bad habits that are hard to correct later.

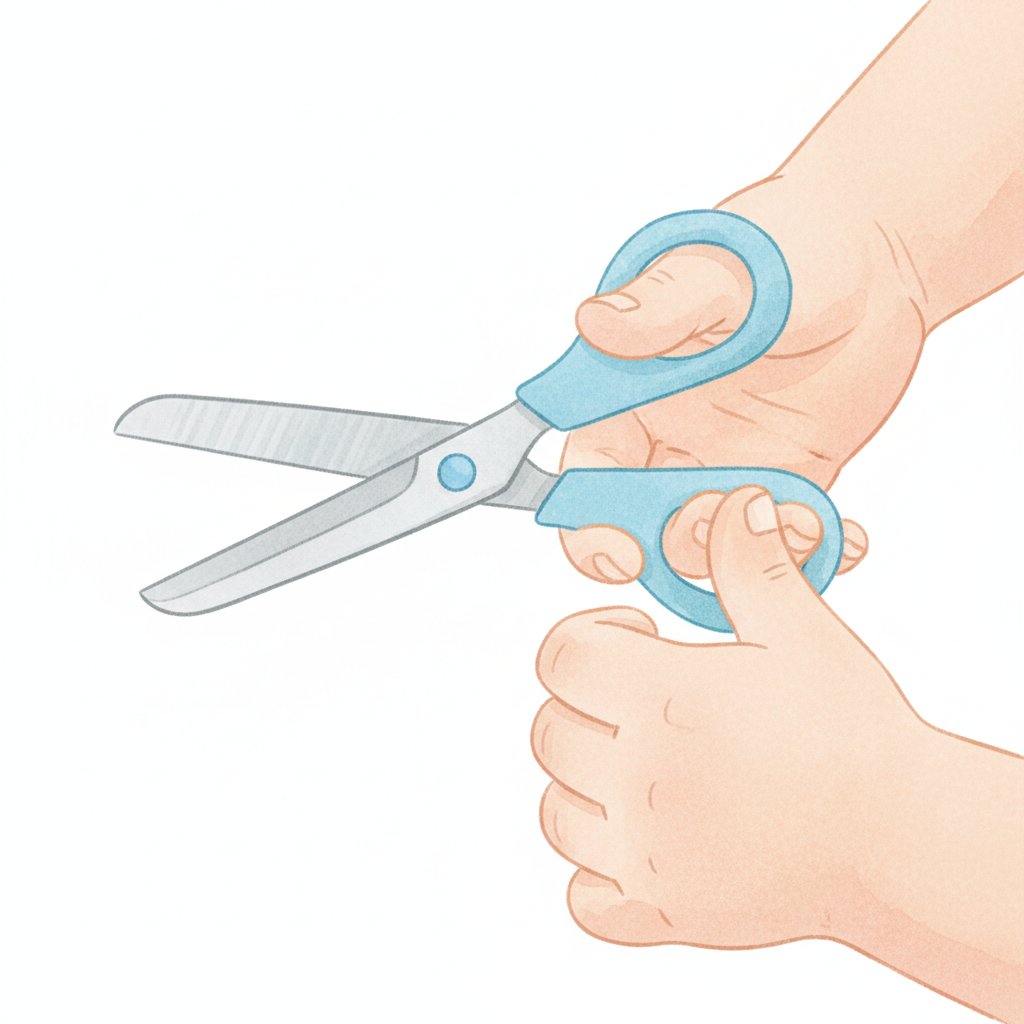
The Correct Grip: Thumbs on Top

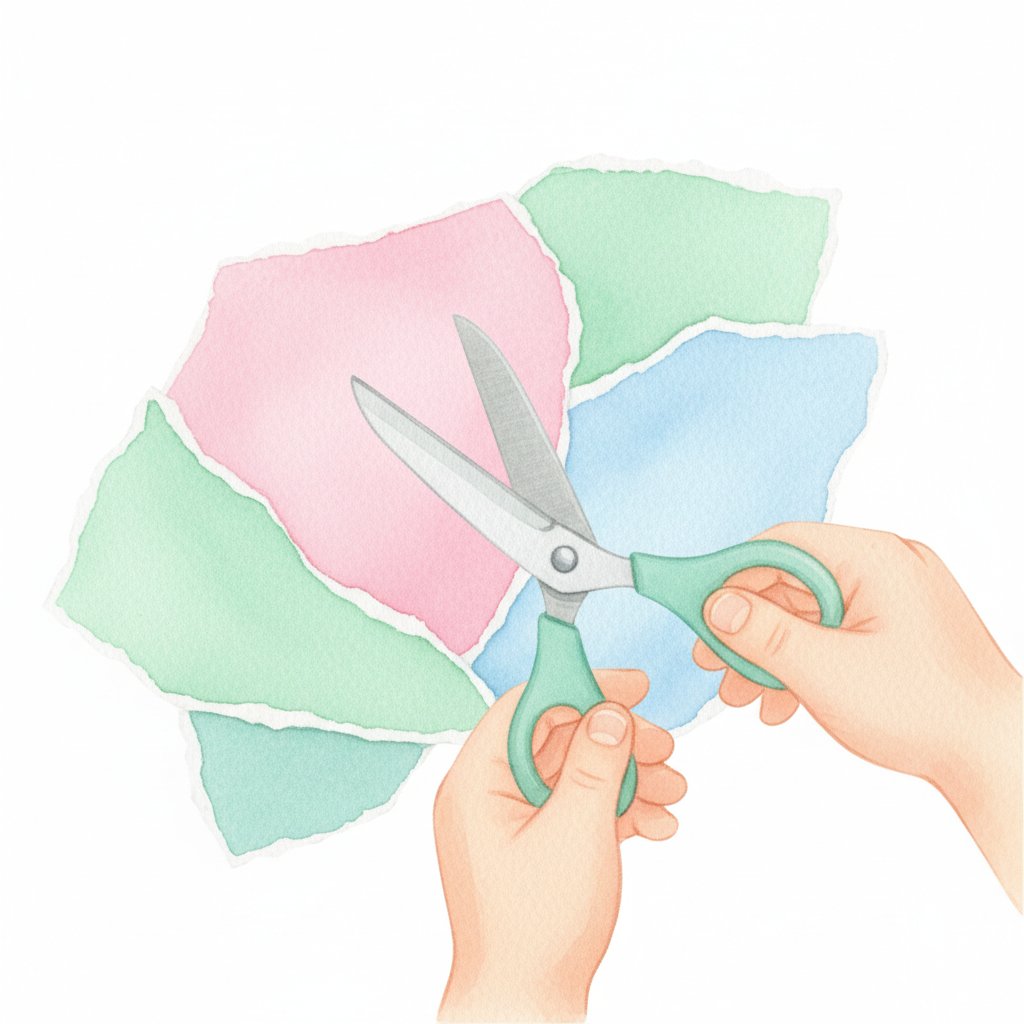
  1. Thumb goes in the small hole (on top)
  2. Middle and ring fingers go in the larger hole (on the bottom)
  3. Index finger rests on the outside of the scissors for stability and guidance
  4. Pinky finger curls into the palm for support

The scissor blades should point straight ahead, not tilted to the side. The elbow stays tucked at the ribcage — if the elbow wings out, the grip is probably wrong.

A simple way to remember and teach this: "Thumbs up!" Both the cutting hand thumb and the helping hand thumb should point upward while cutting. If a child's thumb is pointing down, the wrist is twisted and control suffers.

Common Grip Problems and Fixes

Thumb on the bottom. Some children flip their wrist so the thumb points down. Place a small sticker on the thumbnail and tell them to "keep the sticker where you can see it." If the sticker faces up, the grip is correct.

Using the whole hand. Children who aren't ready for finger isolation may try to squeeze the scissors with their entire fist. This usually means hand strength isn't quite there yet. Go back to playdough cutting and hand-strengthening activities before trying paper again.

Scissors angled sideways. If the scissors tilt so the blades are vertical rather than horizontal, the child may be using the wrong size scissors or have the wrong holes for their hand size. Try a smaller pair or training scissors with wider handles.

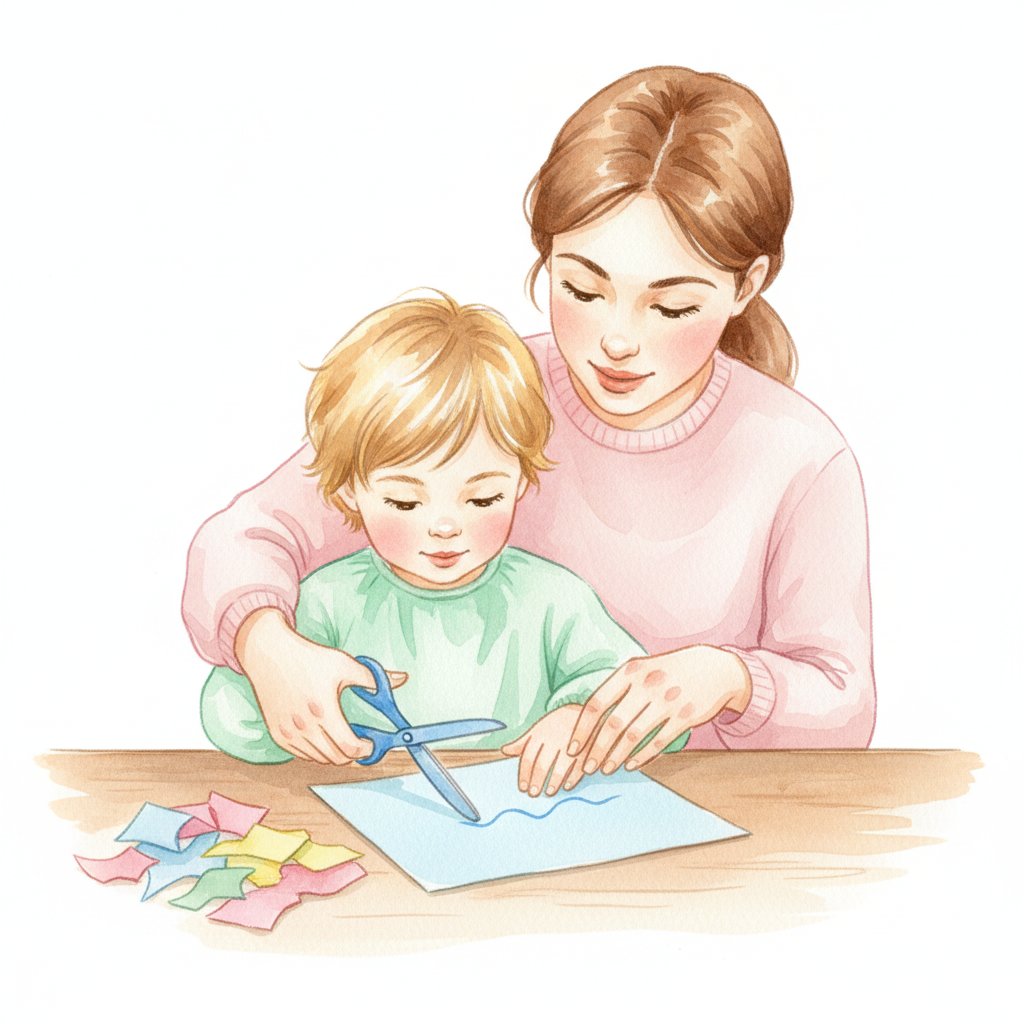
Forgetting the helping hand. The non-cutting hand has an important job: holding and turning the paper. If children let go of the paper to cut, the paper flops and control disappears. Practise "holding the paper still" as its own activity before combining it with cutting.

Left-Handed Scissors

Left-handed children need true left-handed scissors — not "ambidextrous" pairs. Here's why: the blades on right-handed scissors cross so the top blade is on the right side. When a left-handed person uses them, they can't see the cutting line because the top blade blocks their view. Left-handed scissors reverse the blade orientation so the cutting line stays visible.

Left-handed scissors have the left blade on top, and the handles are shaped for a left hand. If a child consistently swaps hands, avoids cutting, or tilts their head to see the line, try left-handed scissors — it might be a handedness issue rather than a skill issue.

20 Free Cutting Practice Worksheets by Level

Here are 20 free cutting practice worksheets organised into five levels that follow the developmental progression above. Each level includes four themed worksheets that make cutting feel like play rather than work.

Level 1: Snipping Worksheets (Ages 2–3)
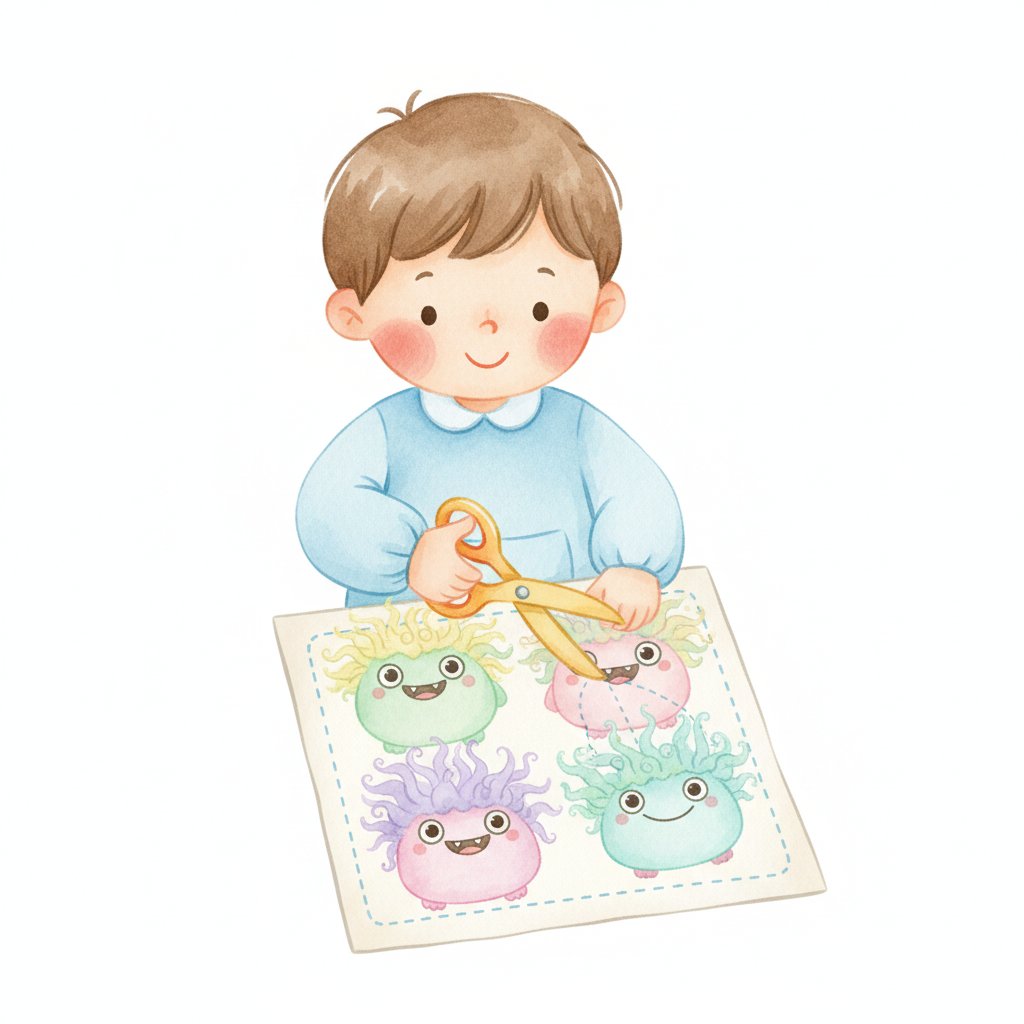
Worksheet 1 — Monster Hair Cut
A row of friendly monsters with wild hair (spiky lines along the top). Children snip across each strand to "give the monsters a haircut." Thick lines, narrow snipping strips, and the humour of cutting monster hair keeps toddlers engaged.

Worksheet 2 — Grass Cutting Garden
A garden scene with strips of tall grass at the bottom. Children snip the grass to different lengths. This worksheet naturally encourages repeated snipping in a row, building rhythm and stamina.

Worksheet 3 — Fringe Lantern
A rectangular lantern shape with dashed vertical lines cutting upward from the bottom. Children snip along each dashed line to create fringe. The result looks like a Chinese lantern when rolled and taped — a built-in craft reward.

Worksheet 4 — Confetti Strips
A page of narrow coloured strips with small dotted lines across each strip. Children snip at each line to create a pile of confetti. Use the confetti for a collage activity afterward.

Level 2: Straight-Line Worksheets (Ages 3–4)

Worksheet 5 — Roads for Toy Cars
Wide straight paths running from bottom to top of the page, each leading to a different destination (school, park, home). Children cut along the roads. The paths are thick (½ inch wide) with a coloured border to make the target area generous.

Worksheet 6 — Fence Rails
A farm scene with fence sections that need to be "built" by cutting along straight horizontal and vertical lines. Combines straight-line cutting in both directions.

Worksheet 7 — Robot Arms and Legs
A friendly robot with dashed lines where its arms and legs should attach. Children cut along the dashed lines to separate the limbs, then glue them onto the robot body. Combines cutting with a craft activity.

Worksheet 8 — Bread Slices
A long loaf of bread shape with parallel vertical lines marking each slice. Children cut along the lines to "slice the bread." A natural extension activity: count the slices and set up a pretend bakery.

Level 3: Curved-Line Worksheets (Ages 3.5–4.5)
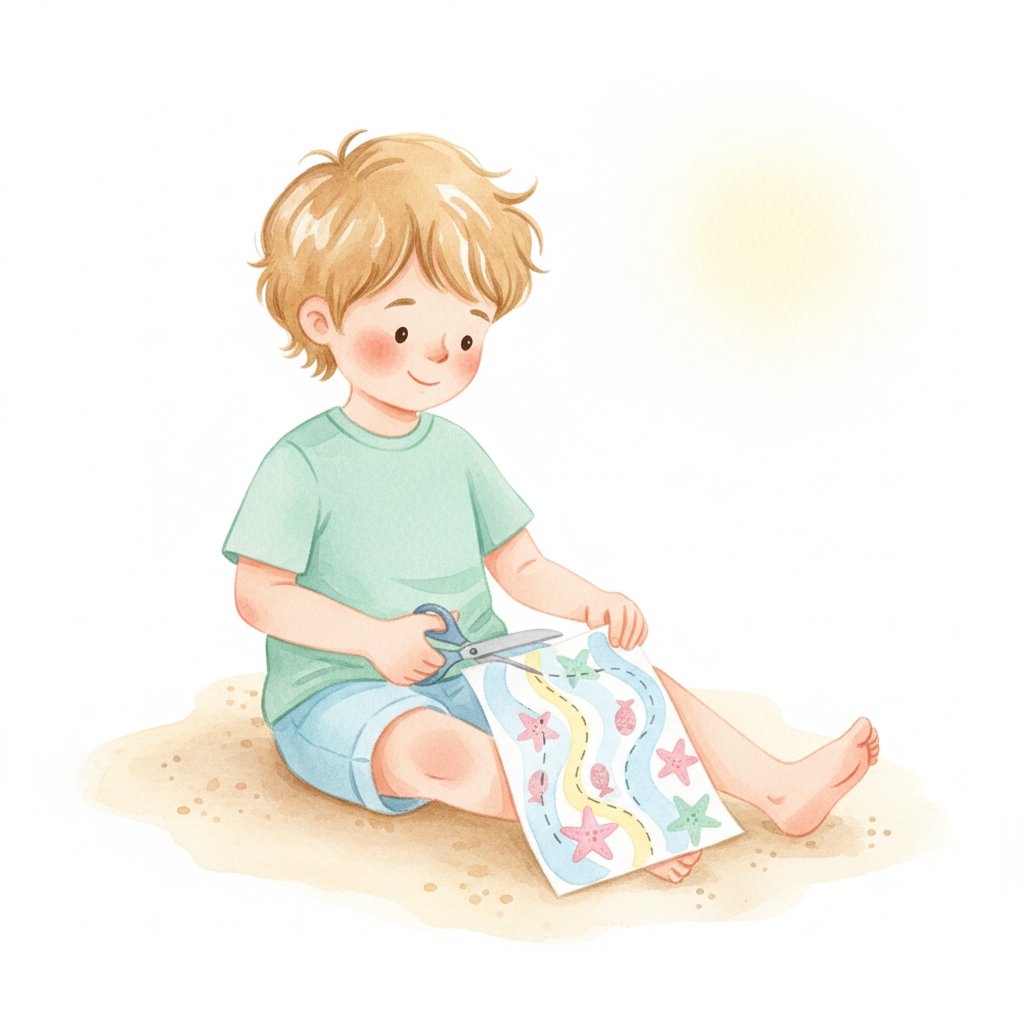
Worksheet 9 — Ocean Waves
Gentle wave curves across the page with a beach scene at the bottom. Children cut along each wave line. The curves are wide and sweeping — perfect for introducing the paper-turning motion.

Worksheet 10 — Snake Paths
Several curvy snake bodies winding across the page. Each snake has a slightly different curve intensity, progressing from gentle to tighter curves. A small snake head at the start of each path gives the activity a narrative.

Worksheet 11 — Playground Slides
Curved slide shapes at different angles. Children cut along the slide curves. The slides get progressively curvier from top to bottom of the page, building difficulty within the same worksheet.

Worksheet 12 — Race Track
A winding race track with gentle curves and a start/finish line. Children cut along the track path. The track is wide (¾ inch) with a dotted centre line, giving generous guidance for emerging curve-cutters.

Level 4: Shape Worksheets (Ages 4–5)

Worksheet 13 — Circle Suns
Large circle outlines (5-inch diameter) with sun rays extending outward. Children cut out the circle first, then optionally snip the rays. The large size and bold outline makes circle cutting achievable.

Worksheet 14 — Square Windows
A house outline with square and rectangle "windows" inside. Children cut out each window shape. Squares are easier than circles because they have clear stop points at each corner.

Worksheet 15 — Triangle Tents
A camping scene with triangular tent shapes. Children cut out each triangle, focusing on clean diagonal lines and sharp corners. Triangles combine straight lines with the challenge of changing direction at corners.

Worksheet 16 — Star Badges
Large star outlines that children cut out to make sheriff badges or reward badges. Stars combine straight lines with the challenge of changing direction at multiple points. A motivating reward at the end: tape a safety pin on the back and wear the badge.

Level 5: Complex Pattern Worksheets (Ages 5–6)
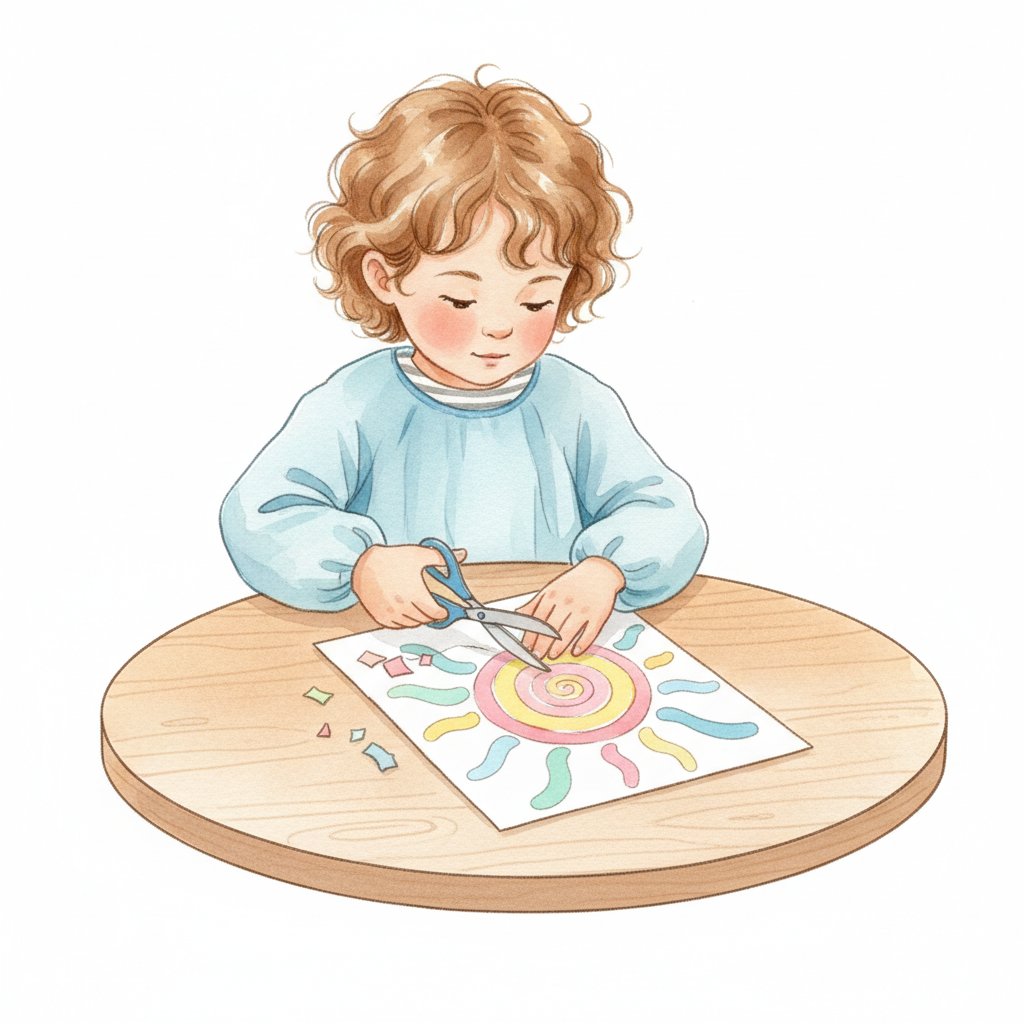
Worksheet 17 — Spiral Suns
A circular shape with a spiral cut line going from the outside edge toward the centre. Spiral cutting requires continuous paper turning and steady forward motion — the ultimate bilateral coordination challenge. When hung by the centre, the spiral creates a dangling decoration.

Worksheet 18 — Zigzag Teeth
A row of large monster mouths with zigzag teeth patterns. Children cut along the zigzag lines to shape the teeth. Zigzags require rapid direction changes and careful stopping at each peak and valley.

Worksheet 19 — Puzzle Pieces
Simple 4-piece and 6-piece rectangular puzzles with interlocking tabs. Children cut along the puzzle lines, then reassemble the picture. This worksheet tests precision because the pieces need to fit back together.

Worksheet 20 — Animal Cutouts
Simple animal outlines (cat, fish, butterfly) with both inward and outward curves. Children cut out the whole animal shape. This is the most challenging worksheet because it combines curves, corners, and detailed edges in one continuous cut.

Choosing the Right Scissors for Your Child

Not all scissors are created equal, and using the wrong pair can make cutting harder than it needs to be. Here's how to match scissors to your child's stage and needs.

Safety Scissors (Ages 2–4)

The first pair of scissors should have:

  • Blunt metal blades that cut paper but not skin (no sharp points)
  • Plastic-covered handles for comfortable grip
  • Short blades (under 2 inches) for better control on small hands
  • A spring mechanism (optional but helpful) that automatically reopens the scissors after each cut, so children only need to squeeze rather than both squeeze and release

Spring-assisted scissors are especially good for beginners who struggle with the opening motion. Once children can close and open scissors independently, transition to regular safety scissors.

Training Scissors (Ages 3–5)

Training scissors have double-loop handles — one loop for the thumb and a larger loop for two or three fingers. This design guides the hand into the correct grip position, making it harder to hold the scissors incorrectly. They're a useful intermediate step between spring-assisted and standard scissors.

Some training scissors also have a wider blade angle that makes the cutting motion more visible to the child, helping them understand how scissors work.

Standard Children's Scissors (Ages 4–6)

Once grip is established and children cut with reasonable control, they can move to standard children's scissors. Look for:

  • 5-inch length (shorter than adult scissors)
  • Stainless steel blades with rounded tips
  • Cushioned or moulded handles sized for children's hands
  • A small finger rest or indentation for the index finger

Left-Handed Scissors

As mentioned earlier, left-handed children need true left-handed scissors with reversed blade orientation. Key features:

  • Left blade on top (opposite of right-handed scissors)
  • Handles shaped and angled for left-hand grip
  • Clearly labelled "left-handed" on the packaging

Don't settle for "ambidextrous" scissors — they're really right-handed scissors that technically work in either hand but don't solve the visibility problem for left-handed users.

Adaptive Scissors for Special Needs

Children with fine motor delays, hand weakness, or physical disabilities may benefit from adaptive scissors:

Loop scissors — No finger holes; the entire hand squeezes the loop. Great for children who can't isolate individual fingers.

Mounted scissors — Scissors mounted on a base with a large push-down handle. Children press down with their whole hand or arm. Suitable for children with very limited hand function.

Self-opening scissors — A spring mechanism assists the opening motion while the child controls the closing. Different from beginner spring scissors because the blades and handles are full-size.

Mini easi-grip scissors — Extremely short blades (under 1 inch) with contoured handles that require minimal grip strength. Useful for children working on very basic cutting skills at older ages.

Beyond Worksheets: 10 Fun Cutting Activities

Worksheets are structured and measurable, but they're not the only way to build scissor skills. These ten activities use everyday materials and feel more like play than practice. Use them alongside worksheets to keep scissor work varied and engaging.

1. Cutting Playdough and Clay

Roll playdough into long snakes or flat slabs and let children cut with scissors. Playdough provides more resistance than paper, building hand strength faster. It's also endlessly reusable — just squish and roll again. This is the single best pre-scissors activity for very young children.

2. Cutting Drinking Straws

Straws are lightweight, offer satisfying resistance, and make a fun "pop" sound when cut. Children love watching the pieces fly off the table. Cut straw pieces can be collected for threading activities, extending the fine motor practice.

3. Scrap Paper Collage Cutting

Give children a pile of coloured scrap paper, old magazines, or junk mail and let them cut freely. The pieces become a collage material — glue them onto cardboard to make abstract art. No lines to follow, just the pure joy of cutting for a purpose.

4. Cutting Yarn and String

Yarn cutting develops a different type of control than paper cutting because the material is flexible and moves. Cut yarn pieces can be used for string art, gluing onto paper for "hair" on drawn faces, or tying around craft sticks.

5. Tape Lines on a Tray

Stick strips of painter's tape across a baking tray or plastic bin. Children cut along the tape lines. The tape provides clear visual guidance and satisfying resistance. Vary the tape angles (straight, diagonal, curved) to increase challenge.

6. Nature Cutting

Take scissors outside (safety scissors work fine) and let children cut grass, leaves, thin twigs, and flower stems. Each material offers different resistance and texture. Collected nature materials can be used for collages or sensory bins.

7. Cutting Food

With close supervision, children can cut soft foods: banana slices, cooked spaghetti, bread, tortillas, and soft cheese. Food cutting connects scissor skills to a real-life task, and children are highly motivated by activities involving food. Use clean kitchen scissors, not craft scissors.

8. Sensory Bin Cutting

Hide items in a sensory bin (rice, dried beans, shredded paper) and have children use scissors to "rescue" them — cutting tape, string, or paper wrapping to free the hidden objects. This combines tactile exploration with purposeful cutting.

9. Fold-and-Cut Reveals

Fold paper, make cuts, unfold to reveal symmetrical shapes. This is essentially beginner origami with scissors. Children are delighted by the reveal each time — hearts, snowflakes, and butterflies are all achievable with simple folds and cuts. It also introduces the concept of symmetry.

10. Cutting Puzzles and Reassembling

Children cut along lines to separate a picture into pieces, then reassemble the puzzle. This gives cutting a clear purpose (making the puzzle) and an immediate reward (solving it). Start with 4-piece puzzles and increase the number of pieces as cutting precision improves.

When to Be Concerned: Scissor Skill Red Flags

Most children develop scissor skills at their own pace, and slight variations from the milestone timeline are normal. However, certain signs may indicate that a child needs additional support or an occupational therapy evaluation.

Signs That Warrant Attention

No interest in scissors by age 3. Most children are curious about scissors by age 2–2.5. If a child actively avoids or refuses all scissor activities past age 3, it may indicate underlying fine motor or sensory sensitivities.

Cannot make a single snip by age 3.5. By this age, children should be able to hold scissors and make at least one cut. If a child can't operate the scissors at all, hand strength or coordination may need assessment.

No hand preference by age 4. While some children are truly ambidextrous, most establish a dominant hand by age 3–4. If a child consistently swaps hands during cutting (not just experimenting), they may be avoiding the challenge of their non-dominant side, which could indicate bilateral coordination difficulties.

Consistently cannot cut along a straight line by age 4.5. By this age, most children can follow a straight line with reasonable accuracy (within ½ inch). Significant deviation or inability to follow any line suggests visual-motor integration challenges.

Avoids crossing the midline. When cutting, children should be able to cut across their body (right-handed children cutting on the left side of the paper). If a child rotates their entire body or paper dramatically to avoid reaching across, midline crossing may be underdeveloped.

Weak grip affecting multiple activities. If scissor weakness accompanies difficulty with other fine motor tasks (holding utensils, buttoning, drawing), the underlying issue is likely general hand weakness rather than scissor-specific.

When to Seek Occupational Therapy

Consider requesting an OT evaluation if your child:

  • Is significantly behind on multiple scissor milestones
  • Shows hand weakness that affects daily activities beyond cutting
  • Has a diagnosed condition that affects fine motor development
  • Has been receiving regular practice opportunities but shows no progress over 3–4 months

OTs can identify whether the issue is strength, coordination, visual-motor integration, sensory processing, or something else — and provide targeted activities that address the root cause.

Activities to Build Hand Strength Before Scissor Work

If a child isn't quite ready for scissors, these activities build the foundational hand strength they need:

  • Squeezing playdough — Roll, squeeze, pinch, and flatten
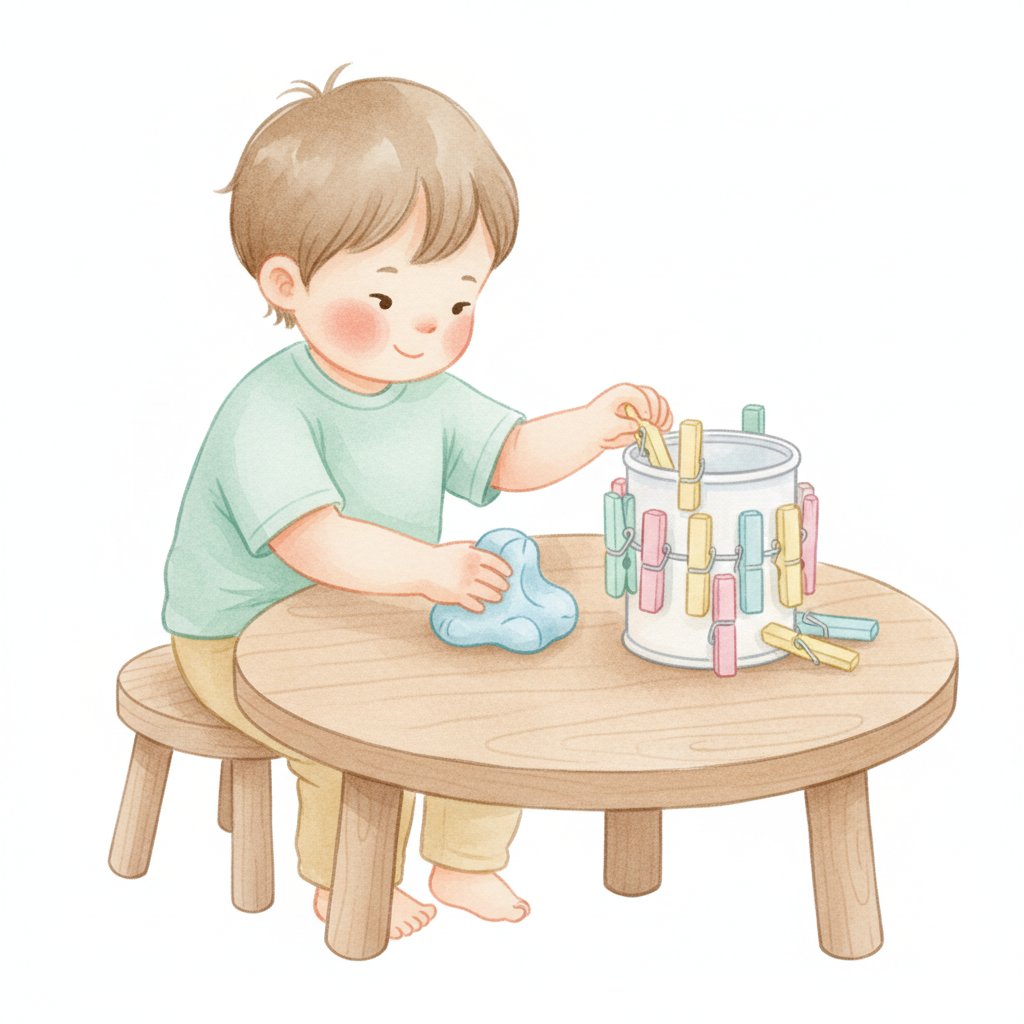
  • Using clothes pegs — Pinch and clip onto the edge of a container
  • Tearing paper — No scissors needed, but builds the same pinching strength
  • Using a hole punch — Heavy resistance, excellent for hand strengthening
  • Picking up small objects with tweezers — Builds pincer grasp and control
  • Squeezing a spray bottle — Strengthens the whole hand

These activities can be done alongside (or instead of) scissor practice while hand strength develops. Our Alphabet Monster Flashcards are great for pincer-grasp practise — picking up and sorting cards builds the same small-muscle control that scissors require.

Frequently Asked Questions

At what age should a child start using scissors?

Most children can start with safety scissors around age 2–2.5 with close adult supervision. Begin with snipping activities — single cuts on narrow paper strips or playdough. By age 3–4, children should be cutting along straight lines. Don't rush it; hand strength and coordination need time to develop.

How do I teach my left-handed child to use scissors?

Use true left-handed scissors (not just ambidextrous pairs). Left-handed scissors have reversed blade orientation so the child can see the cutting line. Position the paper to the left of the child's midline. Sit beside the child rather than across from them — mirror-image teaching is confusing for left-handers. The grip technique is the same: thumb on top in the small hole.

Should my child hold scissors with their thumb on top?

Yes — thumbs always go on top when cutting. This "thumbs up" position gives the best control, visibility, and comfort. Both the cutting hand thumb and the helping hand thumb should face upward. If a child's thumb rotates to point sideways or down, gently correct the grip before it becomes a habit.

How long should scissor practice sessions be?

For toddlers (ages 2–3), 3–5 minutes is plenty. For preschoolers (ages 3–5), aim for 5–10 minutes. Short, frequent sessions build skills faster than occasional long sessions. Stop before the child gets frustrated — ending on a positive note keeps them willing to try again next time.

What scissors are safest for toddlers?

Look for safety scissors with blunt metal tips (not plastic blades — they don't cut well and cause frustration), short blades (under 2 inches), and comfortable handles. Spring-assisted scissors are ideal for beginners because the child only needs to squeeze, not open and close independently. Always supervise scissor use with children under 5.

My child keeps cutting everything except the line. Is this normal?

Yes, especially for younger children (ages 2–3.5). Cutting along a line requires visual-motor integration that takes time to develop. Start with very thick, bold lines (½ inch or wider) and short paths (2–3 inches). Celebrate effort over accuracy. If the child is consistently nowhere near the line after months of practice past age 4, consider an OT consult.

Start Building Scissor Skills Today

Free printable cutting practice worksheets give you a clear, stage-by-stage path from first snips to complex shapes. Start where your child is right now — snipping for toddlers, straight lines for young preschoolers, curves and shapes for older preschoolers — and build from there. The key is matching the activity to the child's current ability and keeping sessions short, positive, and fun.

Remember that scissor skills develop alongside other fine motor abilities. If your child isn't quite ready for scissors, build hand strength with playdough, clothes pegs, and tearing activities first. The foundation will be there when they pick up the scissors. And when they do cut, mix worksheets with creative cutting activities — sensory bins, nature cutting, fold-and-cut reveals — to keep the practice feeling like play.

Looking for more learning resources to support your child's development? Try our free handwriting practice sheets for pre-writing and letter formation, or browse our flashcards and learning cards collection for additional printable activities that build vocabulary and cognitive skills alongside fine motor development.