Articles18 min read

Sensory Bin Activities for Preschool

A complete guide to sensory bin activities for preschool — setup instructions, 15 filler ideas, skill-based activities, 10 themed bins with free printables, and classroom management tips.

Sensory Bin Activities for Preschool: Complete Guide with Free Printables

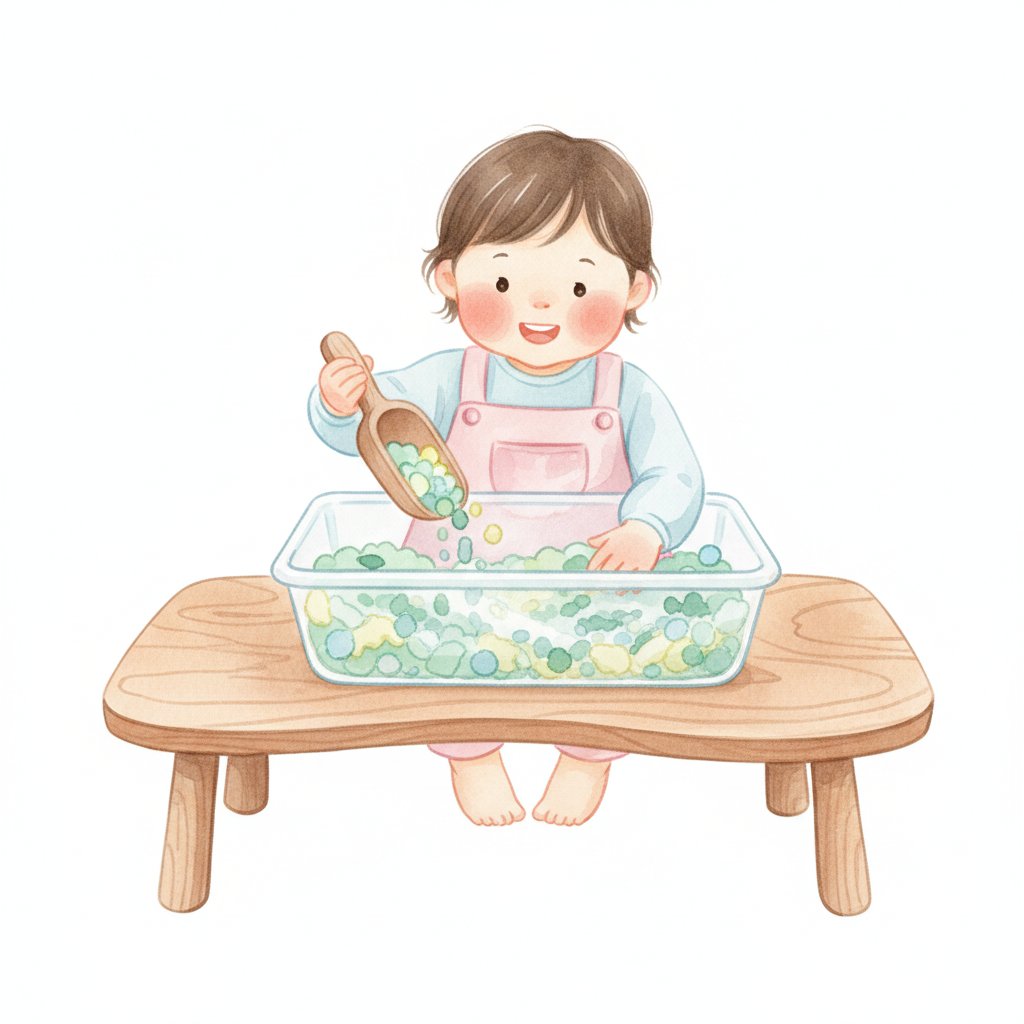
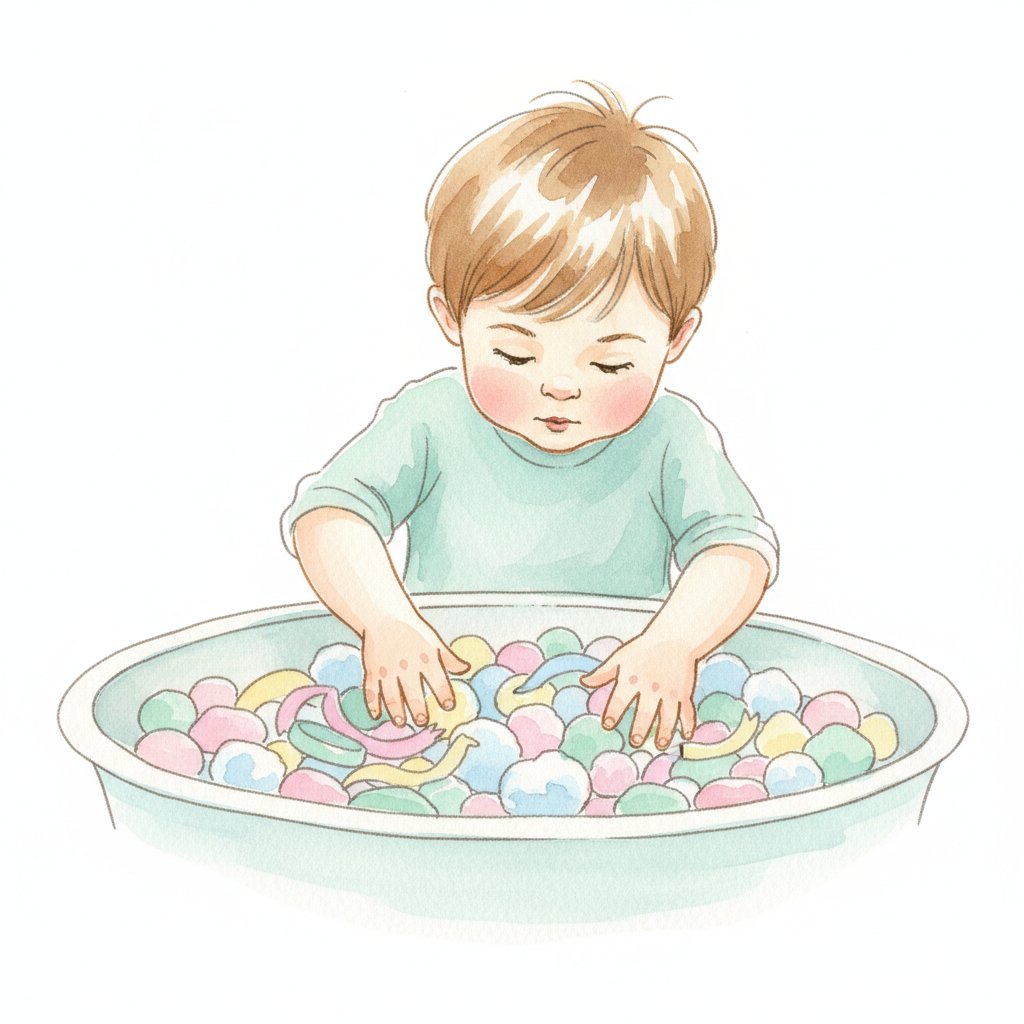
A sensory bin is a shallow container filled with a tactile material — rice, sand, beans, or water beads — that children explore using their hands and simple tools. For preschoolers, it is one of the most effective open-ended learning activities you can set up: it builds fine motor strength, introduces maths and science concepts, expands vocabulary, and encourages calm, focused play.

The challenge for teachers and parents is not whether to use sensory bins, but how to organise them so they support real learning goals without becoming chaotic. Most online resources offer a handful of filler ideas or a single themed bin. What is missing is a single, structured guide that walks you through setup, filler selection, skill-specific activities, themed printable cards, and classroom management — all in one place.

This guide fills that gap. You will find a complete sensory bin setup guide with container and tool recommendations, 15 filler ideas organised by texture type, activities mapped to five developmental skill areas, 10 themed sensory bin ideas with free printable cards, a section on individual bins for classroom use, and practical mess-management strategies. Every activity is designed for children ages 3–5 and uses inexpensive materials you can source from a supermarket or craft store.

If you are also looking for art-based fine motor activities, our fine motor skills art activities for preschool pair perfectly with sensory bins for a well-rounded early learning programme.

What Is a Sensory Bin (And Why Every Preschool Needs One)

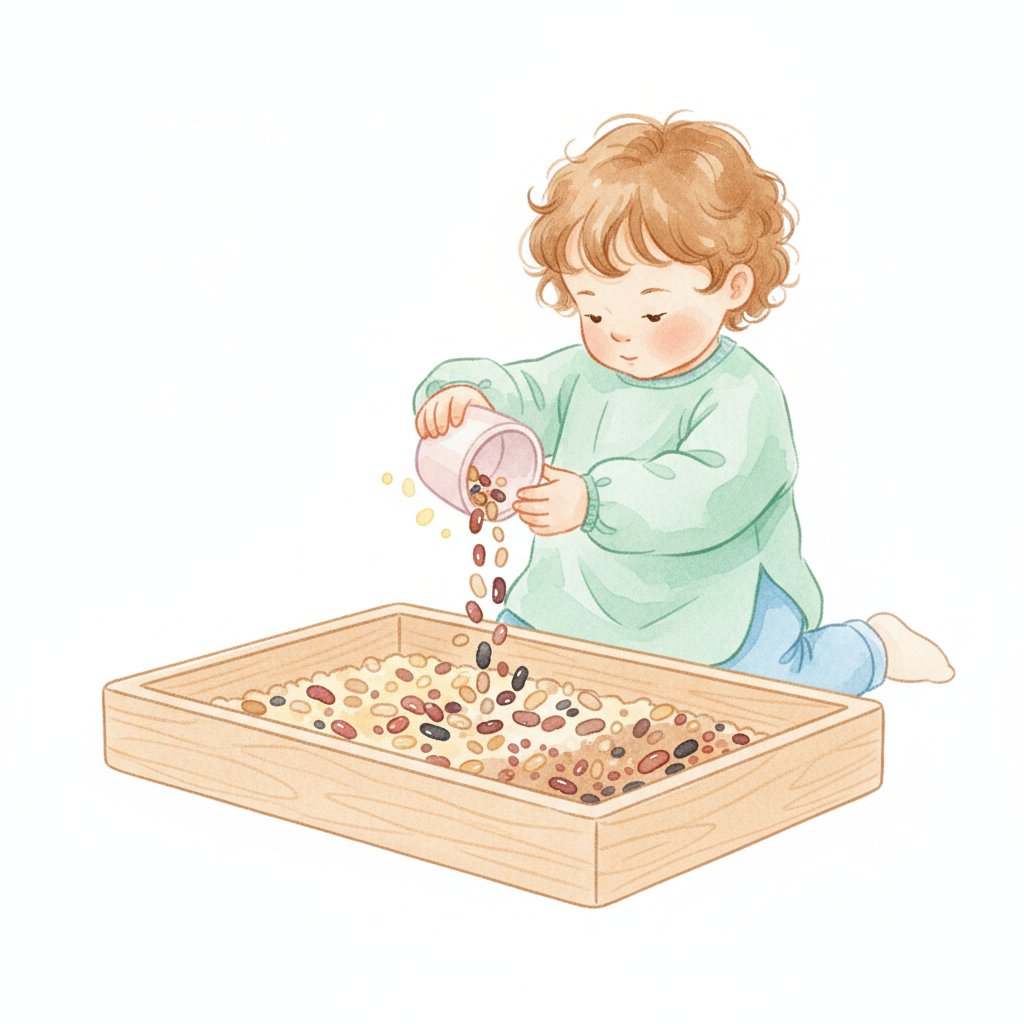
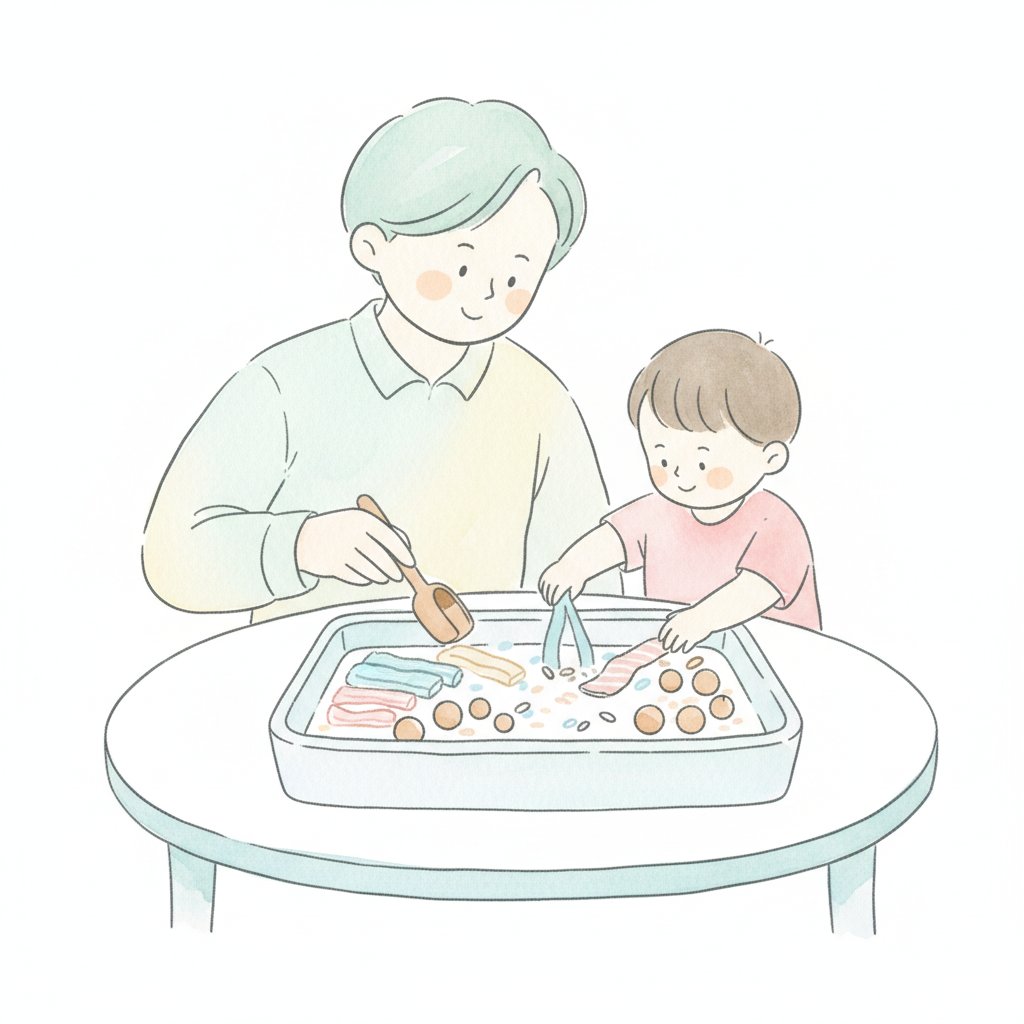
A sensory bin for preschool is a container filled with a hands-on material that children scoop, pour, sort, and explore using tools like tweezers, funnels, and cups. The bin is an open-ended activity — there is no single "right" way to play with it, which means every child can engage at their own developmental level.

Developmental Benefits of Sensory Play

Research in early childhood education consistently shows that sensory play supports development across multiple domains:

  • Fine motor skills: Pinching, scooping, and pouring strengthen the small muscles in children's hands — the same muscles they need for holding a pencil and forming letters.
  • Language development: Sensory bins naturally invite conversation. Children describe textures, name objects, and narrate their actions, building expressive vocabulary.
  • Mathematical thinking: Sorting by colour, size, or shape; counting objects; measuring and comparing quantities — all of these happen naturally in a sensory bin.
  • Scientific inquiry: Children observe cause and effect (what happens when I pour water into sand?), make predictions, and test ideas.
  • Social-emotional growth: Shared sensory bins teach turn-taking, negotiation, and cooperation. Individual bins give children a calm, self-directed activity that supports self-regulation.

Individual vs. Shared Sensory Bins

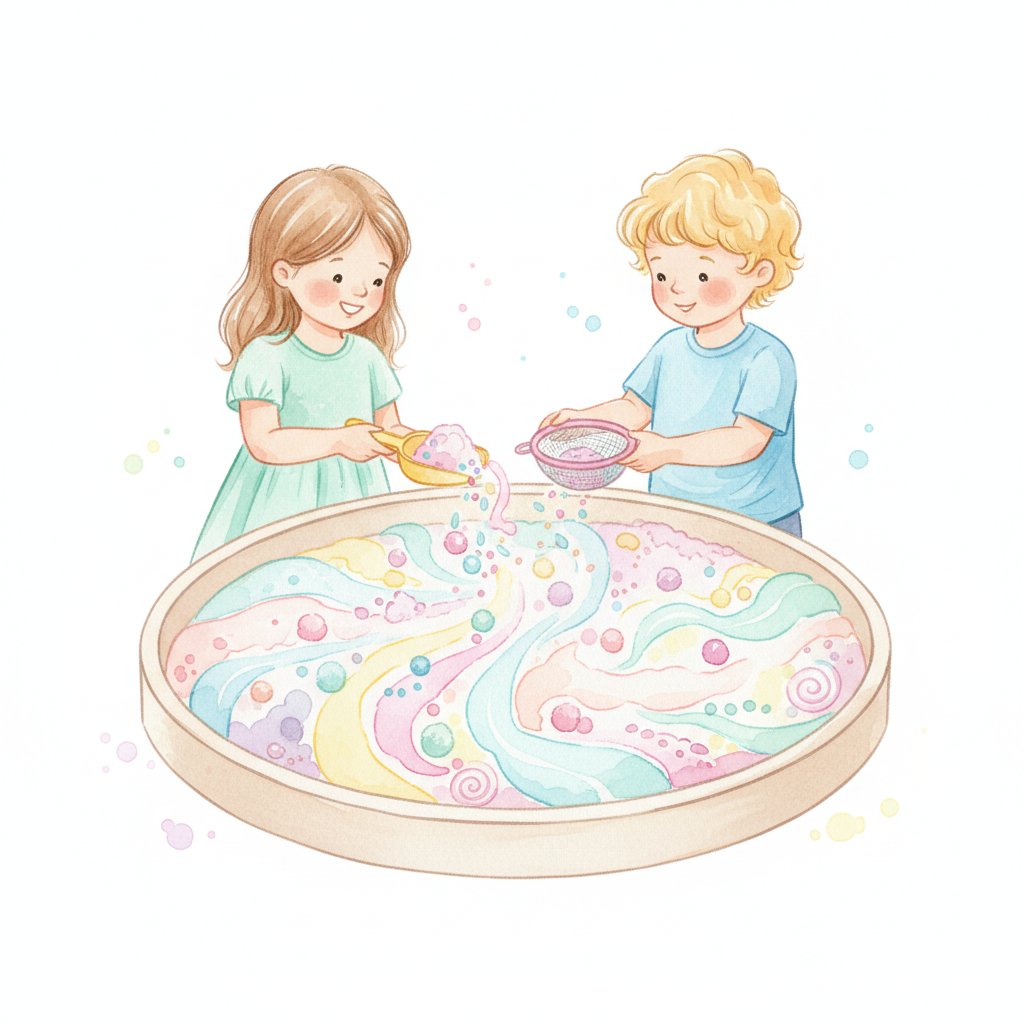
In a classroom, sensory bins are typically set up as a shared station — one large bin that four to six children use at the same time. This works well for collaborative play but can lead to conflicts over materials and space.

Individual sensory bins solve this problem. Each child gets their own small container with the same filler and tools. Conflicts drop, every child has equal access, and teachers can tailor the contents to each child's skill level. The trade-off is cost and storage — addressed in the classroom bins section later in this guide.

Who Benefits Most

Sensory bins are ideal for children ages 18 months to 6 years, with the sweet spot for structured activities being ages 3–5 (preschool and pre-K). Toddlers enjoy free exploration, while preschoolers are ready for guided activities like letter hunts, counting games, and themed provocations.

Sensory Bin Setup: Containers, Fillers, and Tools

Getting the basics right makes the difference between a sensory bin that engages children for 20 minutes and one they abandon after five. Here is a practical setup guide covering containers, fillers, and tools.

Choosing the Right Container

Container TypeSizeBest ForPrice Range
Plastic storage tub40 × 30 cm minimumHome use, individual bins$3–8
Sensory table with lid60 × 45 cm, dual binClassroom, shared use$25–60
Shoebox-size container20 × 15 cmIndividual classroom bins$1–2
Under-bed storage box70 × 40 cmLarge group, floor play$8–15
Plastic dishpan35 × 25 cmBudget option, easy storage$2–4

For home use, a standard plastic storage tub with 10 cm depth is sufficient. For classrooms, a sensory table with two compartments allows you to offer two different fillers simultaneously.

15 Sensory Bin Fillers

Choose fillers based on the texture experience you want to offer and the age of the children. Always supervise children under 3 and avoid fillers smaller than a 50 pence piece for toddlers.

Dry Fillers (Long-Lasting, Easy to Store)

  1. Rice — The most versatile filler. Dye it with food colouring and vinegar for themed colours. Lasts 2–3 months stored in an airtight container.
  2. Dried beans — Kidney, black, and pinto beans offer a smooth, heavy texture. Mix colours for sorting activities.
  3. Dried lentils — Smaller and lighter than beans, with a pleasing pour. Red lentils work well for autumn themes.
  4. Dried pasta — Penne, fusilli, and farfalle offer different shapes for sorting. Dye with food colouring for colour-based activities.
  5. Oats — Soft texture, mild scent, and natural colour. Ideal for farm and harvest themes.
  6. Cornmeal — Fine and silky. Mimics sand without the outdoor mess. Best for indoor sand-play activities.

Mouldable and Textured Fillers

  1. Kinetic sand — Holds shape when pressed and flows when released. Mesmerising for children and adults. Higher cost but reusable for months.
  2. Play dough pieces — Roll small balls or cut shapes. Offers resistance that strengthens hand muscles.
  3. Shredded paper — Lightweight and colourful. Use a paper shredder or buy shredded paper crinkle cut. Excellent for "egg hunt" style activities.
  4. Pom-poms — Soft, colourful, and completely safe for toddlers. Use varying sizes for sorting by size.

Wet and Natural Fillers

  1. Water beads — Soak overnight for gel-like spheres that feel cool and slippery. Always supervise — not for children who still mouth objects.
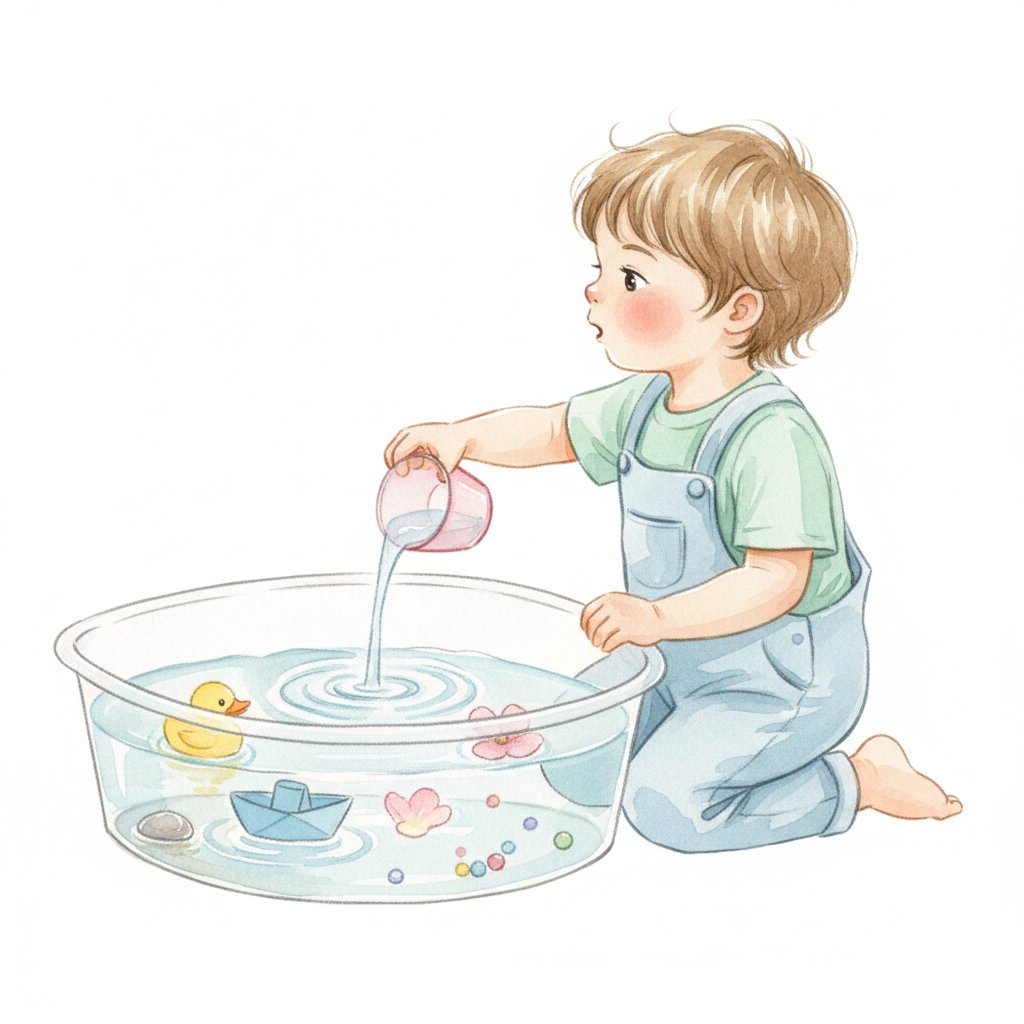
  2. Water — The simplest filler. Add food colouring, bubbles, or objects for sink-and-float activities.
  3. Sand — Playground sand in a bin offers a beach-like experience indoors. Combine with small world figures.
  4. Potting soil — For garden-themed bins. Use clean, bagged potting soil and add silk flowers and plastic bugs.
  5. Fake snow — Mix baking soda and conditioner for a cool, mouldable "snow." Perfect for winter and arctic themes.

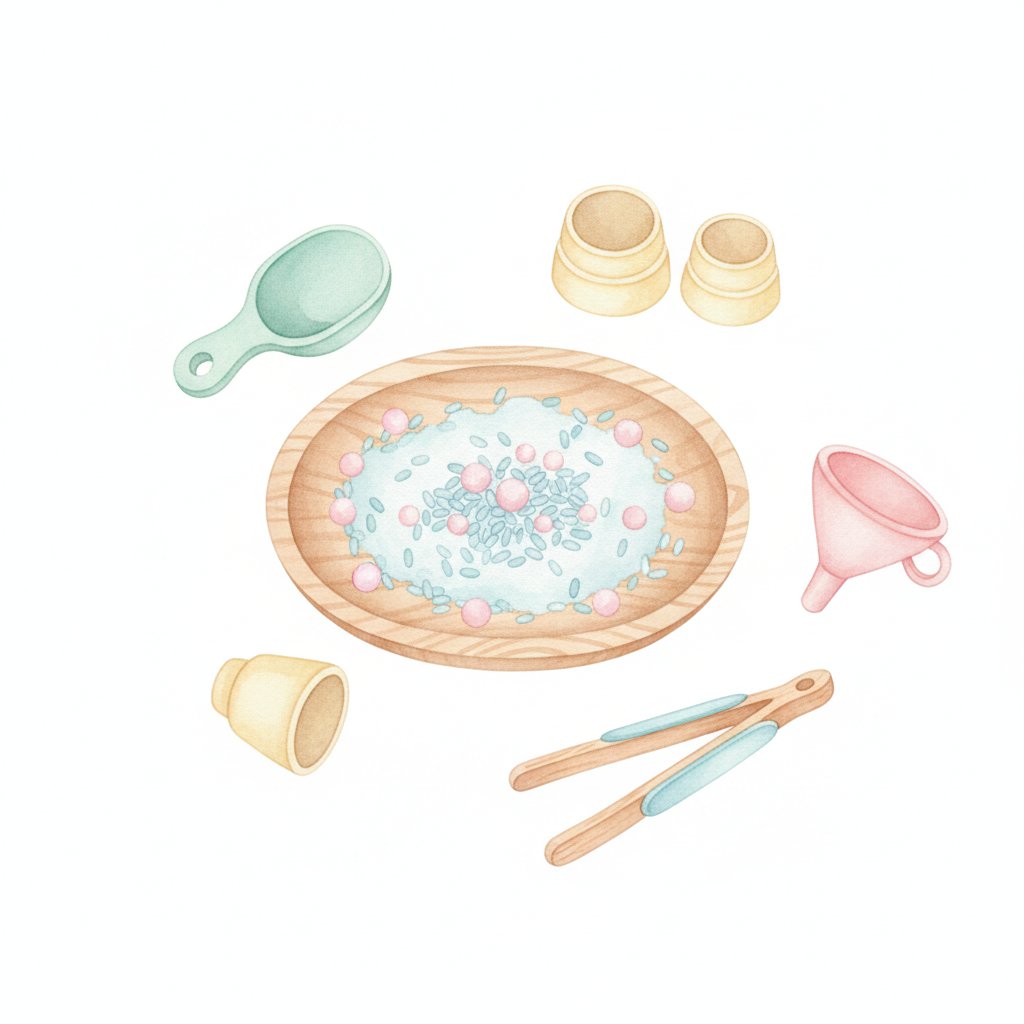
Essential Tools

Stock your sensory bin with a mix of these tools to encourage different types of play:

  • Scoops and spoons — Different sizes for pouring and transferring
  • Tweezers and tongs — Build pincer grip and hand strength
  • Funnels — Teach cause and effect with pouring
  • Measuring cups — Introduce volume and comparison
  • Magnifying glass — Encourage observation and scientific thinking
  • Small containers — Sort, fill, and empty
  • Paintbrushes — "Excavate" small items from rice or sand
  • Cookie cutters — Press shapes into kinetic sand or play dough

Safety Considerations

  • Choking hazards: Avoid small fillers (rice, beans, water beads) for children under 3 or children who mouth objects. Use pom-poms, large pasta, or shredded paper instead.
  • Allergies: Check for wheat, nut, or legume allergies before using flour, pasta, or peanut-based fillers.
  • Sanitation: Replace wet fillers after each use. Dry fillers can last 2–3 months if stored in airtight containers. Inspect weekly for moisture or debris.
  • Supervision: Always supervise sensory play, especially with water-based fillers.

Sensory Bin Activities by Skill Area

The filler is the invitation. The activity is the learning. Here are specific sensory bin activities mapped to five key developmental areas, each with a clear learning objective and simple instructions.

Fine Motor Activities

Fine motor development is the most obvious benefit of sensory bin play. Every scooping, pouring, and pinching action strengthens the hand muscles children need for writing.

  • Tweezer sort: Bury small objects (buttons, beads, erasers) in rice. Children use tweezers to find and sort them by colour into cups. Strengthens pincer grip.
  • Scoop and transfer: Set up two containers — one full of filler, one empty. Children use a scoop to transfer the filler from one to the other without spilling. Builds hand-eye coordination.
  • Hidden treasure dig: Bury small plastic figures in kinetic sand. Children use paintbrushes to gently "excavate" them, developing controlled hand movements.
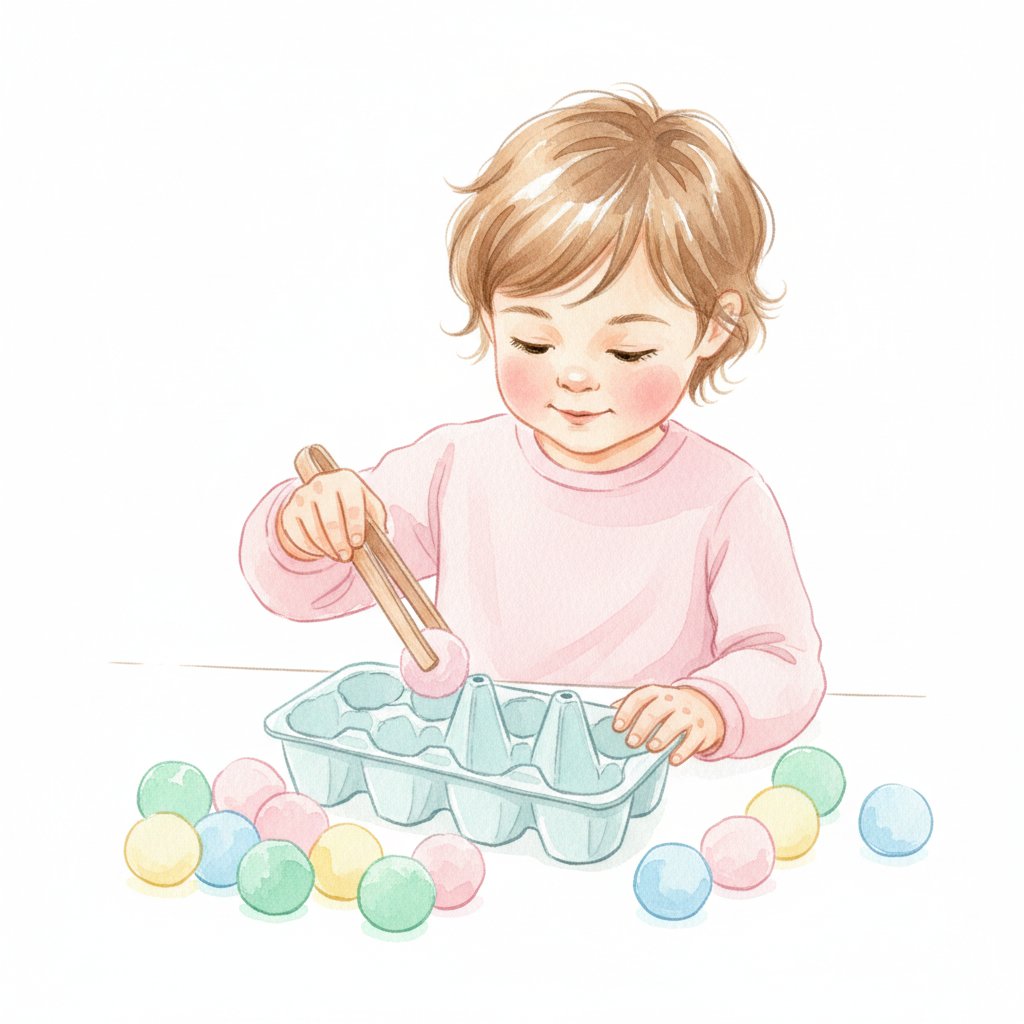
  • Pompom placement: Place pompoms in the bin with a muffin tin alongside. Children use tongs to place one pompom in each cup. One-to-one correspondence meets fine motor practice.

Language and Literacy Activities

Sensory bins create natural opportunities for vocabulary building and early literacy.

  • Letter hunt: Bury plastic or magnetic letters in the filler. Children dig them out and match them to an alphabet chart. Extend by asking them to find the letters in their name.
  • Storytelling props: Fill a bin with themed objects (animals, people, vehicles, natural items). Children pull objects out one at a time and add to a group story. Builds narrative language.
  • Vocabulary cards: Place picture cards in the bin. Children find a card, name the object, and describe it using a sentence ("The shell is smooth and bumpy"). Expand descriptive vocabulary.

Maths Activities

Sensory bins are a hands-on maths lab. Counting, sorting, measuring, and patterning all happen naturally.

  • Count and sort: Mix different coloured objects into the filler. Children sort them by colour and count how many of each. Record results on a simple chart.
  • Pattern making: Provide coloured pasta or beads. Children create repeating patterns (red-blue-red-blue) by threading or arranging in the bin.
  • Measurement station: Add measuring cups, spoons, and a simple balance scale. Children explore concepts of full, empty, heavy, and light by scooping and comparing.
  • Number hunt: Bury numbered cards or tiles. Children find them and put them in order from 1 to 10 (or 1 to 20 for older preschoolers).

Science Activities

Sensory bins invite observation, prediction, and experimentation — the foundation of scientific thinking.

  • Sink or float: Fill a water bin with various objects. Before placing each item, children predict whether it will sink or float, then test and compare results. Record on a simple chart.
  • Magnetic hunt: Bury a mix of magnetic and non-magnetic items in rice. Children use a magnet wand to discover which items are attracted to it. Sort into two groups.
  • Habitat exploration: Create a "forest floor" bin with soil, leaves, twigs, and plastic bugs. Children observe, sort by type, and discuss where each creature lives.

Social-Emotional Activities

Sensory play has a calming effect that supports emotional regulation, and collaborative bins build social skills.

  • Turn-taking bin: Set up a bin with a single set of tools. Two children share the bin, practising asking for turns and negotiating use of tools.
  • Feelings sort: Bury cards with different facial expressions in the filler. Children find a card and describe a time they felt that emotion. Builds emotional vocabulary.
  • Cooperative build: Provide a large bin with building materials (blocks, tubes, figures). Children work together to create a scene, practising communication and compromise.

For more structured science activities that complement sensory play, see our science experiment printables for kids.

10 Themed Sensory Bin Ideas with Free Printables

Themed sensory bins keep engagement high by connecting play to topics children are already excited about. Each of the ten bins below includes a filler recommendation, tools, a learning focus, and a free printable card set you can download, print, and laminate for repeated use.

1. Ocean Sensory Bin
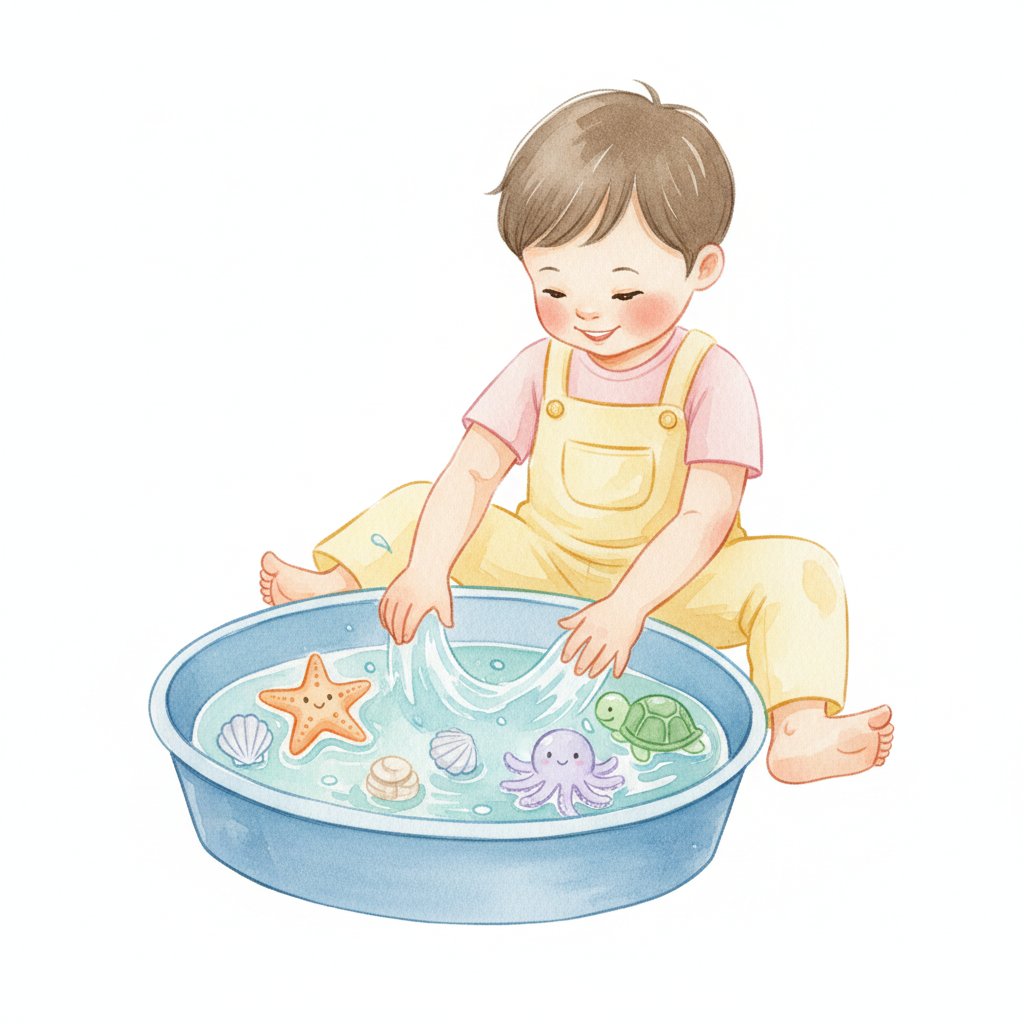
Filler: Blue-dyed rice (mix white rice with blue food colouring and a teaspoon of vinegar; let dry)
Add-ins: Seashells, plastic fish, blue glass gems
Tools: Scoop, small net, sorting cups
Printable: Ocean counting mat — count fish and shells, match to numbers 1–10
Skills: Counting, one-to-one correspondence, vocabulary (ocean, shell, fin)

2. Farm Sensory Bin

Filler: Dried corn kernels or oats
Add-ins: Plastic farm animals, miniature fences, green felt "grass"
Tools: Tractor toy, scoop, small buckets
Printable: Farm animal cards — match the animal figure to its card, learn the animal's name and sound
Skills: Animal identification, sorting (animal vs vehicle), counting

3. Space Sensory Bin

Filler: Black beans (representing the night sky)
Add-ins: Star-shaped beads, planet figures, foil balls (asteroids)
Tools: Tweezers (for "space rescue"), small containers (planet stations)
Printable: Planet matching cards — match the figure to the planet card, colour and name
Skills: Colour recognition, vocabulary, fine motor (tweezing stars)

4. Garden Sensory Bin

Filler: Clean potting soil
Add-ins: Silk flowers, plastic bugs, seed packets (empty), small plant pots
Tools: Mini trowel, watering can (with a tiny amount of water), gloves
Printable: Plant labelling activity — match flower pictures to their names, label plant parts (root, stem, leaf, petal)
Skills: Nature vocabulary, observation, life-cycle awareness

5. Construction Sensory Bin

Filler: Fine gravel or brown rice
Add-ins: Mini construction vehicles, small blocks, cardboard tubes (tunnels)
Tools: Toy digger, measuring tape, hard hat
Printable: Building counting cards — count blocks and match to number cards 1–20
Skills: Counting, engineering thinking, cooperative play

6. Dinosaur Sensory Bin
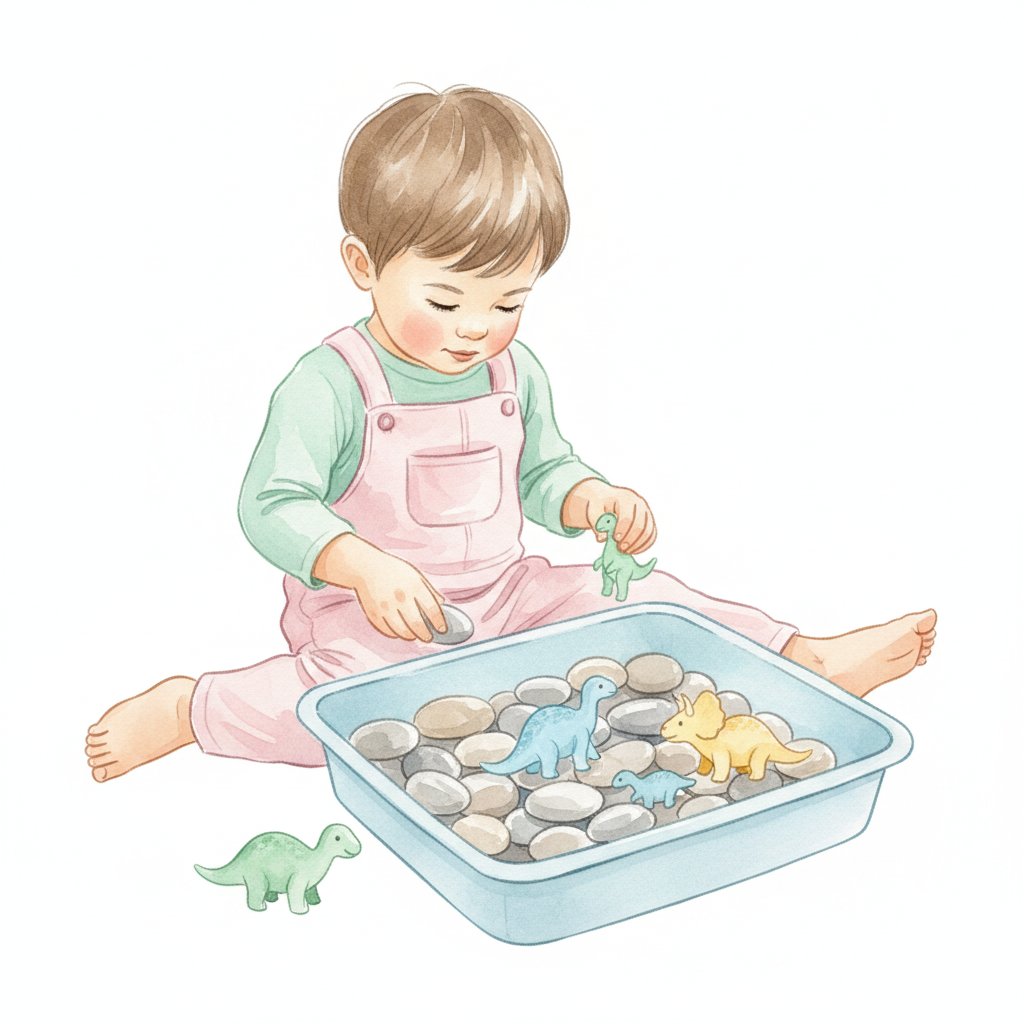
Filler: Sand or kinetic sand
Add-ins: Dinosaur figures, "fossils" (pressed clay or pasta shells), large pebbles
Tools: Paintbrush (for fossil excavation), magnifying glass
Printable: Fossil matching cards — match the figure to the fossil card, learn dinosaur names
Skills: Scientific observation, vocabulary, fine motor control

7. Apple Orchard Sensory Bin

Filler: Red lentils
Add-ins: Miniature apples (craft store), small baskets, green felt leaves
Tools: Tongs, baskets, number dice
Printable: Apple number cards — roll a die, pick that many apples, place on the matching card
Skills: Counting, number recognition, one-to-one correspondence

8. Arctic Sensory Bin

Filler: Cotton balls (snow) and white pom-poms
Add-ins: Polar animal figures (polar bear, penguin, seal, whale), clear gems (ice chunks)
Tools: Tongs, blue tray (ocean), sorting bowls
Printable: Habitat sort cards — sort animals into "land" and "water" categories
Skills: Categorisation, vocabulary, science concepts (habitat)

9. Bug Hunt Sensory Bin
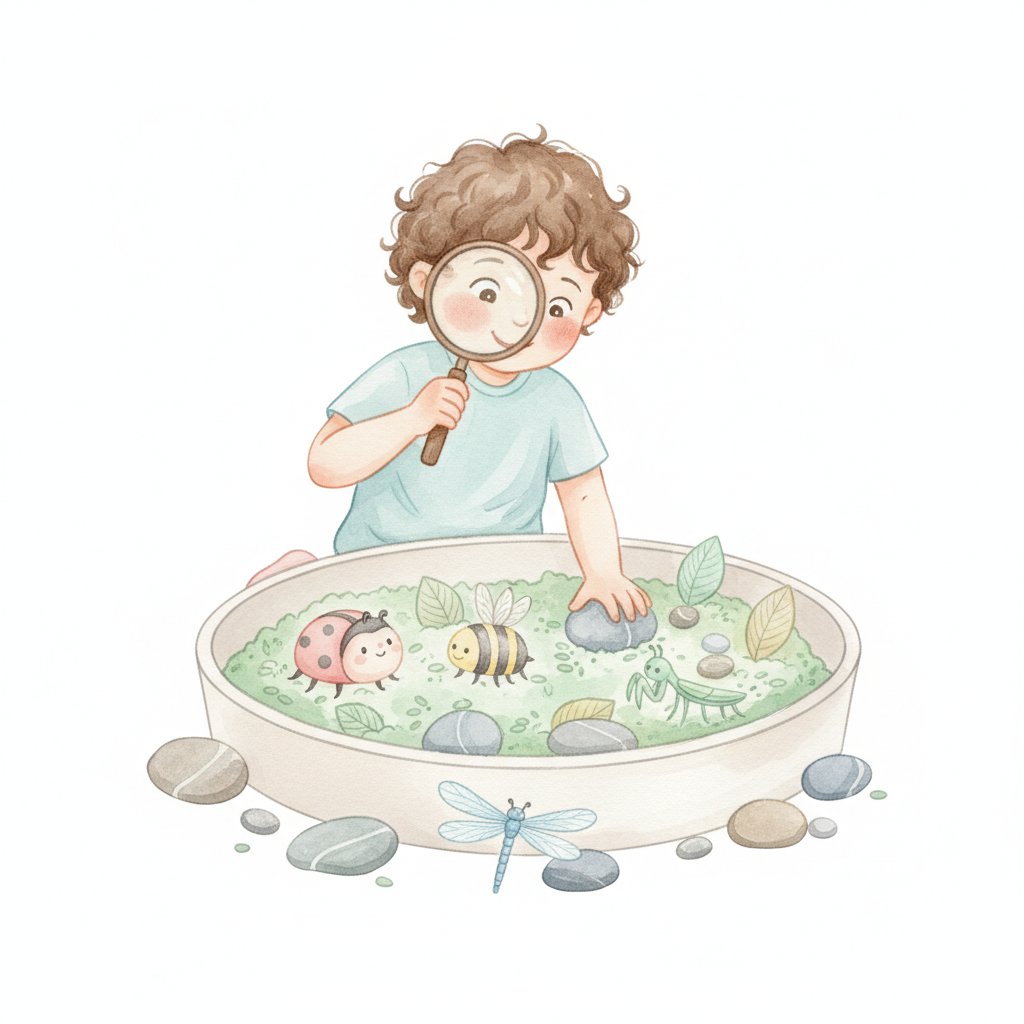
Filler: Green-dyed rice
Add-ins: Plastic bugs (ladybird, beetle, caterpillar, butterfly, spider), leaves, twigs
Tools: Magnifying glass, tweezers, small specimen cups
Printable: Bug observation log — draw the bug, count its legs, describe its colour
Skills: Scientific observation, counting, descriptive language

10. Community Helpers Sensory Bin

Filler: Multi-coloured rice (red, blue, and yellow)
Add-ins: Small vehicles (fire engine, police car, ambulance, bus), miniature people figures
Tools: Road tape (or cardboard roads), sorting mats
Printable: "Who Am I?" cards — read the clue ("I put out fires"), match to the vehicle or figure
Skills: Community awareness, vocabulary, matching, listening comprehension

How to Create Individual Sensory Bins for a Classroom

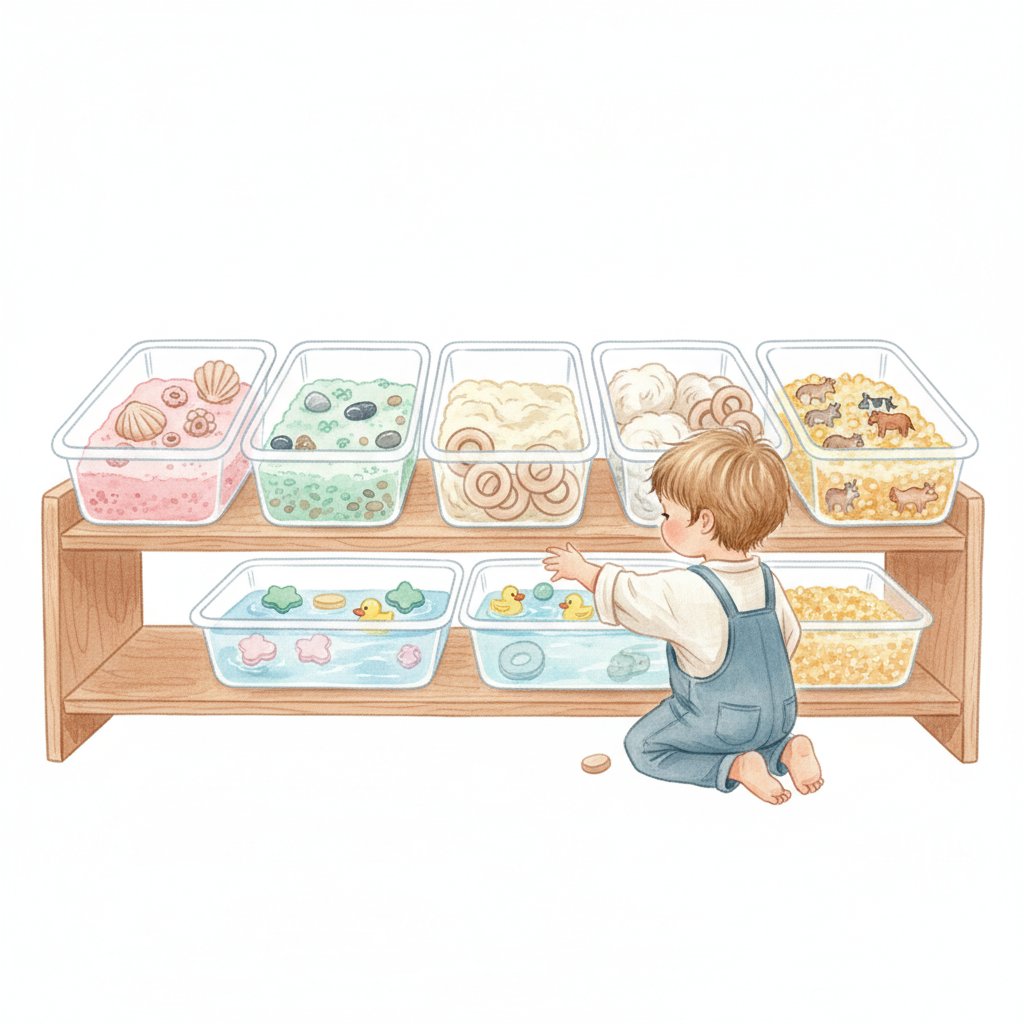
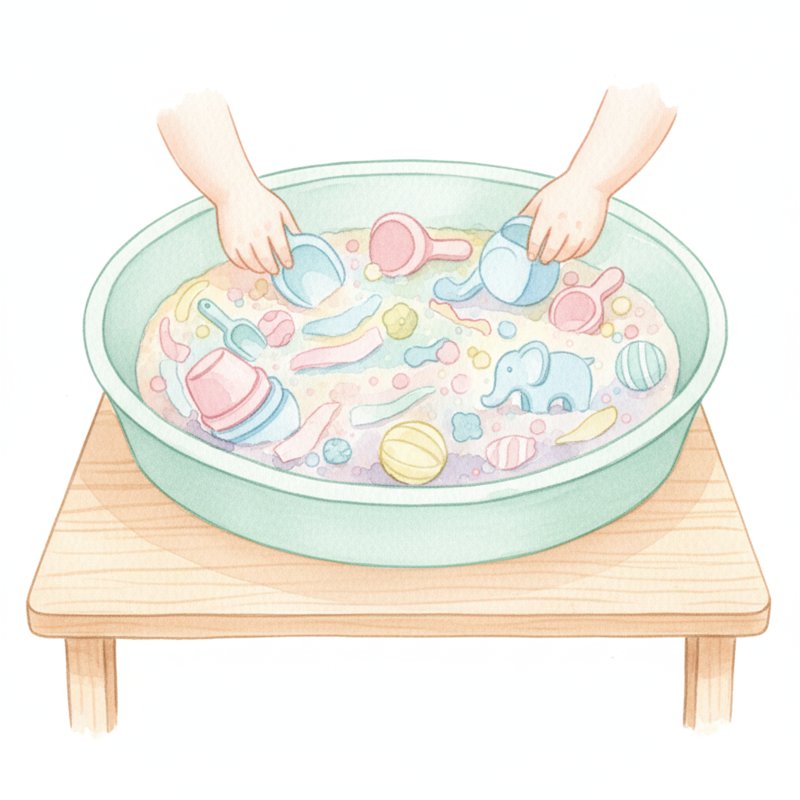
Individual sensory bins give every child their own container, filler, and set of tools. They eliminate sharing conflicts, allow teachers to differentiate by skill level, and give each child a self-directed activity that supports self-regulation. The main barrier is cost and storage — but both are manageable with the right approach.

Why Individual Bins Work

  • No waiting or conflict: Every child has immediate access. No arguing over who gets the scoop first.
  • Differentiated learning: Adjust the difficulty of each bin — simpler counting for younger children, letter matching for older ones.
  • Calming routine: Individual bins create a predictable, quiet activity that children can return to throughout the day. Many teachers use them as a morning arrival activity or a calm-down option.
  • Assessment friendly: You can observe each child's interaction with their bin independently, making it easier to track skill development.

Cost-Effective Setup: $2–3 Per Bin

You do not need expensive materials to create 20 individual sensory bins. Here is a budget breakdown:

ItemCost Per BinNotes
Shoebox-size plastic container$1.00Dollar store or bulk pack
Rice filler (2 cups per bin)$0.30Bulk rice is cheapest
3–5 small tools (spoon, cup, tweezers)$0.50Dollar store multipack
Printable activity card$0.10Print and laminate once, reuse
Small add-ins (beads, erasers, figures)$0.20Rotate from a shared collection
Total per bin$2.10

For a class of 20, the total setup cost is approximately $40–60, including the initial rice purchase and a set of tools.

Storage Solutions

  • Stacking bins: Choose containers that stack with lids. Label each bin with the child's name using a sticker.
  • Storage shelf: A three-tier shelf holds 20+ bins in a corner of the classroom.
  • Rotation system: Prepare four sets of themed bins (one per week in a month). Store unused sets in a cupboard and rotate each Monday.
  • Weekly refresh: Replace or refresh fillers every 1–2 weeks. Rice and beans can be reused for up to a term if kept dry and clean.

Weekly Rotation Schedule

A monthly rotation keeps sensory bins fresh without requiring daily setup:

  • Week 1: Ocean theme (blue rice, shells, counting mat)
  • Week 2: Farm theme (oats, animals, matching cards)
  • Week 3: Garden theme (soil, silk flowers, labelling activity)
  • Week 4: Dinosaur theme (sand, figures, fossil cards)

At the end of each week, collect the bins, remove organic or soiled fillers, and refill with the next week's theme on Friday afternoon. The printable cards stay in each bin's zip-lock bag and rotate with it.

Managing Mess: Sensory Bin Rules and Cleanup

Mess is the number one reason teachers and parents avoid sensory bins. It does not have to be. With clear expectations and a simple setup, sensory bin mess becomes entirely manageable.

Setting Clear Expectations

Before the first sensory bin session, teach three rules and practise them:

  1. Keep it in the bin. Everything stays inside the container. If something falls out, pick it up right away.
  2. Tools only. No throwing, dumping, or splashing. Use the tools provided.
  3. Clean up together. When the timer goes off, everyone helps tidy.

Post these rules as picture cards near the sensory station. Young children respond well to visual reminders. Review the rules at the start of each sensory bin session for the first two weeks. After that, a quick "What are our sensory bin rules?" is enough.

Drop Cloth and Tray Setup

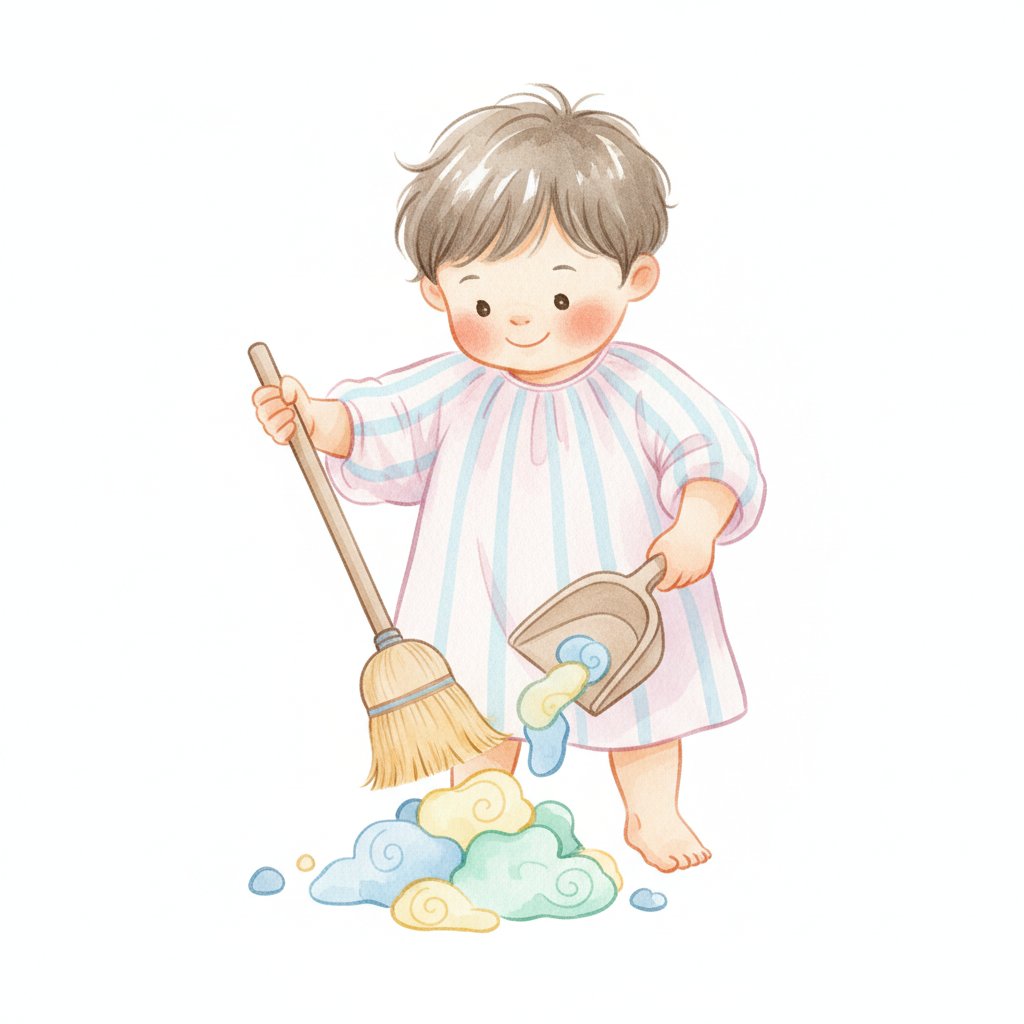
  • Indoor floor play: Lay a flat sheet or plastic tablecloth under the bin. After the session, gather the corners and shake spilt filler back into the bin or bin it.
  • Table play: Place the bin on a rimmed baking tray or plastic tray. The tray catches spills and makes cleanup a 30-second job.
  • Outdoor play: Skip the drop cloth entirely. Spilled rice or sand on grass is not a problem.

Teaching Cleanup as Part of the Activity

Cleanup is not an interruption — it is a learning activity. When children help tidy, they practise:

  • Sorting: "Put all the red beads in this cup."
  • Counting: "Let's count the shells as we put them back."
  • Responsibility: Taking care of shared materials.

Use a visual timer so children can see how much playtime is left. When the timer shows one minute remaining, announce "One more minute, then we tidy up." This gives children time to finish what they are doing and reduces resistance.

When to Refresh Fillers

  • Dry fillers (rice, beans, lentils, pasta): Replace every 2–3 months, or sooner if moisture, debris, or odour is present. Store in airtight containers between sessions.
  • Kinetic sand: Replace every 2–3 months. Store in a sealed container to prevent drying out.
  • Wet fillers (water, water beads): Replace after every session. Water beads shrink over 1–2 days and should be disposed of after use.
  • Natural fillers (soil, leaves): Use once and discard. These degrade quickly and can harbour mould.
  • Immediate retirement: If a child sneezes, coughs, or mouths a filler, replace it before the next session. Health and hygiene come first.

Frequently Asked Questions

What age are sensory bins appropriate for?

Sensory bins are ideal for children ages 18 months to 6 years. For toddlers (18–36 months), use large, safe fillers like pom-poms, large pasta, or shredded paper, and always supervise closely. For preschoolers (ages 3–5), you can introduce smaller fillers like rice and beans alongside structured activities. Avoid any filler smaller than a 50 pence piece for children under 3.

How often should I change sensory bin fillers?

Rotate fillers every 1–2 weeks to maintain engagement. Dry fillers like rice, beans, and pasta last 2–3 months when stored in airtight containers. Replace immediately if the filler becomes wet, soiled, or shows signs of mould. Water beads and wet fillers should be replaced after each session.

Are sensory bins Montessori-aligned?

Yes. Sensory bins align with the Montessori emphasis on sensorial exploration and purposeful activity. To make your sensory bins more Montessori-aligned, use natural materials (wood, fabric, real objects), provide purposeful tools rather than toys, and focus each bin on one skill at a time. Avoid plastic or battery-operated items in favour of simple, open-ended materials.

How many sensory bin themes should I plan per month?

Four themes per month (one per week) is a practical rotation for both classrooms and home. This gives children enough time to explore each theme deeply without getting bored. Keep filler materials from previous months — you can reuse them when the same theme comes around again.

Can sensory bins be used for assessment?

Yes. Observe children during sensory bin play to assess fine motor control (can they use tweezers?), maths concepts (can they sort by colour and count to five?), language (can they describe what they are doing?), and social skills (can they share tools and take turns?). Keep a simple observation checklist near the sensory station and note what each child demonstrates during the week.

What if a child eats the filler?

Supervision is essential. If a child puts a filler in their mouth, calmly redirect them ("Sensory bins are for our hands, not our mouths") and switch to a taste-safe filler like cooked pasta or plain oats for future sessions. For children who persistently mouth materials, use only large, non-toxic items like pom-poms or crumpled paper until the behaviour passes.

Do I need to laminate the printable cards?

Laminating extends the life of your printable cards from weeks to months, but it is not strictly necessary. If you do not have a laminator, print on cardstock and slip each card into a clear plastic sleeve or zip-lock bag. The cards will survive regular use either way.

Start Your Sensory Bin Journey

Sensory bin activities for preschool are one of the most versatile, engaging, and developmentally rich tools available to teachers and parents. With a plastic container, a scoop of rice, and a handful of tools, you can create activities that build fine motor strength, expand vocabulary, introduce maths and science concepts, and support social-emotional growth — all through play that children genuinely enjoy.

Start with the basics: one bin, one filler, and a set of tools. Try the ocean or farm themed bin from the list above, download the free printable cards, and observe how children interact. From there, rotate themes weekly, add skill-based activities from the skill area section, and consider individual bins if you are managing a classroom.

The best sensory bin is the one children reach for again and again. Keep it simple, keep it fresh, and let the learning happen naturally.

Looking for more hands-on learning resources? Try our STEM challenge cards for engineering activities that pair perfectly with sensory play, or explore our growth mindset activities for social-emotional learning printables.