Articles8 min read

The Boy Who Hated Pencils (Until He Didn't)

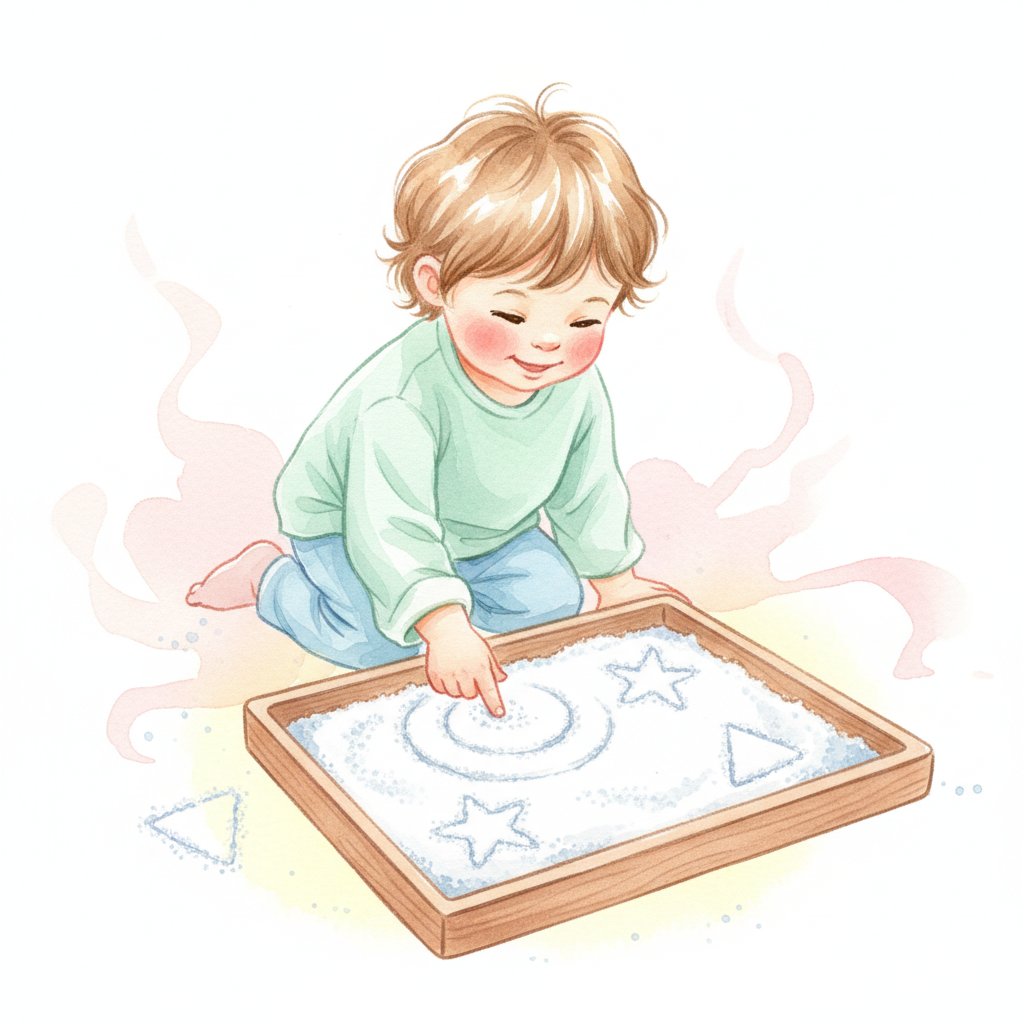
Marcus refused to hold a pencil. He'd cross his arms, turn away, or declare "writing is boring." Worksheets sat untouched. Then I set up a "secret message" station: salt in a tray, a wooden stylus, and a sign that said "Write Your Spy Name." He wrote "M-A-R-C" in the salt. Then he wrote his friend's name. Then he wrote "TOP SECRET." Within a week he was asking for pencil and paper to write "spy messages."

That's the central insight of early writing instruction: children learn to write when writing serves a purpose they care about, not when it's assigned as a fine motor exercise. According to research published in the Reading Research Quarterly, children who engage in meaningful writing activities (making cards, writing signs, labeling drawings) develop writing skills significantly faster than children who only do worksheets.

This guide covers 20+ writing activities for ages 3-6, organized by developmental stage: pre-writing (building hand strength and stroke patterns), letter formation, name and word writing, and purposeful writing projects. Pair it with our name writing practice for focused name work and our fine motor activities for hand strengthening.

The Four Stages of Writing Development

Writing doesn't start with letters. It starts with arm movements, progresses to hand control, then to shapes, then to letters, then to words. Each stage is essential. Skipping stages (forcing letter formation before a child can draw a circle) creates frustration, not writers.

Stage 1: Pre-writing (ages 2-3)
Large arm movements — painting at an easel, drawing with chunky crayons, finger painting. The goal is arm and shoulder strength, not recognizable shapes.

Stage 2: Stroke patterns (ages 3-4)
Controlled marks: horizontal lines (—), vertical lines (|), circles (O), crosses (+), diagonal lines (/). These strokes are the building blocks of letters. A child who can draw a vertical line and a circle can write the letters l, t, o, c, and a.

Stage 3: Letter-like forms (ages 4-5)
Mock letters that resemble real letters but aren't quite right. A "c" that's backwards, an "s" that's too pointy. This is experimentation — the child understands that letters exist and is trying to reproduce them.

Stage 4: Conventional letters (ages 5-6)
Recognizable letters, usually starting with the child's name. Letters may be large, uneven, or reversed — that's normal until age 7.

StageWhat You SeeWhat to Do
Pre-writingScribbles with whole armEasel painting, large crayons
Stroke patternsLines, circles, crossesTracing in sand, dot-to-dot
Letter-like formsFake letters that look realLetter models, name tracing
Conventional lettersReal letters (name first)Name writing, word cards
Trace the letter, then write it from memory
Our Alphabet Monster Flashcards work as letter-formation models: children trace the large letter on each card with their finger, then try to write it on paper. The monster character gives each letter a personality — 'A is for Alligator Monster' — making abstract symbols feel like friends. 26 letters, 26 monster friends, 26 writing lessons.

Pre-Writing Activities (Ages 3-4)

1. Salt/sand tray writing
Materials: Shallow tray, thin layer of salt or sand, index finger or wooden stylus.

What to do: Children draw lines, circles, and shapes in the salt. The tactile feedback is immediate and satisfying. Shake the tray to "erase" and start over.

Why it works: The sensory feedback strengthens the brain-hand connection better than pencil on paper. Children can practice stroke patterns hundreds of times without wasting paper or feeling pressure.

2. Play dough letter snakes
Materials: Play dough.

What to do: Roll play dough into "snakes." Bend the snakes into letter shapes: curve for C, straight for L, circle for O. This is letter formation without the pencil.

Why it works: Large motor movements build the motor patterns for letter shapes. When the child later picks up a pencil, the hand "remembers" the movement from play dough.

3. Easel painting with big brushes
Materials: Easel (or wall with paper taped to it), large brushes, washable paint.

What to do: Children paint at the easel — up and down, side to side, in circles. These large arm movements build the shoulder and arm strength that handwriting requires.

Why it works: Writing starts from the shoulder, not the fingers. Easel painting develops the whole arm, which provides the stability for finger-level control later. See our art activities for more easel-based ideas.

4. Hole punch and sticker line
Materials: Single hole punch, paper with dots along a line, stickers.

What to do: Children punch holes along a dotted line on paper. Then place stickers along a different line. Both activities build the pincer grasp (thumb and index finger working together) needed for pencil grip.

5. Bead stringing
Materials: Large beads, shoelaces or pipe cleaners.

What to do: Children string beads onto the lace. Threading requires the same fine motor coordination as holding a pencil.

Why it works: The pincer grasp and hand-eye coordination required for beading directly transfer to pencil control. For more fine motor ideas, see our fine motor skills guide.

Letter Formation Activities (Ages 4-6)

6. Sky writing
What to do: Children extend one arm straight out and "write" letters in the air with their index finger. Make the letter BIG — use the whole arm.

Why it works: Large motor movements create muscle memory for letter shapes. The body learns the shape before the hand tries to reproduce it small-scale.

7. Finger tracing on textured letters
Materials: Sandpaper letters, glitter glue letters on card stock, or yarn glued in letter shapes.

What to do: Children trace each letter with their index finger, feeling the texture as they go. The tactile feedback creates a stronger memory trace than visual-only practice.

8. Rainbow writing
Materials: Paper, multiple colored crayons.

What to do: Write a letter in pencil. Children trace over it with red, then orange, then yellow, then green, then blue — creating a rainbow effect. Each trace reinforces the motor pattern.

9. Wet sponge writing
Materials: Small sponge, cup of water, chalkboard or concrete surface.

What to do: Children dip the sponge in water and write letters on the chalkboard or sidewalk. The water marks are dark and clear, then evaporate — instant erasing.

Why it works: The sponge provides resistance (unlike a marker), building hand strength. The temporary nature reduces perfectionism — there's nothing to erase or cross out.

10. Letter formation with loose parts
Materials: Small objects (buttons, pebbles, dry pasta, mini erasers).

What to do: Children arrange loose parts to form letter shapes on a flat surface. This is letter construction, not letter reproduction — a different cognitive process that reinforces letter knowledge.

Write the sound, not just the letter
Our Phonics Flashcards show each letter with its sound-spelling pattern. After tracing the letter card, children write a word that starts with that sound: C → CAT. Sound-to-letter connection is the bridge between reading and writing — each card is a mini writing lesson.

Name and Word Writing (Ages 4-6)

11. Name tracing progression
Start with a highlighted name (adult writes in yellow highlighter, child traces over in pencil). Progress to dotted-line name. Then to first letter only (child writes first letter, rest is dotted). Then independent. This gradual release works because each step is only slightly harder than the last.

12. Environmental print word wall
Materials: Labels from familiar products (cereal boxes, juice containers, snack wrappers).

What to do: Children "read" and copy words they already recognize from daily life. "I can write CHEETOS!" — and they're motivated because it's real.

Why it works: Environmental print is the bridge between logos (which children read as pictures) and text (which they read as words). Writing familiar words builds confidence.

13. Picture-word matching and writing
Materials: Picture cards with simple words (cat, dog, sun, hat, cup).

What to do: Children match the picture to the word, then copy the word on paper. The picture provides meaning; the word provides the target; the copying provides practice.

14. Sound-it-out labels
Materials: Objects in the classroom (block, pen, cup, book, chair).

What to do: Children label objects. The spelling doesn't need to be correct — "BK" for "book" is excellent kindergarten spelling. The goal is hearing and recording sounds, not conventional spelling.

Why it works: Invented spelling is a powerful predictor of later reading and writing success. Children who attempt to spell words are actively analyzing sounds — the same skill used in reading. For more phonological awareness practice, see our rhyming activities.

15. Sentence strip writing
Materials: Sentence strips, markers.

What to do: Start with a simple sentence frame: "I like ___." Children complete it: "I like cats." "I like pizza." "I like my mom." One frame, many sentences, growing confidence.

Purposeful Writing Projects (Ages 4-6)

16. Letter to a friend
Materials: Paper, envelopes, markers, stickers.

What to do: Children write (or draw-and-write) a letter to a classmate. Even scribbles with a "PS" sticker are real writing when the child can explain what they "wrote." Deliver via a classroom mailbox.

Why it works: Writing to a real audience motivates more effort than writing for a teacher. The social motivation is powerful.

17. Grocery list
Materials: Paper, clipboard.

What to do: Before a pretend grocery trip (see our dramatic play activities), children write shopping lists. Even "A P B" for "apples, pizza, bananas" is purposeful writing.

18. Class book pages
Materials: Paper bound into a book, markers.

What to do: Each child creates one page: drawing + writing. "My favorite animal is ___." Compile into a class book children can read during independent reading time.

Why it works: Children write more willingly when they know their work will be published and read by peers.

19. Signs and labels for the classroom
Materials: Card stock, markers, tape.

What to do: Children create signs for classroom areas: "BLOCKS," "ART," "READING CORNER," "QUIET PLEASE." Laminate or tape up. Children read signs they wrote themselves — powerful self-validation.

20. Journal writing
Materials: Blank journals (stapled paper), crayons, pencils.

What to do: Children draw a picture and write about it daily. Even one letter or scribble counts. Date each entry. Over months, the progression from scribbles to letters to words is visible and celebratory.

Why it works: Journal writing builds writing stamina and the habit of daily writing. Children who write daily become children who write fluently. For more daily routine ideas, see our circle time activities.

Visual schedules create daily writing routines
Our Morning Routine Visual Schedule Cards include 'Journal Time' and 'Sign-In' cards. When children see writing in their daily schedule — between breakfast and circle time — it becomes a habit, not an assignment. Routine cards turn reluctant writers into daily writers.
1.Should I correct my preschooler's spelling?
No — invented spelling is a developmental stage that shows strong phonological awareness. If a child writes "CT" for "cat," they heard two of the three sounds — that's excellent. Praise what they got right. Conventional spelling will come later through reading instruction.
2.What pencil grip should a 4-year-old use?
A four-finger or "fisted" grip is normal for 3-year-olds. By age 4, most children develop a tripod grip (thumb, index, and middle finger). By age 5-6, the tripod grip should be established. Short golf pencils encourage proper grip because they're too short for a fisted hold.
3.My child reverses letters. Should I worry?
Letter reversals (b/d, p/q) are completely normal through age 7. The brain is still developing the ability to distinguish mirror images. Continue providing letter models and tracing practice, but don't stress about reversals until first grade. Persistent reversals after age 7 may warrant evaluation.
4.How much writing should a preschooler do daily?
5-15 minutes of structured writing practice is plenty for ages 3-5. The key is consistency (daily) rather than duration (long sessions). Add informal writing throughout the day: signing in, labeling, writing names on artwork. Total daily "writing" (including drawing) of 20-30 minutes is ideal.