How to Organize Classroom Art Supplies: A System That Actually Stays Organized
Walk into a disorganized art corner and watch creativity stop before it begins. Students can't find the red paint they need. Glue bottles get knocked over. Papers scatter across the floor. Five minutes of cleanup eats into precious instruction time. The art supplies you purchased to inspire learning become a source of stress instead.
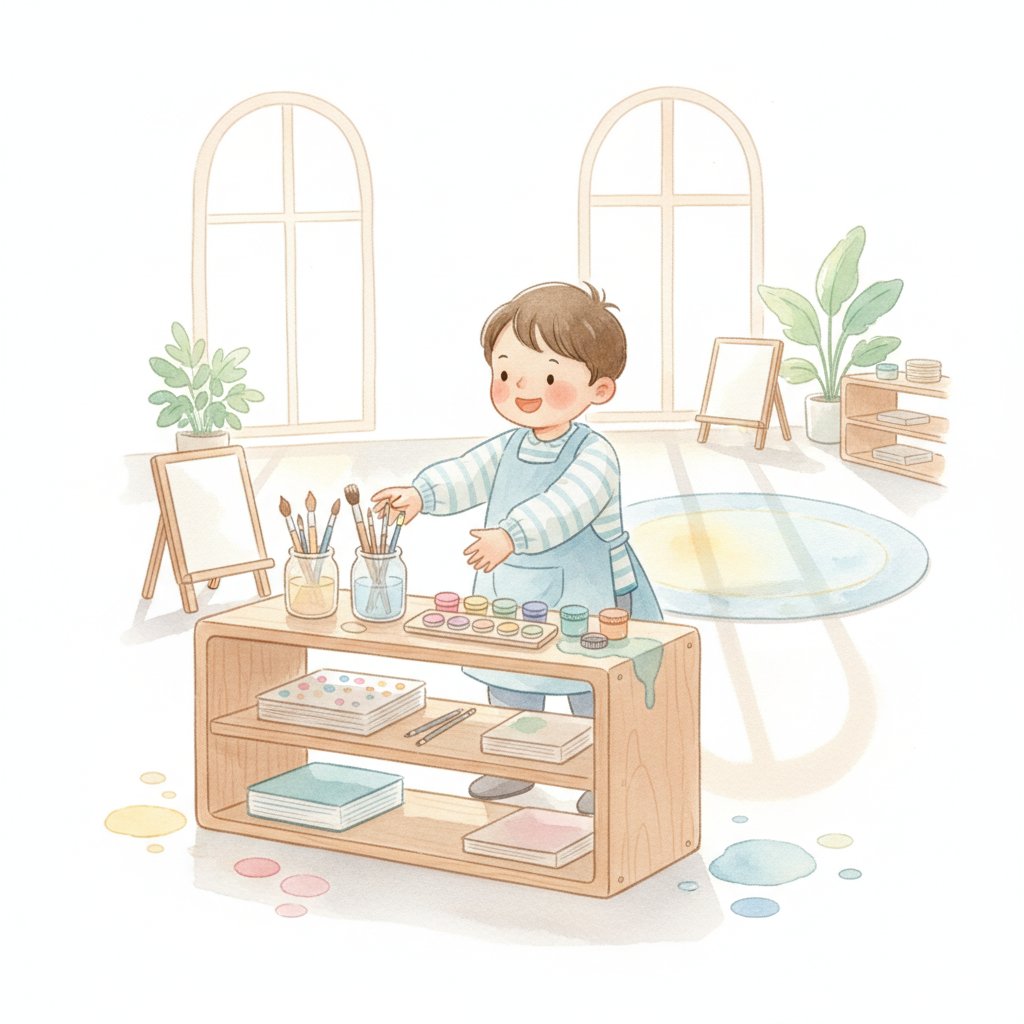 The problem isn't your supplies. It's the system — or lack of one. When art materials are organized with intention, students access what they need independently, cleanup becomes manageable, and your art center supports learning rather than creating chaos. Teachers who implement an organized art system report spending 40% less time managing supplies and 60% more time engaged with students.
 This guide gives you a complete system to organize your classroom art supplies — one that works with real classrooms, real budgets, and real students who are still learning responsibility. You'll learn how to assess what you have, choose storage that matches your teaching style, label so students can help maintain order, and set up routines that keep organization going all year. See our art activities for preschoolers for projects that work beautifully with organized supplies.
Why Art Organization Matters
Organization in the art center does more than make your classroom look tidy. It directly impacts learning, independence, and instructional time.
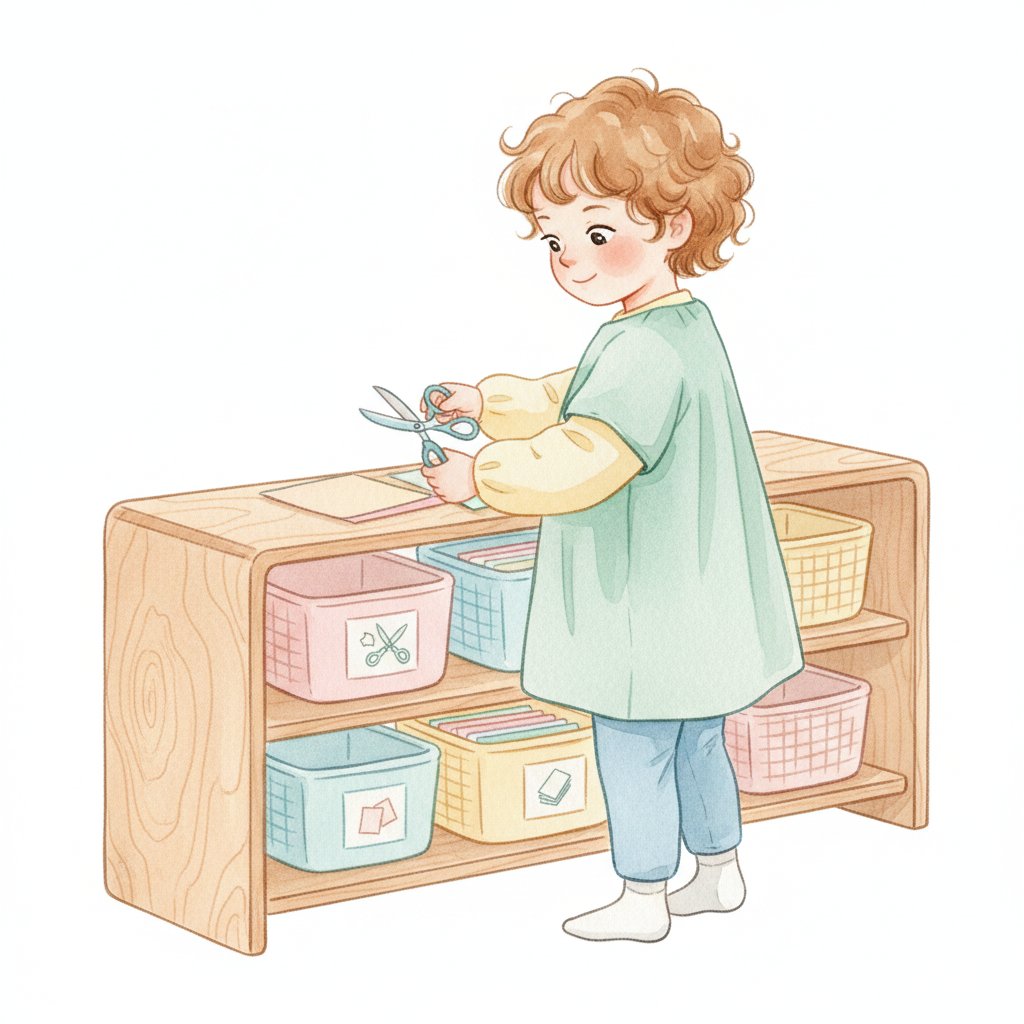 **Student independence.** When supplies are labeled and accessible, students can gather what they need without waiting for teacher assistance. A child who can find scissors, glue, and paper on their own is practicing decision-making, visual scanning, and following simple systems — skills that transfer across the curriculum.
 Instructional time. Every minute spent hunting for supplies or managing messes is a minute lost to learning. Organized art centers mean students spend time creating, not searching. Teachers with well-organized centers report gaining 15-20 minutes of instructional time per art session — the equivalent of an extra week of art instruction over the year.
Material longevity. Art supplies aren't cheap, but they last longer when properly stored. Paints stay usable when lids are returned to correct containers. Scissors maintain sharpness when stored safely rather than tossed in a bin. Papers remain flat and unwrinkled when filed vertically. Organized systems protect your investment by reducing waste and damage.
Emotional climate. A chaotic art center creates visual noise that overstimulates some students and discourages others. When materials are organized, the space feels calm and inviting. Children who feel overwhelmed by mess engage more readily in a tidy, predictable environment.
Assess Your Supplies
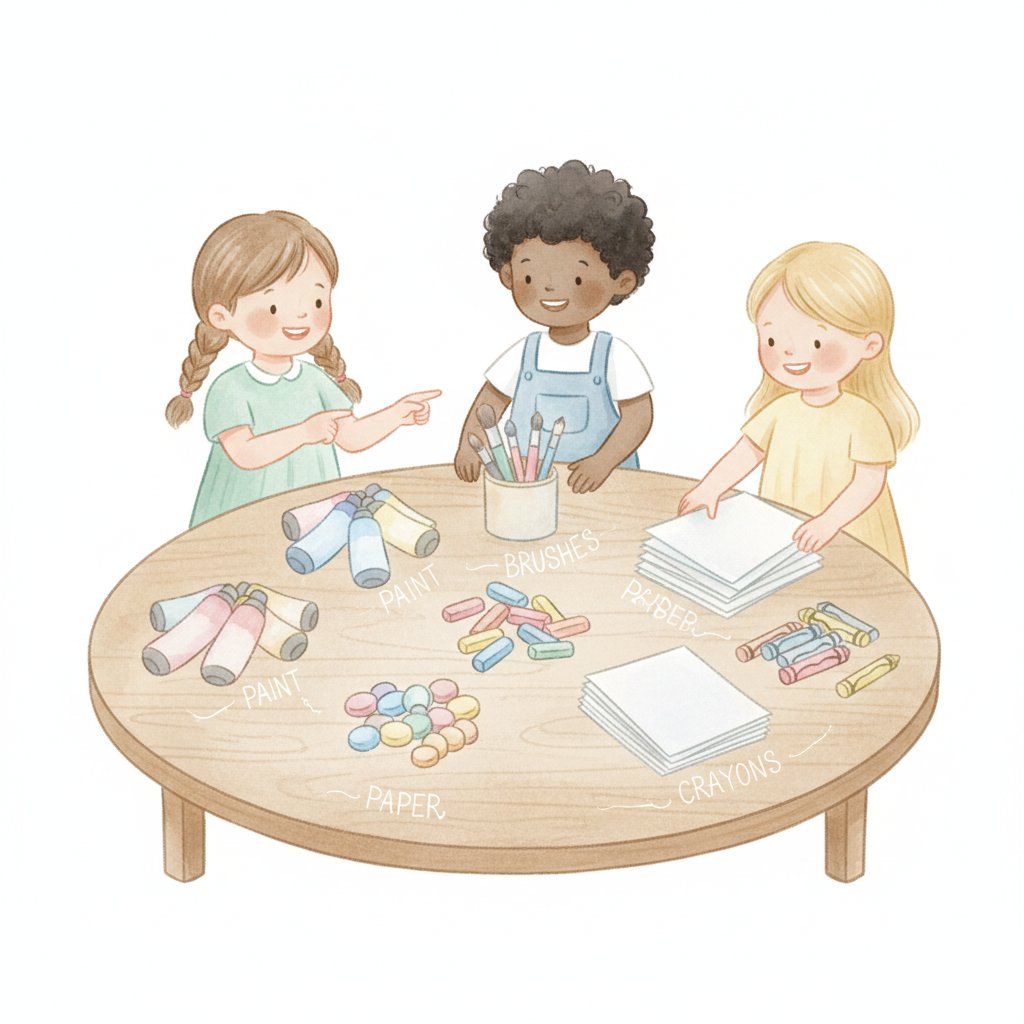
Before you organize, you need to know what you have. Dumping everything onto tables and sorting gives you a clear picture of your inventory — and often reveals supplies you forgot about.
Step 1: Gather everything. Pull every art supply from shelves, bins, drawers, and closets. Create a staging area with tables or floor space. Seeing everything at once is the only way to understand the full scope.
Step 2: Sort into categories. Create piles by type: paints, brushes, cutting tools, adhesives, papers, drawing tools, collage materials, seasonal items. As you sort, toss anything dried out, broken, or unusable.
Step 3: Take inventory. Make a simple list of what you have in each category. Note quantities. This inventory becomes your shopping list for next year and helps you identify gaps — perhaps you have plenty of paint but no collage materials, or stacks of paper but no scissors.
Step 4: Identify redundancies. Look for duplicates. Do you have five bottles of white school glue but no glue sticks? Are there multiple open paint boxes of the same color that could be consolidated? Consolidating reduces storage needs and prevents supplies from expiring before use.
Storage by Type: What Works Best
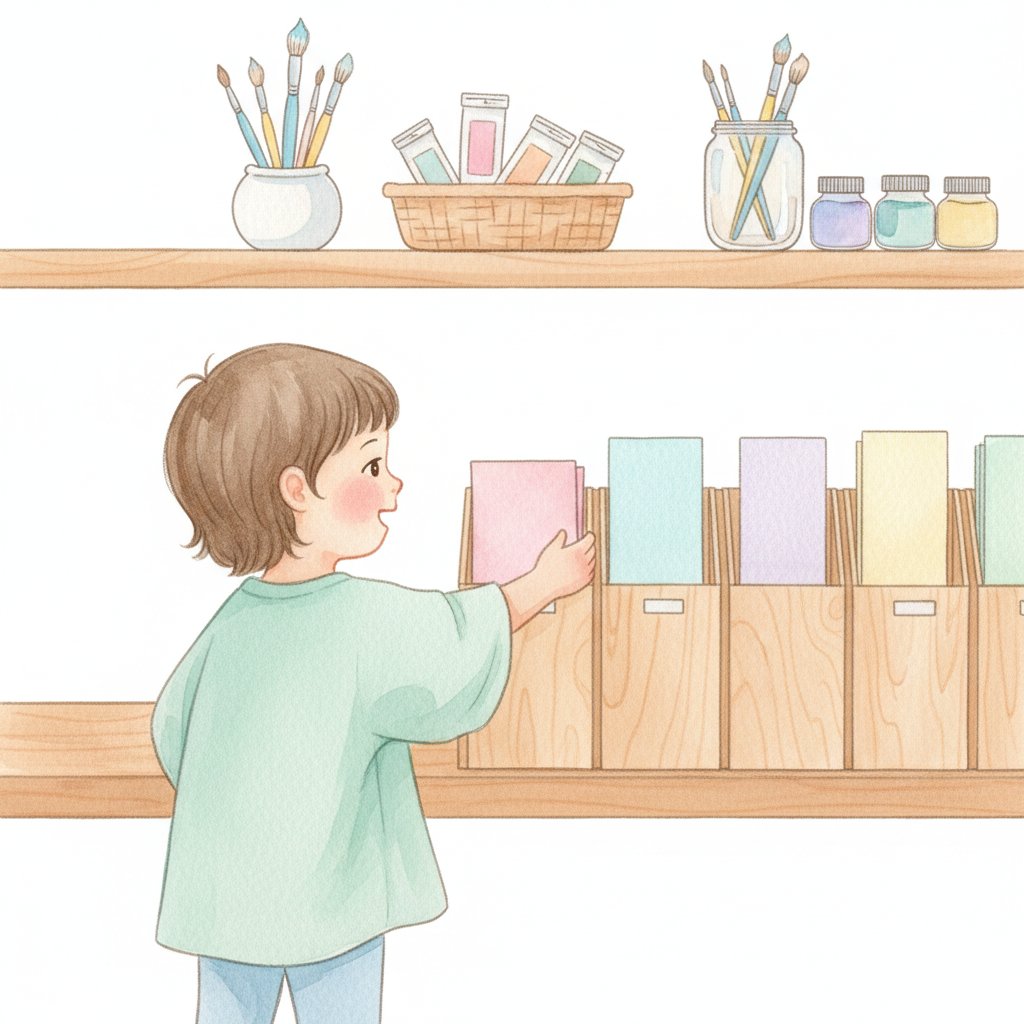
Different art materials need different storage solutions. One-size-fits-all approaches fail because scissors shouldn't share a bin with paint, and paper scraps need a home separate from full sheets. Here's what works for each category.
Papers and Cardstock
Store papers vertically in file sorters, magazine holders, or open-top bins. Horizontal stacking makes retrieving bottom sheets impossible without disturbing the stack. Label each slot by color, size, or type — construction paper, cardstock, scrap paper, specialty papers.
Keep scrap paper in a separate bin accessible to students. Scraps are perfect for collage, experimentation, and practice projects where full sheets aren't necessary. Train students to check the scrap bin first before cutting new paper.
Ideal storage: Vertical file sorters, magazine holders, or labeled open bins. Avoid stacking flat.
Paints and Liquid Media
Paints need stable storage where bottles won't tip and spill. Group by type — tempera, watercolor, liquid watercolor — and then by color family. Keep paints stored upright rather than on their sides to prevent leaks.
Store tempera bottles with caps facing outward so you can quickly identify colors and check that caps are tight. Watercolor pans stack neatly in shallow drawers or bins. Liquid watercolors should be stored in latching containers that prevent tipping.
Ideal storage: Shallow drawers, latching bins, or shelving with raised edges to contain spills.
Brushes and Applicators
Brushes need protection to maintain their shape and prevent damage to bristles. Store brushes bristles up — never resting on bristles. Group by size and type separately from paints to prevent cross-contamination.
Use brush holders with individual slots or wrap each brush in a fabric roll. If using open bins, store brushes with handles visible so students can quickly identify size without rummaging.
Ideal storage: Brush stands with individual slots, fabric rolls, or handled bins with bristles up.
Cutting Tools
Scissors, hole punches, and staplers need secure storage that prevents accidents but remains accessible. Use a designated cutting station where these tools live — never mixed with general supplies.
Store scissors in a scissor caddy or bin with blades pointing down. Consider locking scissors away if safety is a concern in your setting. See our scissor skills guide for developmental expectations that inform how you organize cutting tools by age group.
Ideal storage: Scissor caddy with blade guards, locked drawer for younger classrooms, or designated cutting station.
Adhesives
Glue bottles, glue sticks, tape, and paste all need homes that prevent clogs and drying out. Store glue bottles upright with caps tightly closed. Glue sticks belong in open containers where students can see color caps and grab what they need.
Keep tapes organized by type — masking tape, clear tape, washi tape, painter's tape — on tape dispensers or in labeled organizers. Tangled tape rolls waste time and frustrate students.
Ideal storage: Open caddies for glue sticks, upright holders for bottles, tape dispensers.
Drawing Tools
Crayons, markers, colored pencils, and chalks need sorting and containment. Marker bins should be tested regularly — toss any that are dried out to prevent student frustration. Store markers horizontally to keep ink distributed evenly toward tips.
Sort crayons by color families in divided containers. Colored pencils belong in pencil cases or bins with points protected. Chalk needs a sealed container to prevent dust from spreading.
Ideal storage: Divided containers for sorted colors, sealed chalk bins, horizontal marker storage.
Three Organization Systems Compared
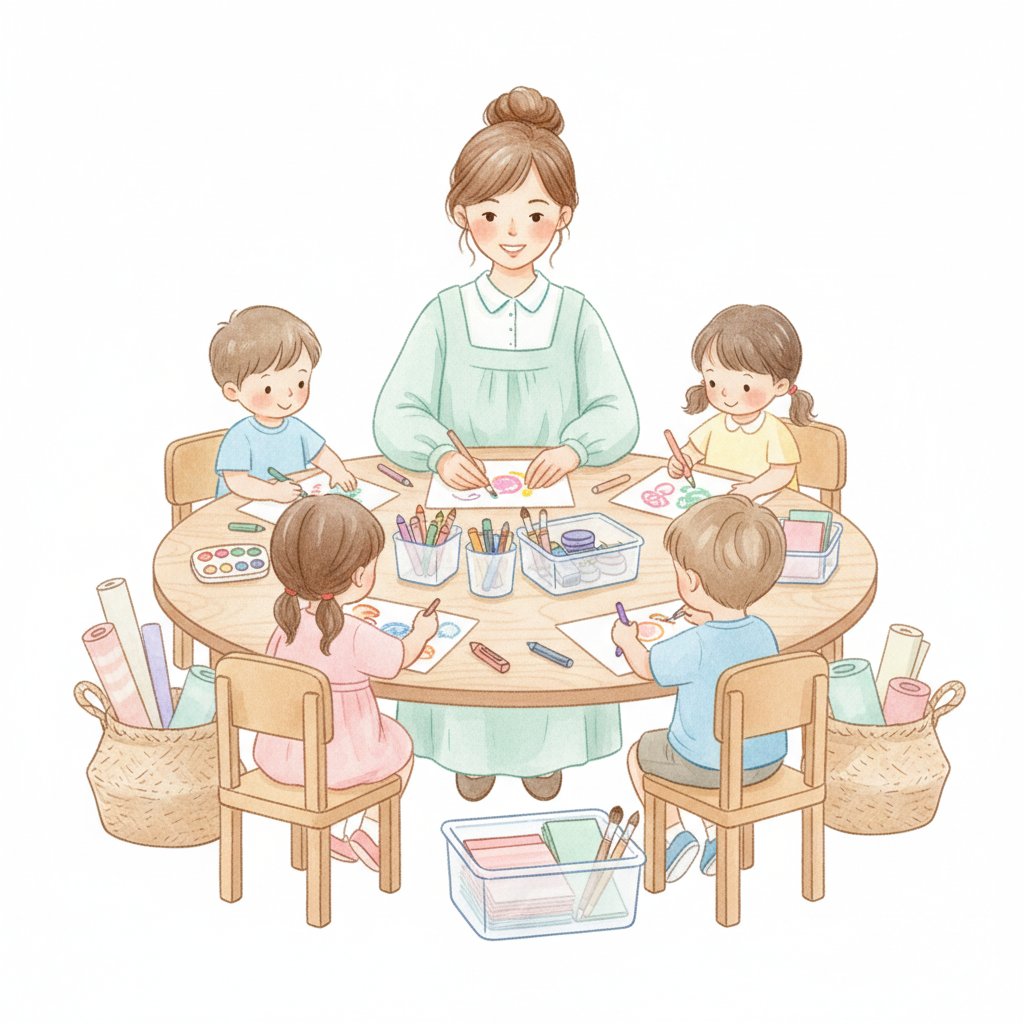
Every classroom is different. The system that works for a preschool with 15 students won't meet the needs of a kindergarten class of 25. Here are three approaches matched to different teaching contexts.
System 1: The Teacher-Controlled Station (Best for Ages 2-4)
Young children need structure and supervision with art materials. This system keeps supplies accessible but under teacher control.
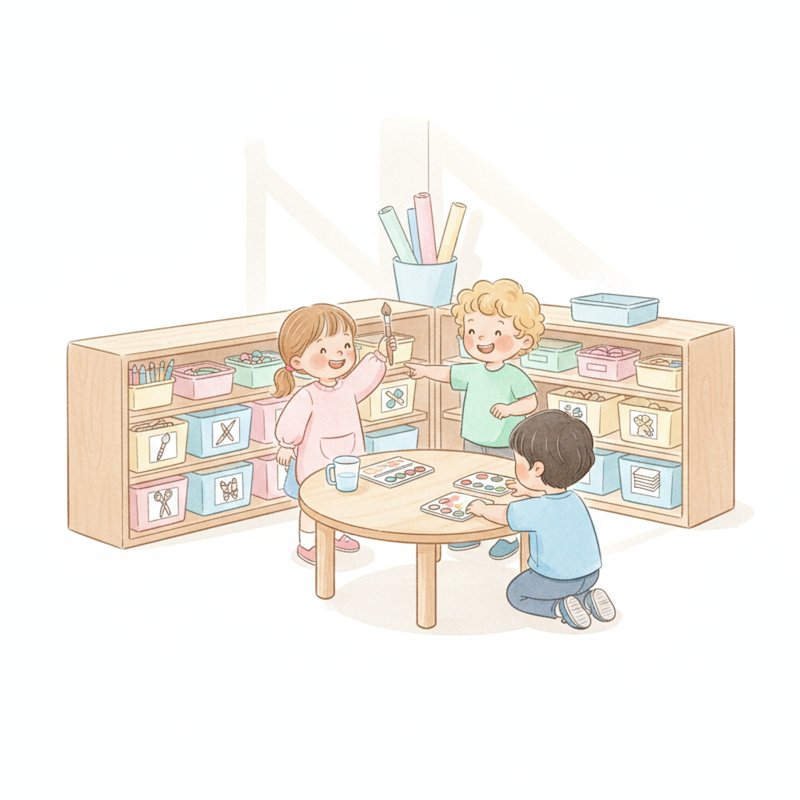
How it works: A central art table holds all supplies. Materials are organized in labeled bins on a low shelf nearby. Students ask for what they need or access materials during designated art time under supervision. Cleanup is teacher-directed with student participation.
Pros: Maximum supervision prevents misuse, materials stay organized, teacher controls what's available for each activity.
Cons: Limits student independence, requires teacher to manage distribution, can create bottlenecks during busy periods.
Best for: Preschool classrooms, special education settings, or when introducing new materials.
System 2: The Independent Access Station (Best for Ages 4-6)
Older preschoolers and kindergarteners can handle more responsibility. This system teaches independence while maintaining organization through clear labeling and defined routines.
How it works: Art supplies are organized on open shelves accessible to students. Each category has a labeled home — papers in vertical files, paints in latching bins, scissors in a designated cutting station. Students access materials independently during free choice or structured art time. Cleanup routines are taught and reinforced daily.
Pros: Builds student independence, reduces teacher management time, teaches responsibility and ownership of materials.
Cons: Requires consistent reinforcement of routines, materials may become disorganized during learning phase, needs initial investment in labeling and setup.
Best for: Pre-K, kindergarten, and classrooms where independence is a learning goal.
System 3: The Activity-Based Rotation (Best for All Ages with Limited Space)
Not every classroom has space for permanent art stations. This rotation system works in small classrooms or when art is a periodic activity rather than a daily center.
How it works: Store all art supplies in closed cabinets or a closet. Rotate materials out based on current curriculum or project needs. Set up temporary art stations on tables or designated surfaces during art time, then clean and store away. Rotate weekly or monthly to keep materials fresh and aligned with learning goals.
Pros: Maximizes limited space, materials stay protected when not in use, allows focused project-based setups.
Cons: Less spontaneous access to art, requires setup and breakdown time, students can't independently access supplies outside art periods.
Best for: Small classrooms, shared spaces, or programs where art is scheduled rather than continuous.
Step-by-Step Setup Process
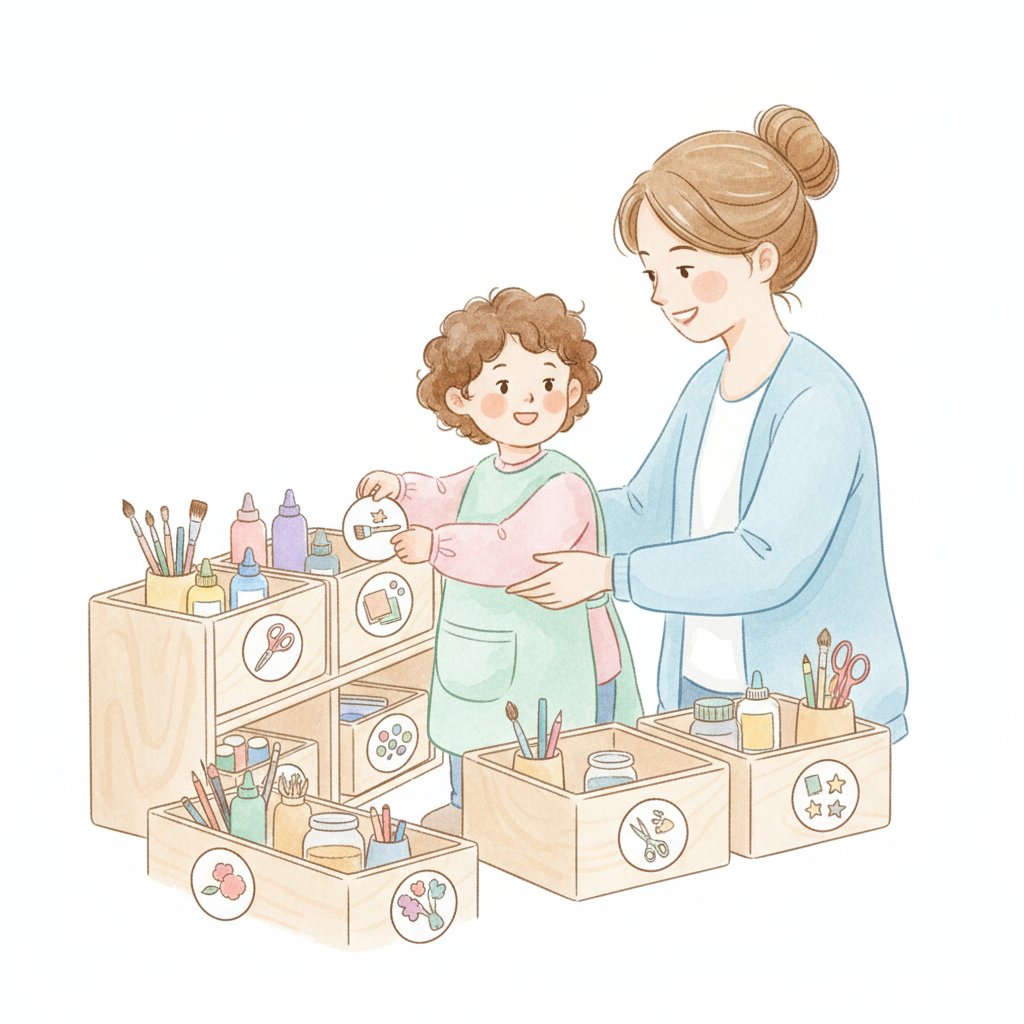
Transform your art corner from chaos to order with this straightforward process. Adapt timing to your schedule — some teachers complete this in a planning afternoon, others spread it across several prep periods.
Day 1: Sort and Inventory. Follow the assessment process above. Sort all supplies into categories, discard anything unusable, and create your inventory list. This foundation work prevents overbuying and identifies gaps.
Day 2: Choose Storage Containers. Based on your categories and quantities, select containers that will house each type. You don't need matching expensive storage — clear bins, baskets, file sorters, and repurposed containers work well as long as everything is labeled.
Day 3: Zone Your Space. Decide where each category will live. Papers near the work surface. Paints away from high-traffic areas. Cutting tools at a designated station. Consider traffic flow — students shouldn't need to cross the art corner to gather materials for one project.
Day 4: Label Everything. Create labels for each container, shelf, and zone. Use words and pictures for young readers. Laminated labels withstand year-long handling. We offer free printable art supply labels for classrooms that you can download and use immediately.
Day 5: Teach Routines. Introduce students to the new system. Model how to access materials, how to return them to their labeled homes, and what cleanup looks like. Practice routines before expecting independence. Celebrate small wins — students returning scissors to the correct bin, papers filed vertically, paints capped tightly.
Day 6: Monitor and Adjust. Watch how students use the system. Are there bottlenecks? Are certain labels confusing? Is a category in an inconvenient location? Adjust based on what you observe. The best systems evolve based on real use.
Labeling Systems That Work
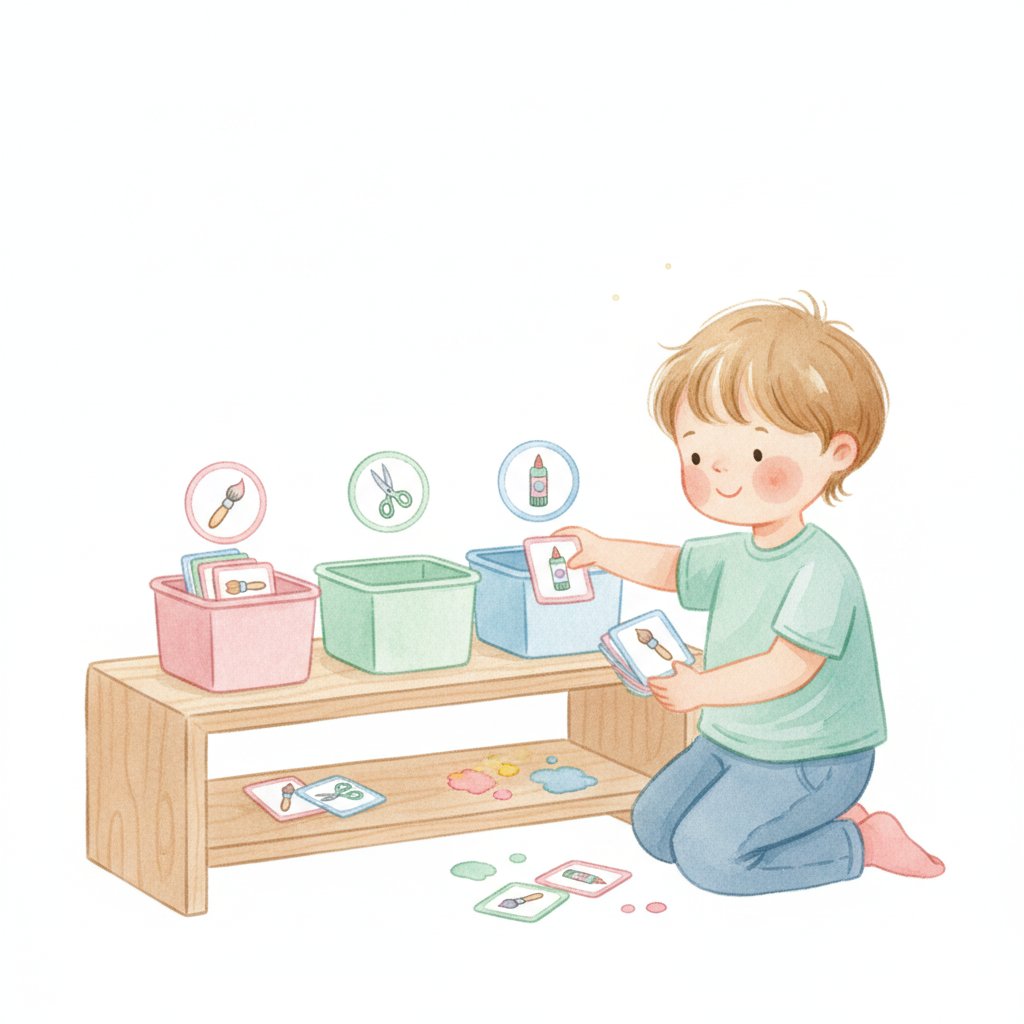
Labels bridge the gap between organized storage and student independence. Without labels, only the teacher knows where things belong. With labels, students can help maintain the system all year.
Picture + Word Labels. For pre-readers and early readers, combine simple pictures with written words. Paint bottles get a paintbrush icon. Paper bins get a paper icon. Scissors get scissor icons. This dual coding supports both non-readers and emerging readers.
Color Coding. Use colored labels or colored dots on bins to create visual sorting systems. All red materials in red-labeled bins. All drawing tools in blue-labeled areas. Color coding creates instant visual recognition for students scanning for materials.
Outline Labels. Place an outline label on each shelf or bin that shows exactly where each container belongs. When a student returns a blue bin of markers, they match it to the blue outline on the shelf. This self-correcting system prevents shelves from becoming disorganized through the day.
"One Thing In" Labels. For shared materials like glue sticks or scissors, place a label with a dot system or icon showing exactly how many items belong in that container. Students can see at a glance if something is missing or if too many items were returned to the wrong home.
Download our free printable art supply labels for classrooms to jumpstart your labeling system. These ready-made labels include pictures, words, and color coding designed specifically for early childhood classrooms.
Teaching Students to Use the System
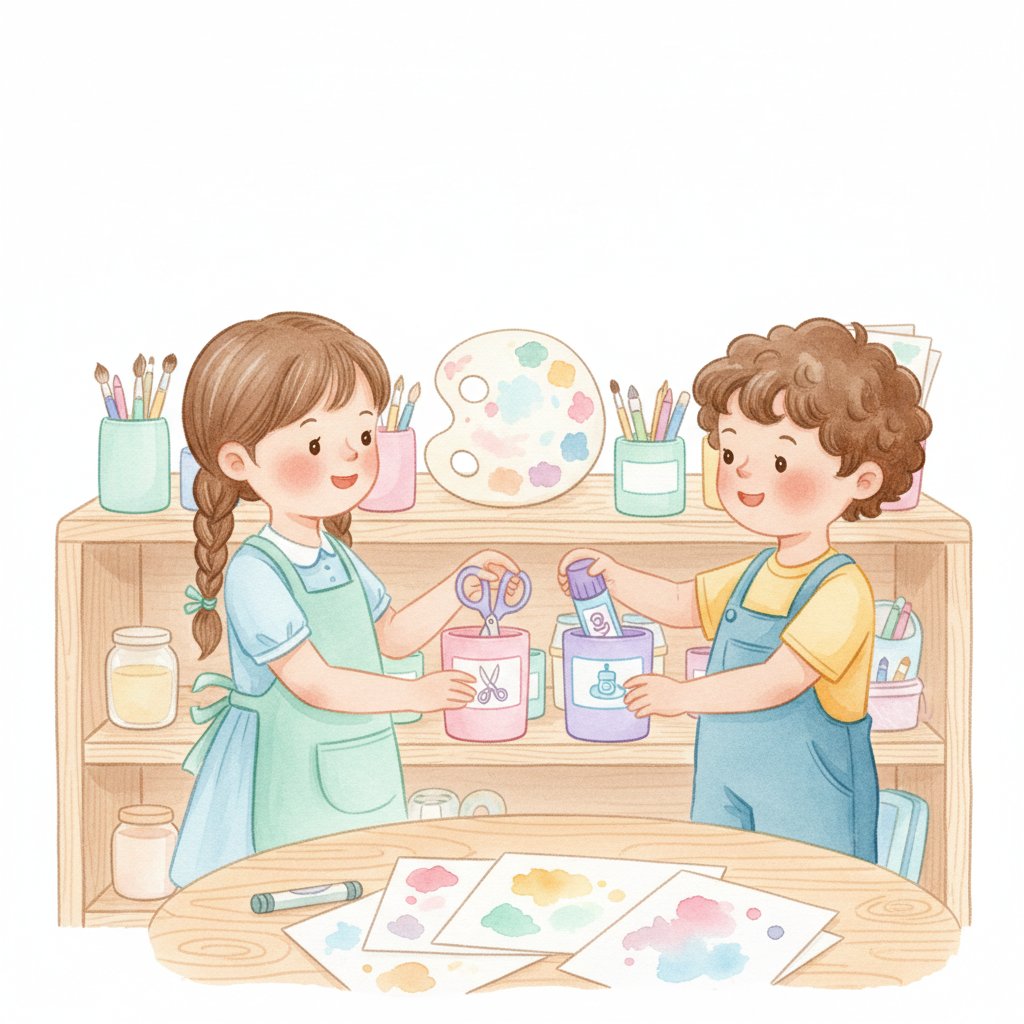
An organized system only stays organized if students know how to use it. Teaching routines is as important as setting up storage.
Model the Process. Before students use the art center independently, model the entire cycle. Show how to choose materials, how to use them responsibly, and exactly how to return them. Narrate your thinking: "I need blue paint, so I check the paint bin. Here it is. Now I use it. When I'm done, I cap it tightly and return it to the blue paint bin."
Create Visual Guides. Post simple routines near the art center. Picture sequences showing cleanup steps work well for young children. A series of three pictures: 1) Gather materials, 2) Create art, 3) Return each item to its labeled home. Visual reminders support students who forget steps. Classroom poster sets are another powerful visual guide — see our complete classroom poster set guide for teachers for essential SEL, alphabet, and routine displays that reinforce organization habits.
Assign Jobs. Create art center helper roles that rotate weekly. One student is the paper monitor, making sure papers stay filed. Another checks that paint caps are tight. A third returns any stray items to their correct homes. Shared responsibility maintains the system and teaches stewardship.
Celebrate Organization. Notice and praise when students use the system correctly. "I noticed that everyone returned scissors to the scissor station today. That helps us find them quickly next time!" Positive reinforcement builds habits faster than correcting mistakes.
Regular Reset Times. Schedule brief reset times throughout the day — before lunch, before pack-up, or before transitions. Students spend 3 minutes tidying the art corner together. Consistent reset times prevent disorganization from accumulating and feeling overwhelming.
Budget-Friendly Organization Hacks
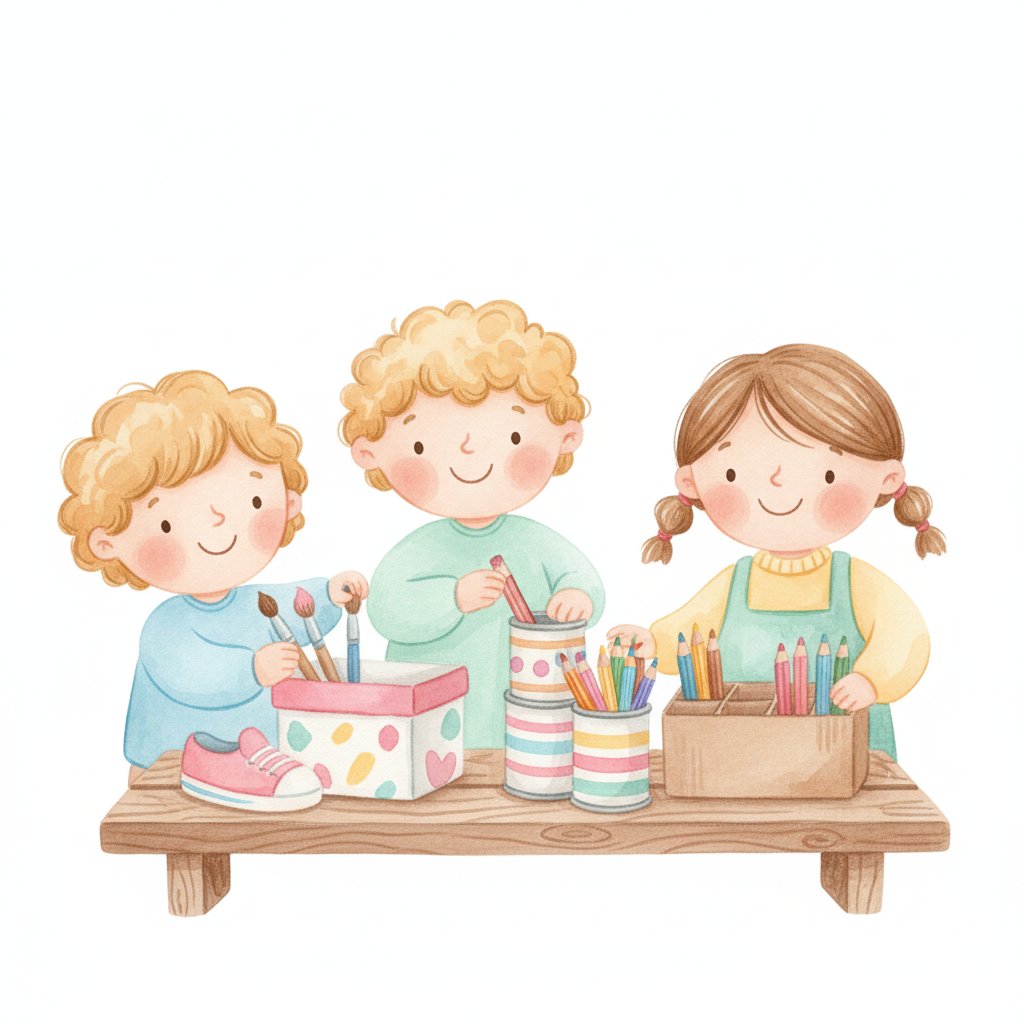
Organizing art supplies doesn't require expensive storage systems. Creative solutions using everyday materials work just as well.
Repurposed Containers. Shoe boxes, cereal boxes cut down, tin cans, and plastic food containers all make excellent storage when labeled. Cover cereal boxes with contact paper or paint for a uniform look. Tin cans hold brushes, pencils, or scissors when edges are taped smooth.
Drawer Dividers. Cut cereal boxes or cardboard to create dividers inside drawers. Sort markers, crayons, or collage materials without buying specialized organizers. Custom-fit dividers use drawer space efficiently and keep categories separated.
Vertical File Storage. Use empty cereal boxes, shipping boxes, or cardboard strips to create vertical files for papers. Tape several together for a sorter that holds multiple paper colors. Reinforce with duct tape for durability.
Magazine Holders. Magazine holders are perfect for storing paper scraps, templates, or stencils. Label each holder so students can find what they need independently. Thrift stores often have magazine holders at low prices.
Tension Rods. Install tension rods in a closet or shelving unit to hang baskets, bins, or buckets. Vertical storage saves surface space and keeps materials visible and accessible. Students can grab what they need without rummaging.
Shoe Organizers. Over-the-door shoe organizers with clear pockets are ideal for storing small items — googly eyes, pom-poms, sequins, buttons. Each pocket becomes a labeled home for one material type. Everything is visible and nothing gets lost at the bottom of a bin.
Maintaining Organization All Year
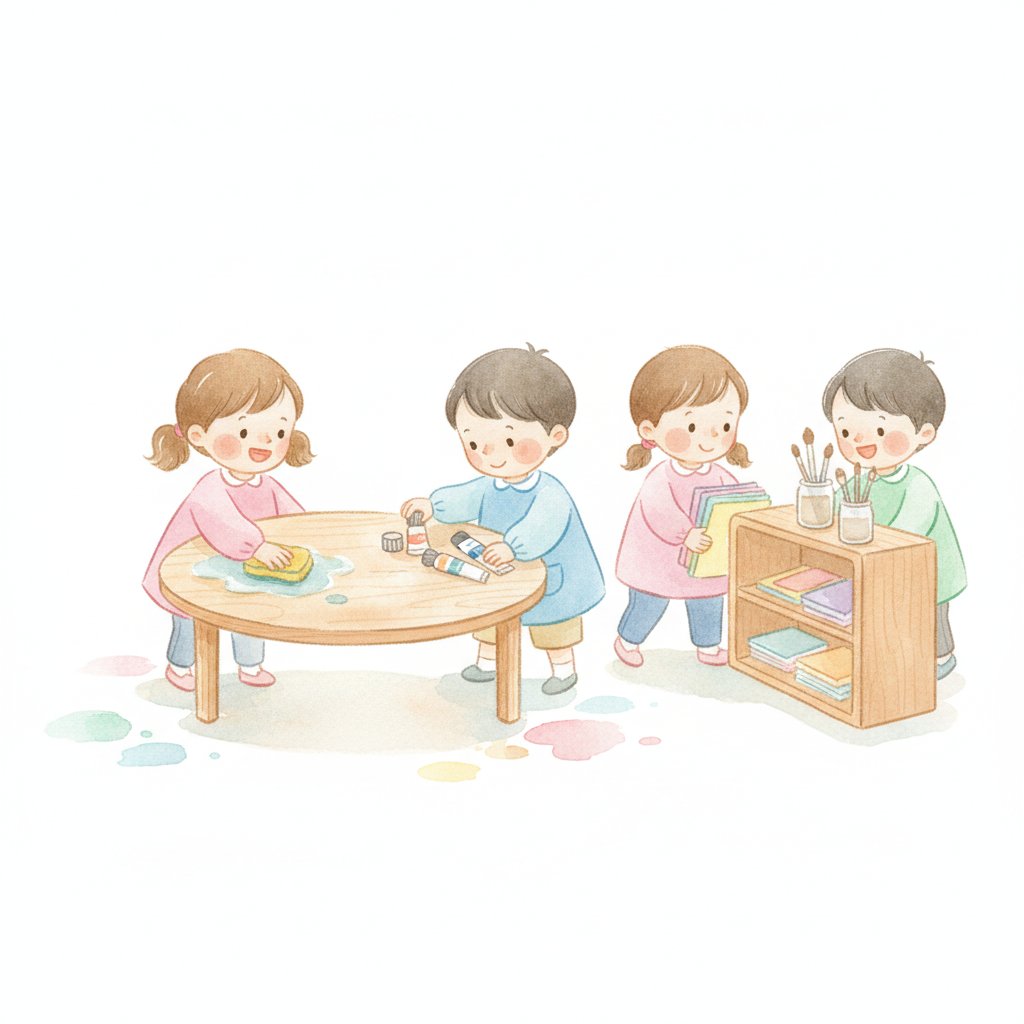
The real test of any organization system is whether it stays organized through January, March, and May. Maintenance prevents the slide back to chaos.
Weekly Quick Checks. Spend five minutes weekly checking that everything is in its labeled home. Tighten paint caps. File stray papers. Return scissors to the cutting station. Small, regular maintenance prevents big problems.
Monthly Inventory. Once a month, do a quick inventory check. Note what's running low. Identify any materials that need replacement or replenishment. This prevents running out of essential supplies mid-project.
Seasonal Rotation. Rotate seasonal materials out and in. Bring out holiday-specific supplies in December, spring materials in April. Keep non-seasonal materials stored away to reduce clutter and maintain focus on current learning themes.
Student Ownership. Involve students in maintenance. End-of-week cleanup becomes a classroom job. Students take pride in keeping their art center organized when they've been taught how and given responsibility.
An organized art center isn't about perfection — it's about systems that support learning and independence. When students know where to find what they need and how to return it when done, your art center becomes a space of creativity rather than chaos. That's organization that actually lasts.