Articles17 min read

Process Art Activities for Preschoolers: A Bank of Open-Ended Ideas for Ages 3–5

A working library of process art activities for preschoolers — paint, printmaking, collage, sculpture, and nature invitations, each with setup steps, age-by-age adaptation (3, 4, and 5), what to watch for, and the scripts that keep it about the making and not the result. No templates, no crafts to copy, no "right" finished picture.

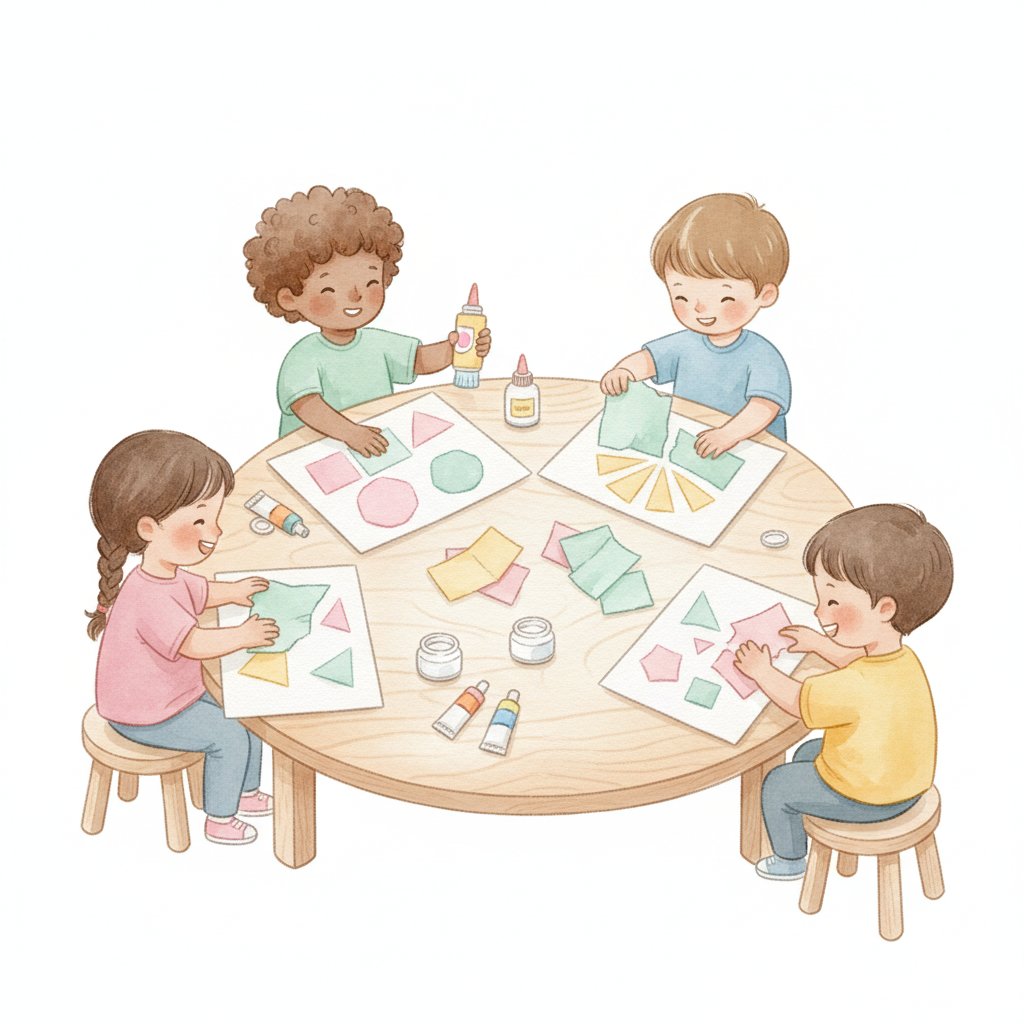
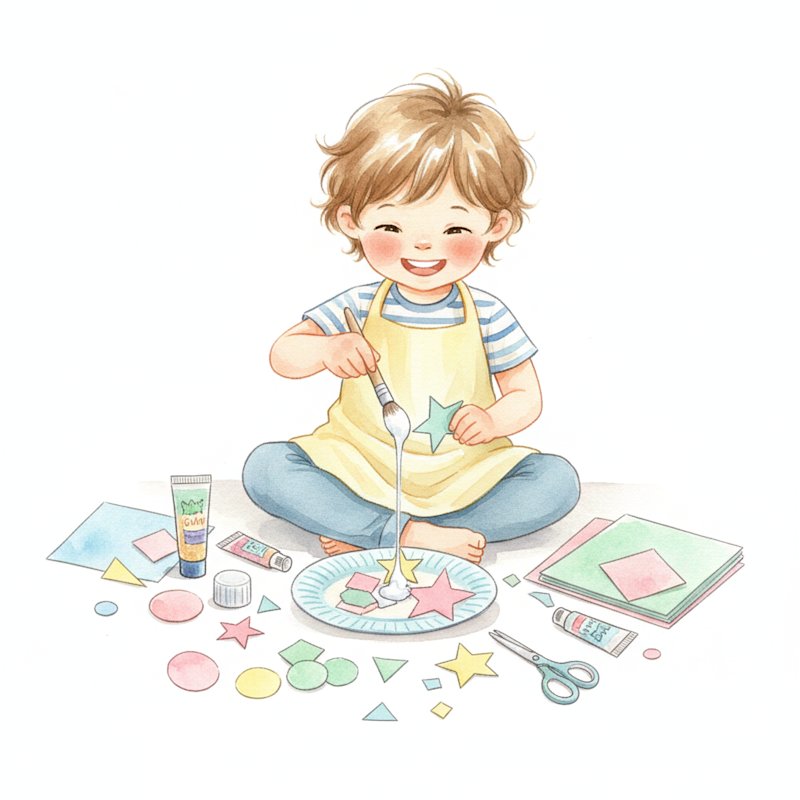
Watercolor illustration of a joyful young child freely creating a colorful paper craft collage with cut paper shapes

The first process art invitation I set up for my three-year-old group was a tray of washable tempera in two colors, a fat brush, and a sheet of paper the size of a place mat. Six children sat down. The shortest session lasted eleven minutes; the longest ran twenty-two. Over the next eight weeks I logged every setup in a notebook — which material was out, how long each child stayed, what they said — and one pattern repeated so often it stopped being surprising: the invitations with the fewest materials produced the deepest engagement. Two colors and one tool beat twelve colors and four tools every time. That notebook is what this article is built on.

This is a bank of process art activities for preschoolers — open-ended invitations where the doing is the point and there is no model to copy. It is deliberately not a curriculum. If you want the full-year scope and sequence — which skill to introduce in which week, how to assess it, and how to sequence materials across twelve months — that lives in our Process Art Curriculum for Preschoolers. This page is the activity bank that curriculum draws from: deep, runnable methods you can set up tomorrow, organized by material family rather than by month. And if you want a broad mix of all art types (drawing, painting, seasonal crafts, printable projects) in a quick one-line-per-activity format, see our 25 Easy Art Activities for Preschoolers.

What Counts as a Process Art Activity (and What Doesn't)

Three signals separate a process art activity from a craft, and every invitation below meets all three:

  • Open-ended materials. The child decides what to do with them. A tray of paint and paper is process art; a pre-cut snowman to assemble is not.
  • No model to copy. There is no adult example of the "finished" piece on the table. The child is not trying to match anything.
  • The process is the product. You cannot fail a process art activity, because there is no target result. This is the feature, not the gap.

The developmental payoff is real and well-documented. The National Association for the Education of Young Children (NAEYC) consistently frames open-ended, child-directed experience with materials as core to developmentally appropriate practice — building fine motor control, problem-solving, and the creative confidence that comes from making your own choices rather than following an adult's. Process art is where that practice lives, week to week.

How to present a process art invitation

The setup ritual matters as much as the materials. I use the same five-step opening every time, and it takes under two minutes:

  1. Set the materials out before the child arrives. A prepared table signals "this is ready for you," the way a set table signals dinner.
  2. Name the materials, not the outcome. "There's paint, a brush, and paper." Never "Let's paint a flower."
  3. State the one boundary. Usually: "Paint stays on the paper." That is the only rule.
  4. Step back. Sit nearby but do not direct, suggest, or correct. Resist the urge to say "why don't you add…"
  5. Narrate, don't praise the product. "I see you used all the blue first" — not "beautiful!" Comment on process; describe, don't evaluate.
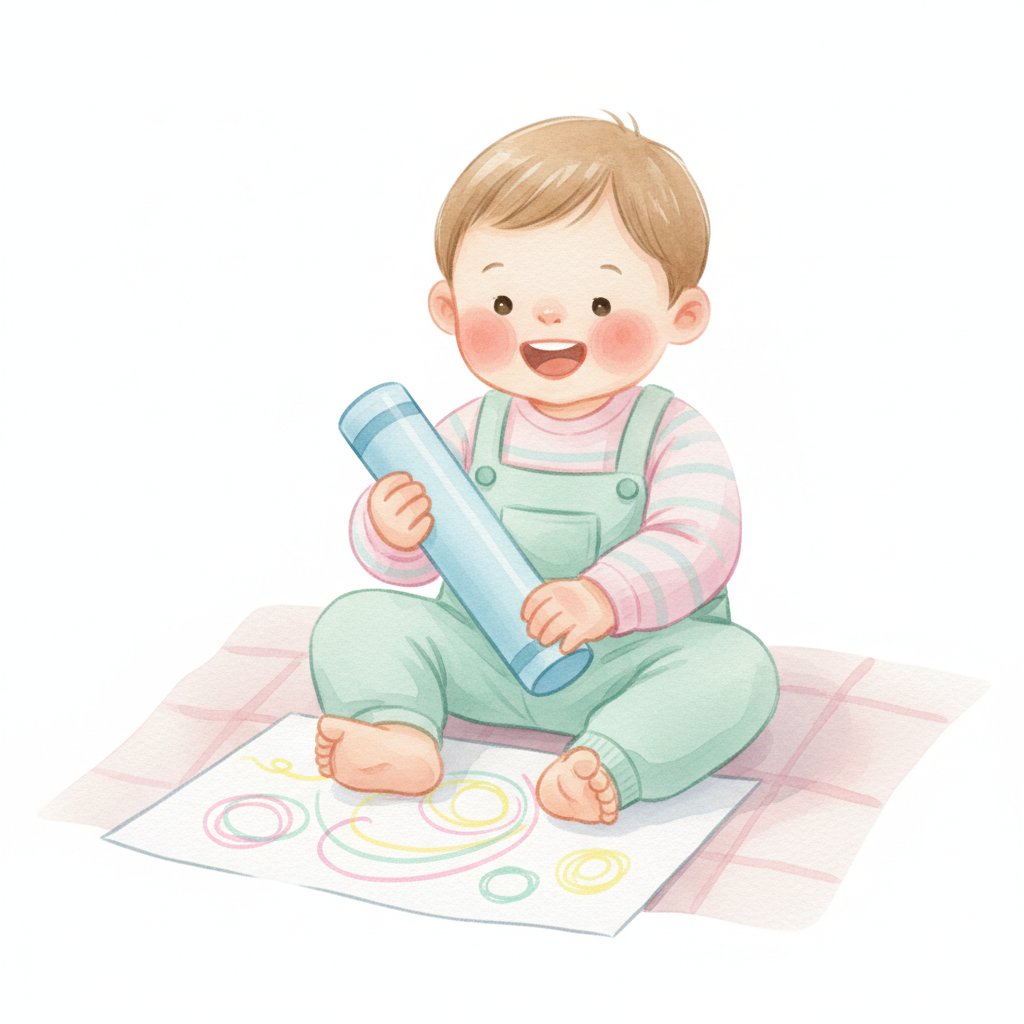
A toddler making first scribbles with a chunky crayon, the starting point of open-ended mark-making

With that frame, the activities below are yours to rotate. Pick one material family, run it for a week, then change one variable.
Paint & Color: The Foundation Activities

Paint is where process art begins, because the hand-to-mark feedback loop is immediate and the room for exploration is enormous. These four invitations are the ones I return to most often with three- to five-year-olds.

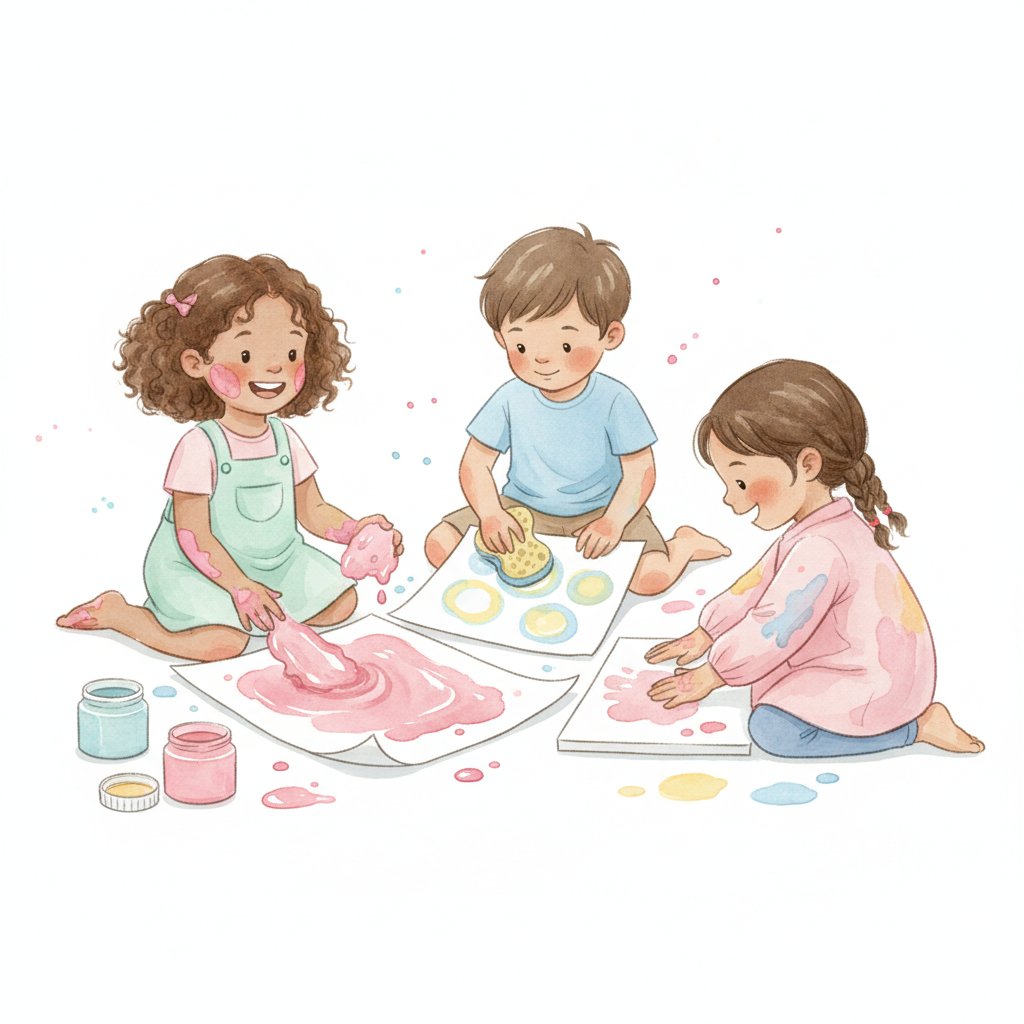
Children finger painting and sponge stamping with bright tempera paint

1. Two-Color Discovery Painting

The single most revealing paint invitation, and the easiest to set up. Offer exactly two primary colors of washable tempera (blue and yellow is a good start), one fat brush, and a large sheet of paper. The constraint is the lesson.

  • Ages 3: Hand them the brush and step back. Watch for whole-arm strokes from the shoulder and the moment they discover a third color appearing where the two meet. Expect 8–15 minutes.
  • Ages 4: Add a small pot of water and a cloth for rinsing between colors — this introduces intention ("I want green here"). Expect 15–25 minutes.
  • Ages 5: Offer the two colors plus white, and a palette for mixing. Five-year-olds will spend the entire session mixing and barely touch the paper — that is the activity.
  • Say: "What happened where the blue and yellow touched?" Observe for: intentional color choice (not random dipping), sustained attention past the first five minutes.

2. Sponge and Tool Printing

Cut kitchen sponges into a few chunky shapes — not pictures, just shapes. Add a piece of corrugated cardboard, a cut-up ball of crumpled paper, and one color of paint in a shallow tray. The child discovers that each tool leaves a different mark.

  • Ages 3: One sponge, one color. The repetition of stamping builds the cause-and-effect loop.
  • Ages 4: Three tools, two colors. Watch them begin to plan ("I'll use the cardboard for the sky").
  • Ages 5: Introduce printing on top of a dry painting from a previous session — layering is a genuine artistic decision at this age.

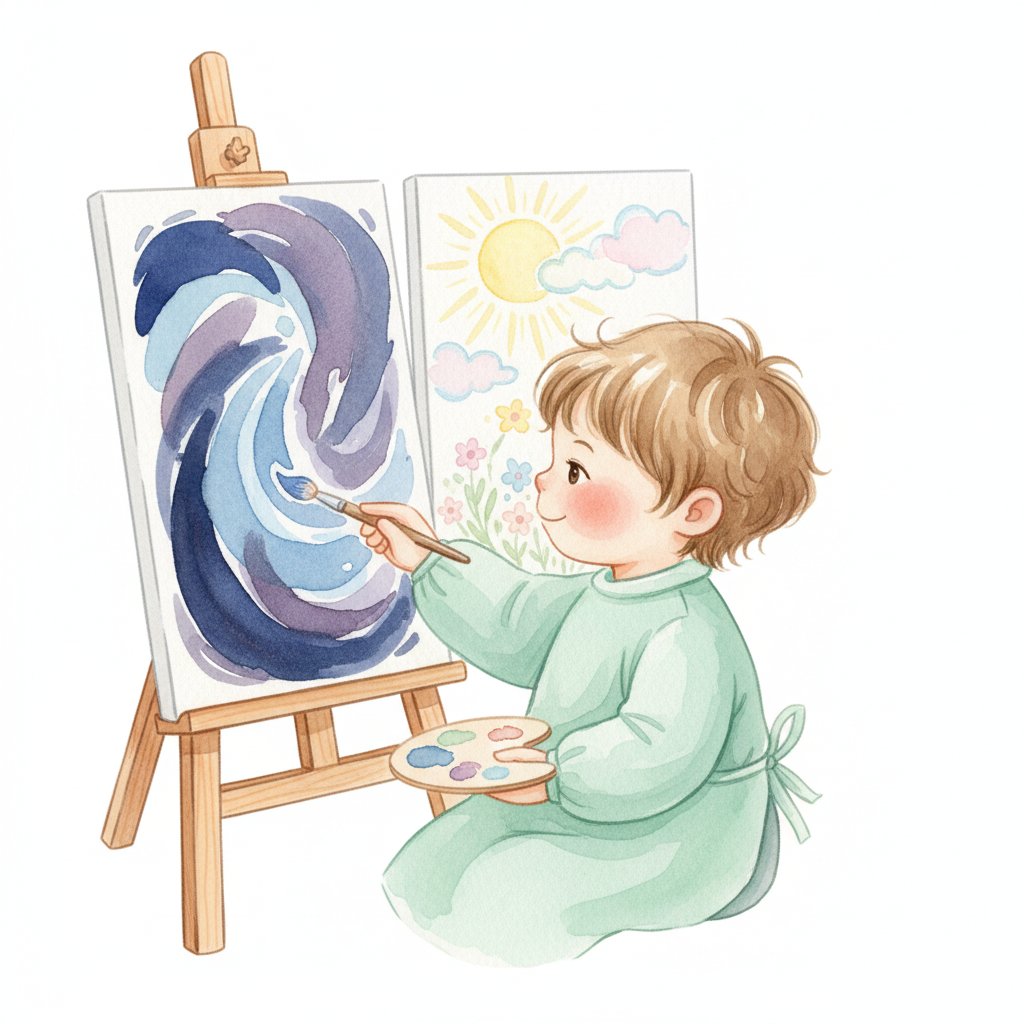
3. Large-Paper Whole-Arm Painting

Tape paper to the floor or a low wall (vertical surfaces build shoulder and wrist stability differently than flat tables). One color, the largest brush you own. This is pure sensory-motor work and it is deeply regulating for children who arrive wired.

  • Ages 3–5 all benefit. The variable is the paper size, not the child. Bigger paper, longer sessions.
A child painting one dark picture and one light picture at an easel, exploring contrast on a vertical surface

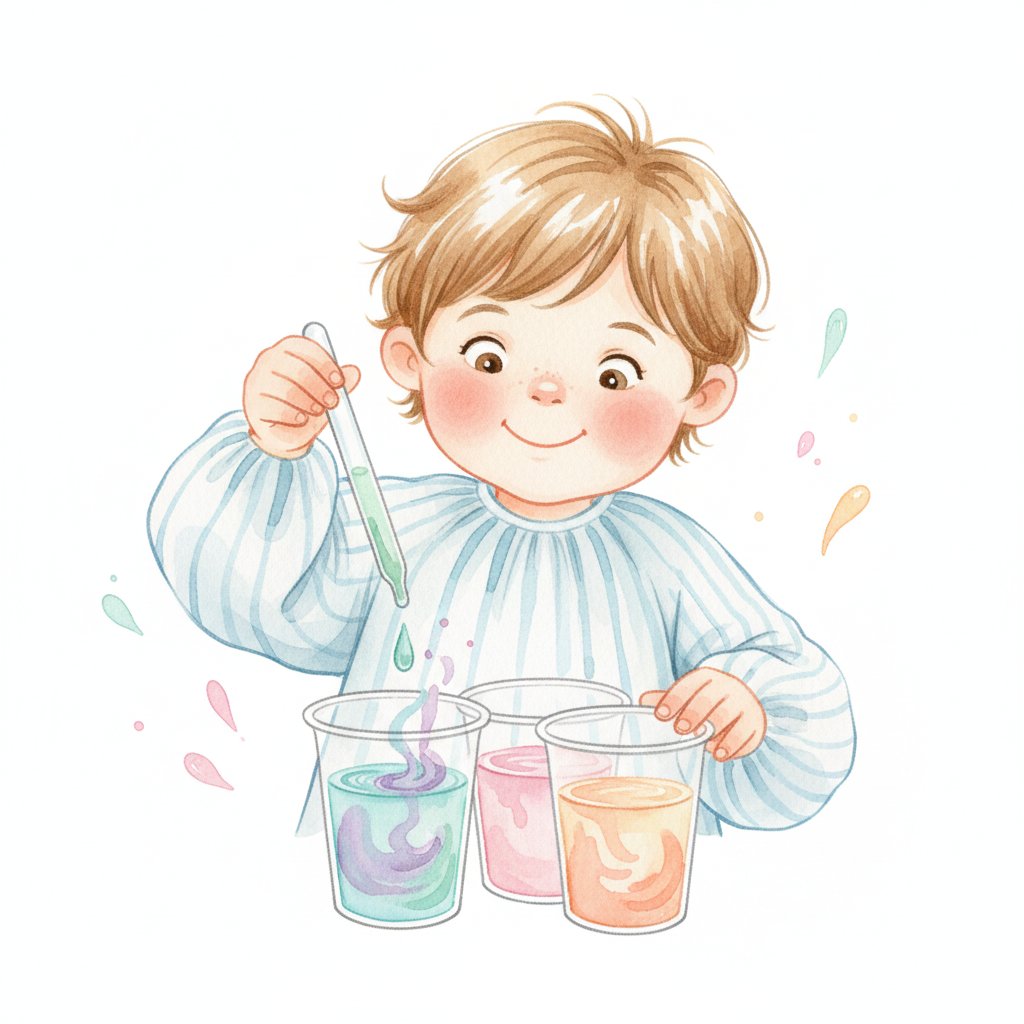
4. Dropper Color Mixing

Fill three small cups with water tinted red, yellow, and blue (liquid watercolor or food coloring). Give the child a pipette or dropper and a clear tray with empty cups. This is fine motor gold disguised as color play.

A young child using an eyedropper to mix colored water in clear cups, building the precision grip that later supports a pencil
  • Ages 4–5 is the sweet spot; three-year-olds will need a fatter dropper and may mostly enjoy transferring. For the older ones, the precision grip required to operate a dropper is the same control that later supports a pencil.
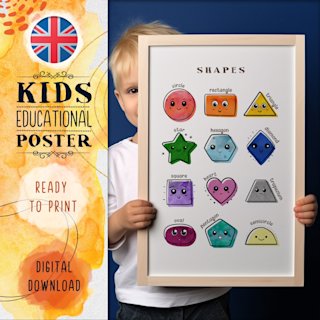
Give the paint table a shared language for color
When a four-year-old can name what they mixed ("that's green, and a little bit of brown"), they start choosing colors on purpose. A simple colour poster at child eye-height turns accidental mixing into intentional discovery — the same poster that labels the paint cups at clean-up time.

Printmaking & Texture Invitations

Printmaking teaches cause and effect with a delay — the child makes a mark, then reveals it by lifting the paper. That moment of reveal is genuinely exciting for preschoolers and worth the setup.

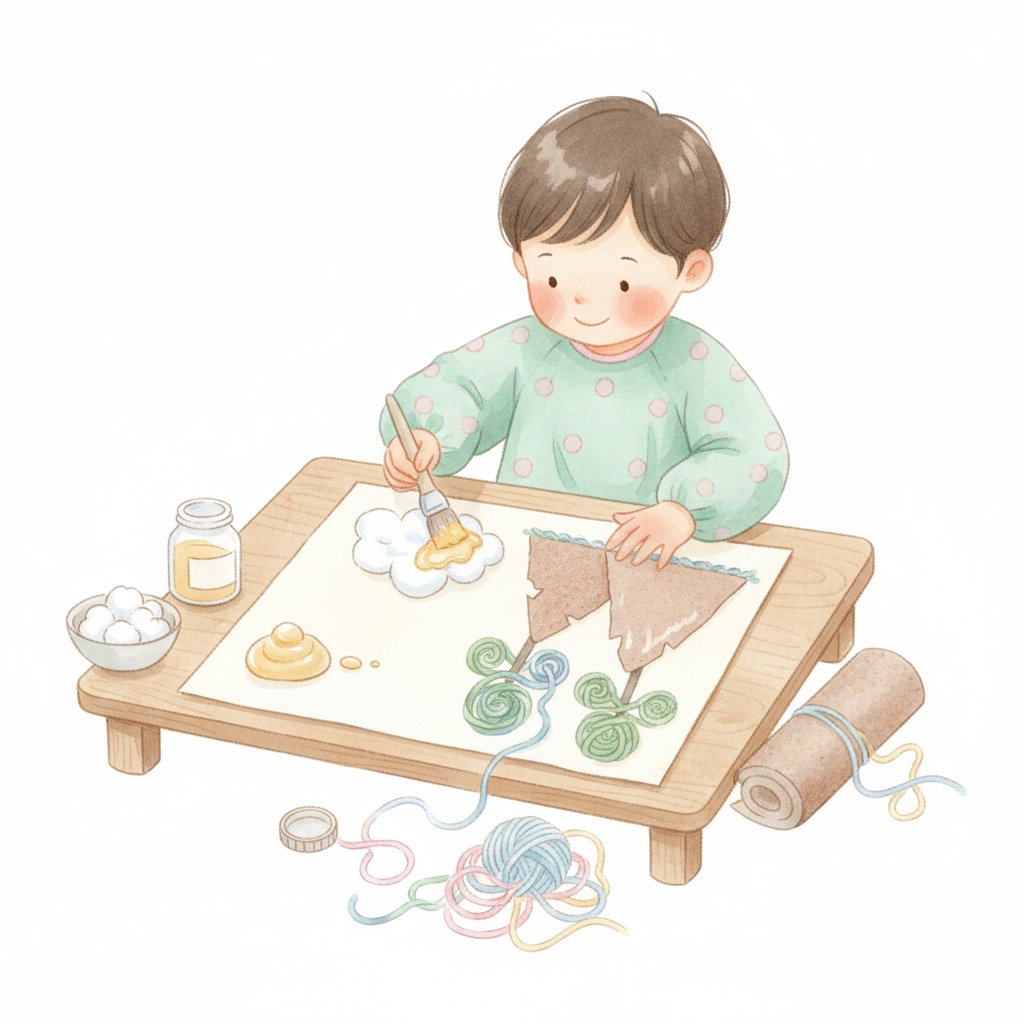
A child making a texture collage with cotton, sandpaper and yarn

5. Bubble-Wrap Printing

Paint directly onto a sheet of bubble wrap, lay paper on top, press flat, and peel back to reveal a field of dots. Use one or two colors.

  • Ages 3: They will want to pop the bubble wrap afterward — let them; that pinch-and-pop is fine motor work.
  • Ages 4–5: Offer a second print in a contrasting color over the first (once dry) and watch them discover pattern and layering.

6. Nature-Object Printing

Collect hard, paintable objects on a walk — a celery base (prints like a rose), a halved apple, firm leaves, a piece of cut lotus root or okra. Dip in paint, press onto paper. Every object teaches that form transfers.

  • All ages with adult setup. The learning is observation: "The celery made a flower?!" This is where science and art are genuinely the same activity.

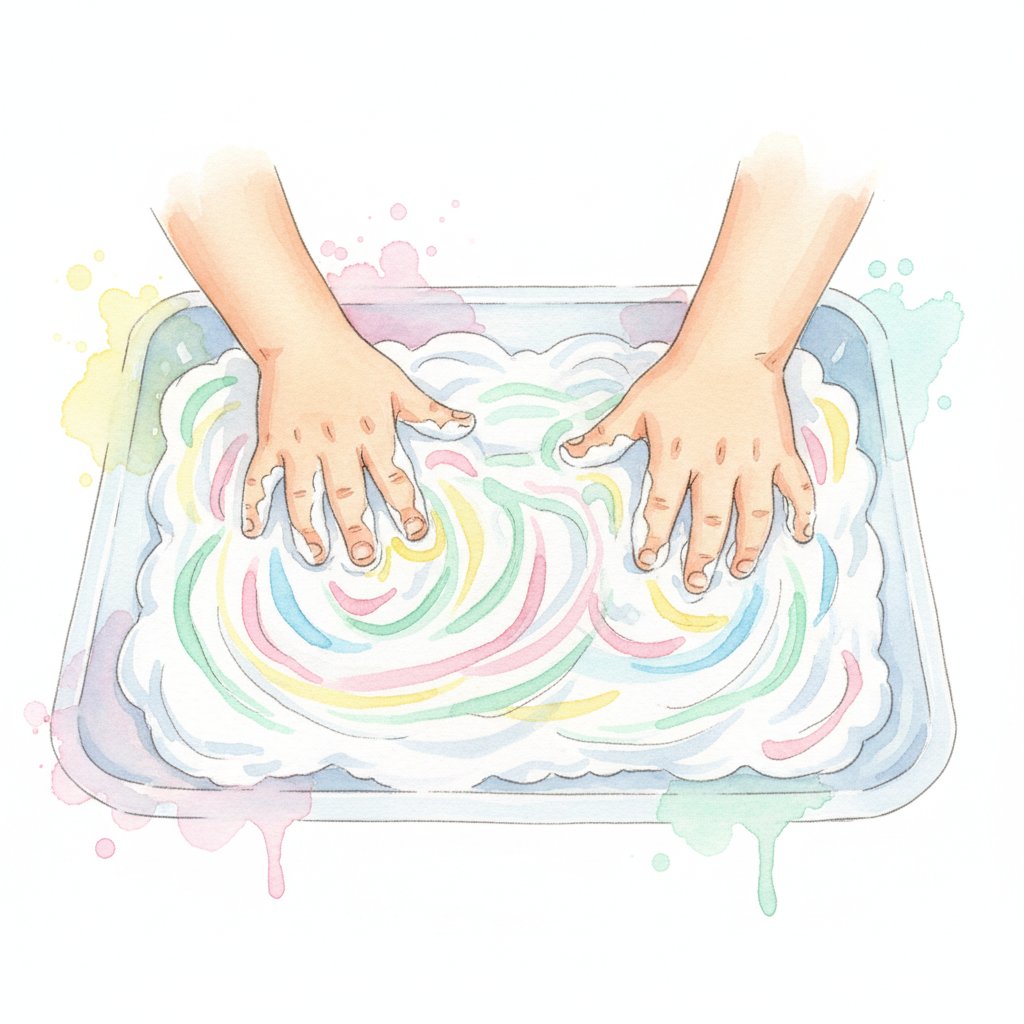
7. Shaving-Cream Marbling

Spray a layer of shaving cream into a tray, let the child drip liquid watercolor across the surface, and swirl with a craft stick. Press a sheet of paper onto the top, peel it off, and squeegee the cream away to reveal a marbled print.

  • Ages 4–5 (younger children tend to smear rather than print, which is also fine — it becomes a sensory activity instead). This is the messiest activity in the bank; do it over a protected surface or outside. Shaving cream is also an unexpectedly good bridge for children who avoid wet textures, because it's light and warm.
A child making swirls in fluffy shaving cream, a sensory-rich marbling invitation

8. Crayon Texture Rubbings

Place leaves, coins, or textured tiles under a sheet of paper and rub a crayon on its side across the top. The texture appears like magic. This is the lowest-mess activity here and the easiest to set up while cooking dinner.

  • Ages 3–5. Pair it with shape vocabulary — a shapes reference at the table turns "a bumpy thing" into "a circle with lines."

Process art prints make excellent displays because no two are alike. Hang them on a low clothesline so children can see their own work at their own height.

Turn a shape into a starting point, not a template to copy
Stamping and printing naturally produce shapes — circles, squares, triangles, the repeating patterns a four-year-old loves. A shapes poster on the wall gives children the words for what they just made, so "I made a thing" becomes "I stamped a row of triangles." Reference, not instruction.

Collage & Mixed Media

Collage is where planning enters process art — the child chooses, arranges, and then commits by gluing. It is the messiest family here and often the most-loved.

Children making a torn paper collage with glue

9. Torn-Paper Collage (No Scissors)

Offer strips of colored paper, a glue stick, and a base sheet. No scissors — the tearing is part of the fine motor work and removes the "I can't cut" barrier entirely.

  • Ages 3: Pre-tear some strips for tiny hands; they tear the rest. Arranging comes before gluing.
  • Ages 4–5: They tear their own and begin to tear for a purpose — "small pieces for the eyes."
  • Observe for: the shift from random gluing to deliberate placement. That is the planning skill arriving.

10. Sticky-Contact-Paper Wall

Tape a sheet of clear contact paper to a wall or window, sticky side out, at child height. Set out a basket of light collage items: tissue squares, feathers, foam shapes, cupcake liners. Toddlers can stick and re-stick for half an hour with zero glue and near-zero mess.

  • Ages 3 is ideal and this is the single best process art activity for a child who dislikes getting their hands dirty, because nothing transfers onto the skin.

11. Recycled-Material 3D Collage

A box of clean recyclables — cardboard tubes, egg cartons, bottle caps, yogurt cups — plus white glue and tape. The child builds. There is no picture to make; there is only "what can this become."

12. Glue-Resist and Salt Painting

Draw with white glue on paper (or let the child squeeze it freely), sprinkle salt over the wet glue, tap off the excess, then touch a wet paintbrush loaded with watercolor to the salt — the color races along the lines by capillary action.

  • Ages 4–5. The "color running along the line" moment reliably produces gasps. It's process art with a visible mechanism, which five-year-olds find deeply satisfying.

Sculpture & 3D Process Work

Three-dimensional materials build the hand strength and bilateral coordination that flat work can't — and they're uniquely forgiving, because you can always squish and start again.

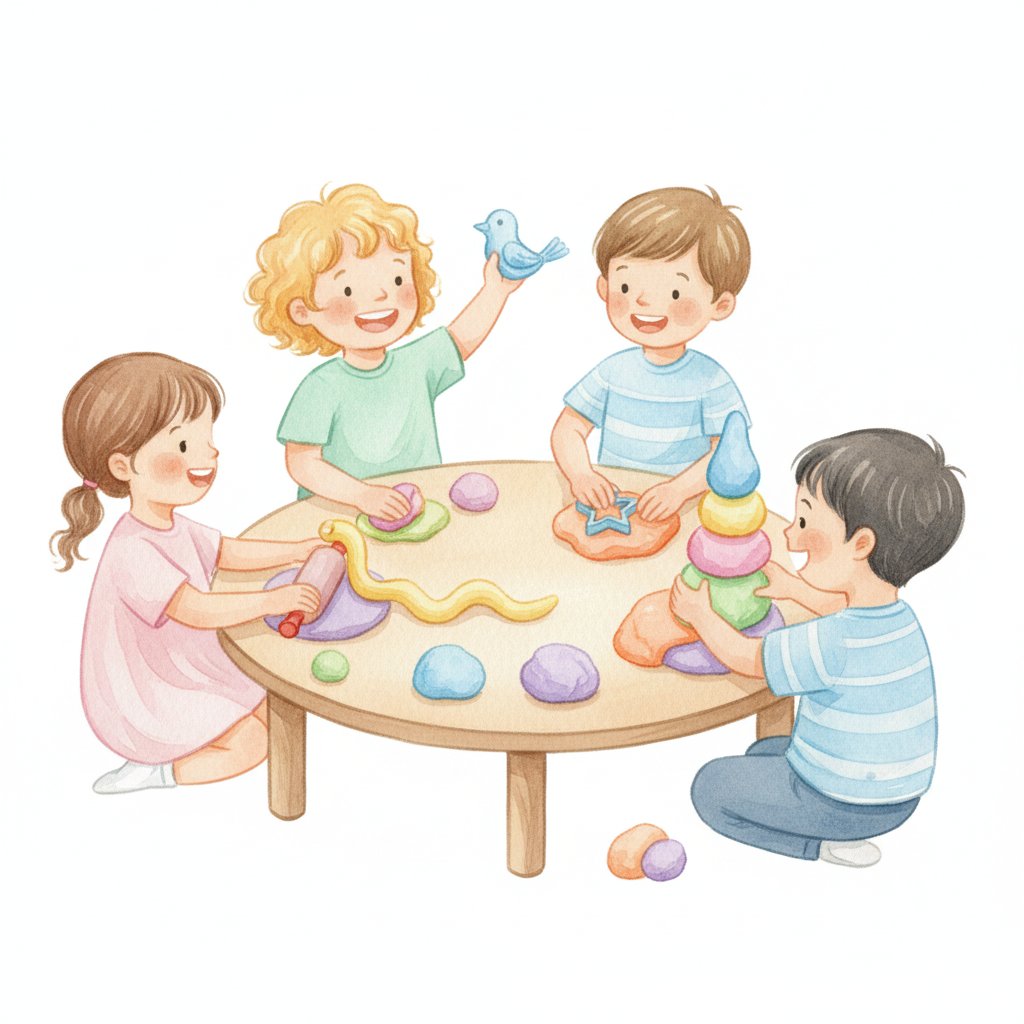
Watercolor illustration of children sculpting colorful playdough at a table

13. Pre-Portioned Clay Exploration

Give each child a golf-ball-sized piece of playdough or clay — pre-portioned, deliberately small. Set out a few loose parts nearby: craft sticks, beads, a rolling pin, a plastic knife. Do not suggest what to make.

  • Ages 3: Poking, rolling, tearing, and stacking. Pre-portioning stops the endless "I need more" loop and quietly teaches economy of material.
  • Ages 4–5: They begin to combine — "a cake with candles (beads)." The loose parts become symbolic.
  • Observe for: two hands working together (bilateral coordination) and sustained squishing past three minutes (hand-strength building).

14. Playdough + Loose Parts Trays

A step beyond single-clay exploration: set out a divided tray with small bowls of gems, pebbles, dry pasta, and buttons alongside the dough. Children press the parts in, pull them out, and re-arrange. It is endlessly reusable and almost meditative.

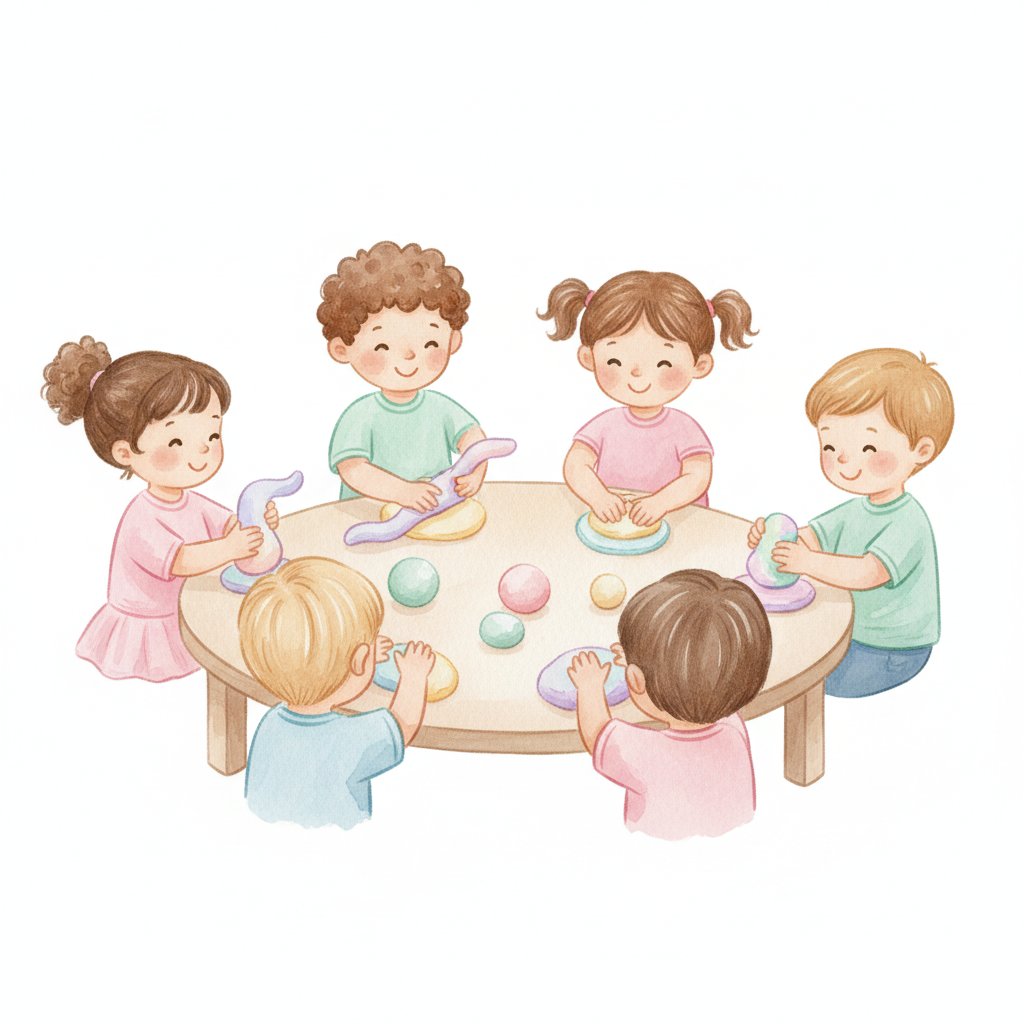
Children squeezing and rolling colorful play dough, the sustained bilateral work that builds hand strength
  • All ages (supervise small parts with under-threes). This invitation reliably produces the longest single sessions in my notebook — twenty to thirty minutes is normal.

15. Cardboard & Tape Construction

Strips of cardboard, a roll of masking tape, and safety scissors. The child tapes pieces together into structures. Most of what they make won't resemble anything recognizable, and that is exactly right.

  • Ages 4–5. This is where "I'm making a house for the dinosaur" begins — the first private goals a child sets for their own making. For the fine-motor strength this depends on, the activities in our printable fine-motor skills set build the same hand endurance in a different context.

Nature & Outdoor Process Art

Take any of the above outside and it changes. Light, scale, and the permission to be messy all expand, and so does engagement.

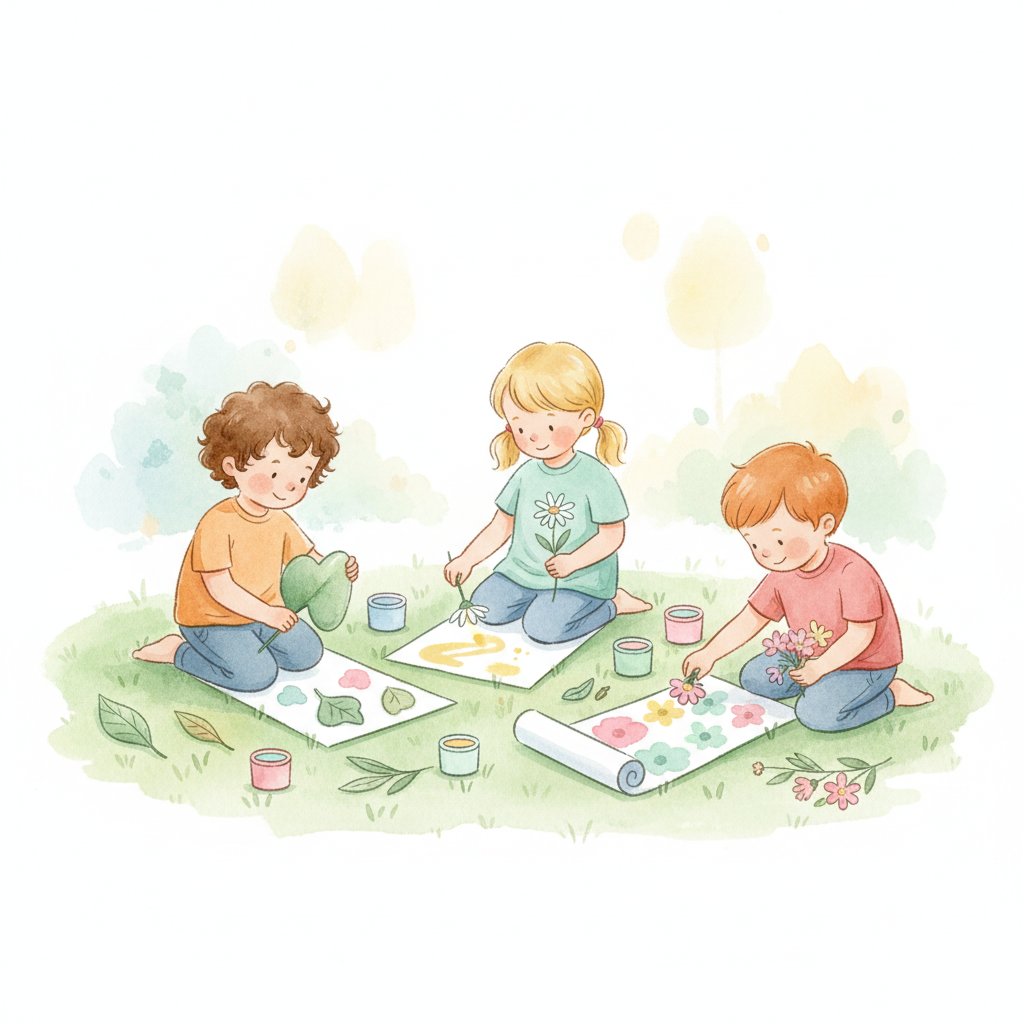
Watercolor illustration of children making outdoor nature art with leaves and flowers on the grass

16. Mud Painting

Mix mud with water to a paint consistency in a muffin tin, hand out old brushes, and let children paint on a fence, the pavement, or a sheet of paper pinned to the grass. It rinses away. The freedom of "paint the ground" is unmatched.

  • All ages. Outdoors removes the mess-anxiety that constrains indoor art, and for some children that is the difference between ten minutes and forty.

17. Nature-Tray Invitation

A tray of foraged materials — leaves, petals, pebbles, twigs, seed pods — set on a table with no instructions. Children sort, arrange into transient mandalas, and photograph (or you photograph for them). Nothing is glued; the art exists and is then released.

  • Ages 3–5. This is the purest process art in the bank: there is not even a finished object to keep. The arrangement is the activity.

How to Talk About Process Art (So It Doesn't Look Like Nothing)

The hardest part of process art for adults isn't the mess — it's the reaction when a child proudly hands you a brown smear. What you say in that moment either protects their creative confidence or quietly teaches them their work isn't enough. Use these scripts:

  • Describe, don't evaluate. "You filled the whole page" beats "good job." Description shows you actually looked.
  • Ask about the process, not the subject. "Tell me about making this" — not "What is it?" The second question has a wrong answer; the first doesn't.
  • Reflect their language back. If they say "it's a storm," say "a storm — I can see the windy part here." You're a mirror, not a judge.
  • Let them not know. "I just painted" is a complete and valid answer. Not every piece is about something.
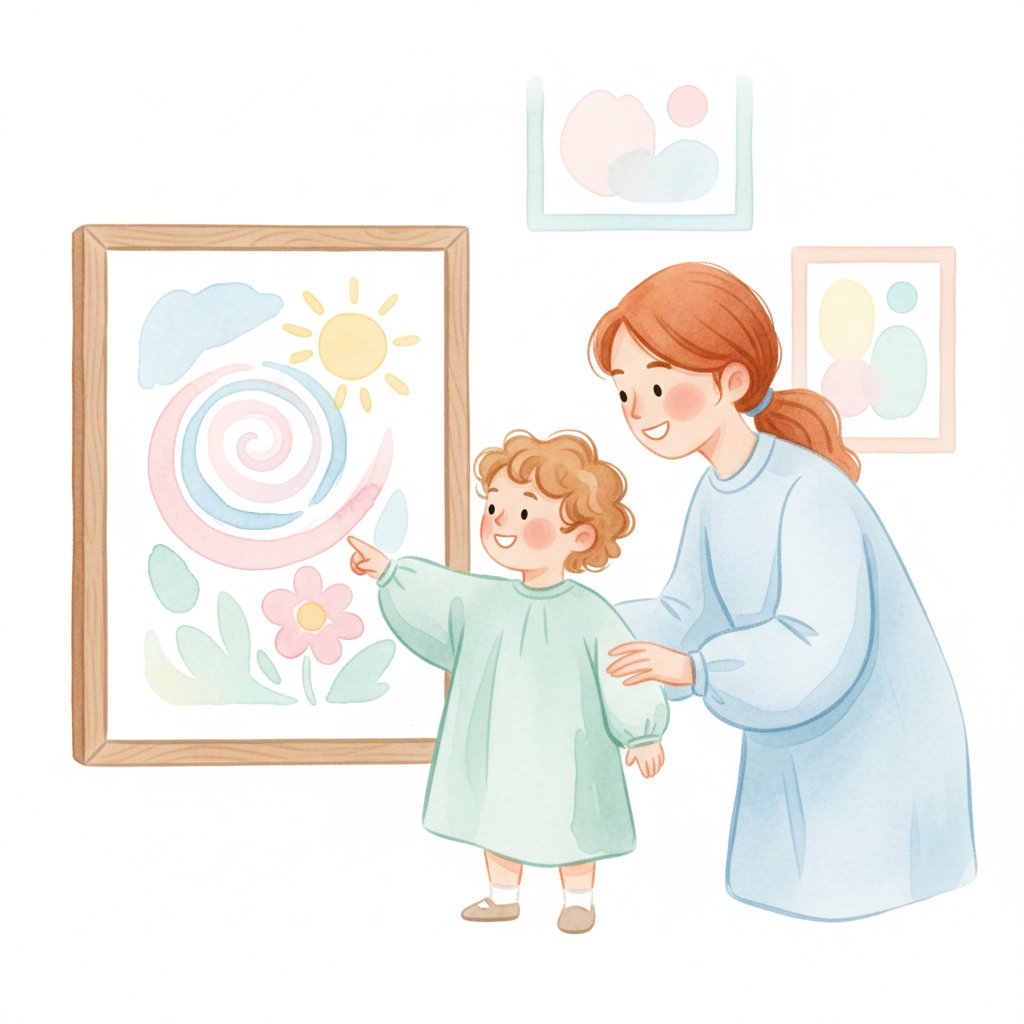
A proud preschooler explaining their framed painting to a parent visitor — the conversation that protects creative confidence

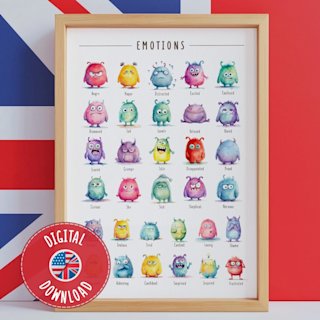
Art is also one of the safest channels preschoolers have for feelings they can't yet name — a child who paints an aggressive red scribble is often processing something real, not making a mess. Giving them feeling words alongside the paint is how creative and emotional vocabulary grow together. Point to a feelings chart and ask, "Which face matches how you felt while you were making this?" and you've turned art time into emotional-literacy time without a single lesson plan.

Give the feeling behind the scribble a name
Process art surfaces big feelings children can't always explain. A watercolor emotions chart nearby lets a child point to the face that matches how they felt while painting — turning a brown smear into a real conversation, and creative time into emotional vocabulary. Print it, hang it at child height, and let the art talk.

Setting Up (and Surviving) Process Art at Home

You do not need a dedicated art room. You need a surface that can get messy, supplies children can reach, and a clean-up routine that builds independence rather than resentment. A sustainable setup is the difference between doing process art for a week and doing it for a year.

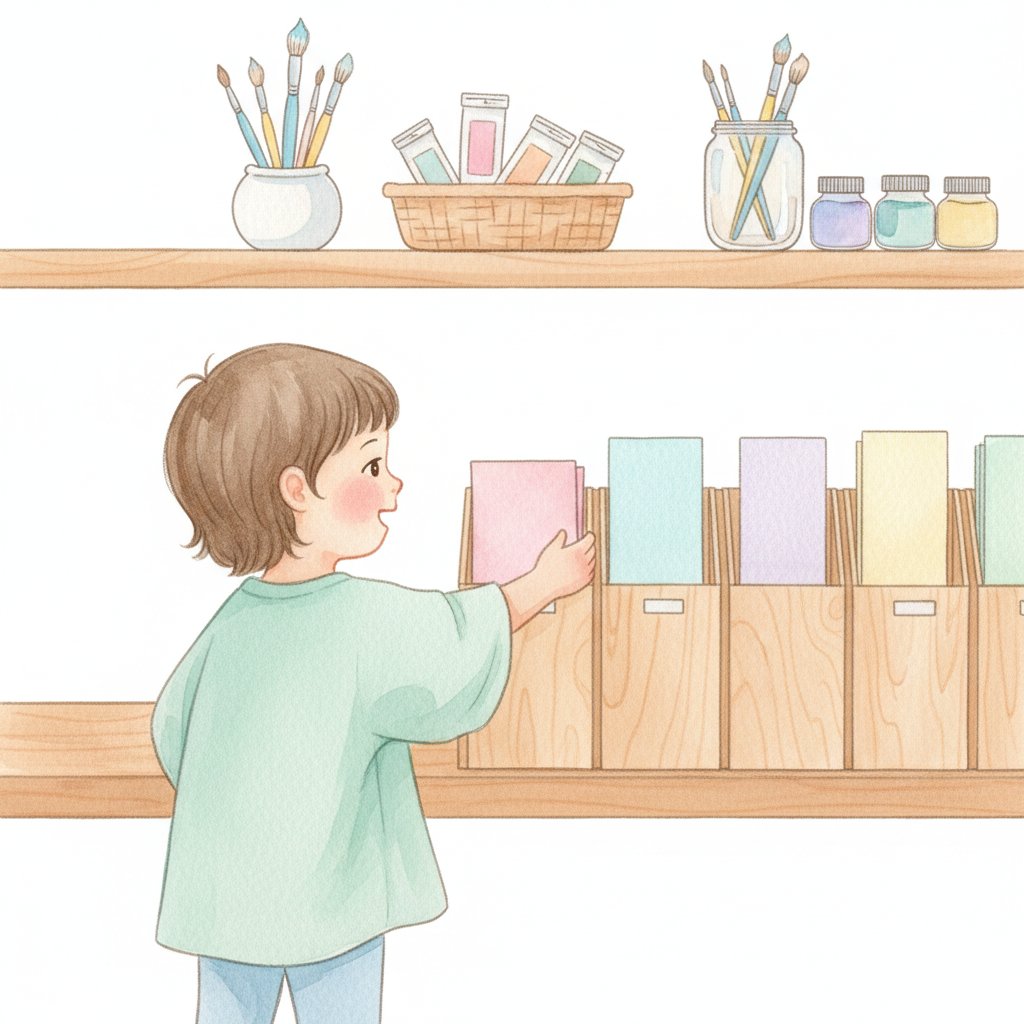
Child filing paper and standing paint jars upright in labeled storage

The minimum setup

  • A defined surface. A small table with a wipeable mat, or a floor area with a washable drop cloth. Boundaries make children braver, not more anxious.
  • Two access levels. A shelf of everyday materials (crayons, paper, glue stick) children can reach freely, and a higher shelf for "with-an-adult" materials (paint, scissors). Free access to the basics is what turns art from an event into a habit.
  • A rinsing station. A plastic bin of water and a towel, set up before you start. Clean-up is part of the activity, not the disaster after it.

Age-by-age materials table

AgeEveryday (free access)With an adult
3Chunky crayons, paper, stickers, glue stick, playdoughTwo-color tempera, large brush, sponge printing
4Add safety scissors, washable markers, collage scrapsThree-color paint, droppers, bubble-wrap printing
5Add watercolor pans, hole punch, recycled materialsFull color mixing, salt painting, shaving-cream marbling

Clean-up that builds independence

Make clean-up a routine the child owns, not a punishment the adult imposes:

  • "Paint back to the jar, paper to the bin." Two destinations, always the same. Label them with a picture if children can't read yet.
  • Wash hands last, in the same bin every time. Predictability is what makes a three-year-old willing to stop making art — because stopping is safe and known.
  • Never clean up their art in front of them as if it's garbage. If a piece is going to storage or the recycling, do it later. Dignity matters at three.
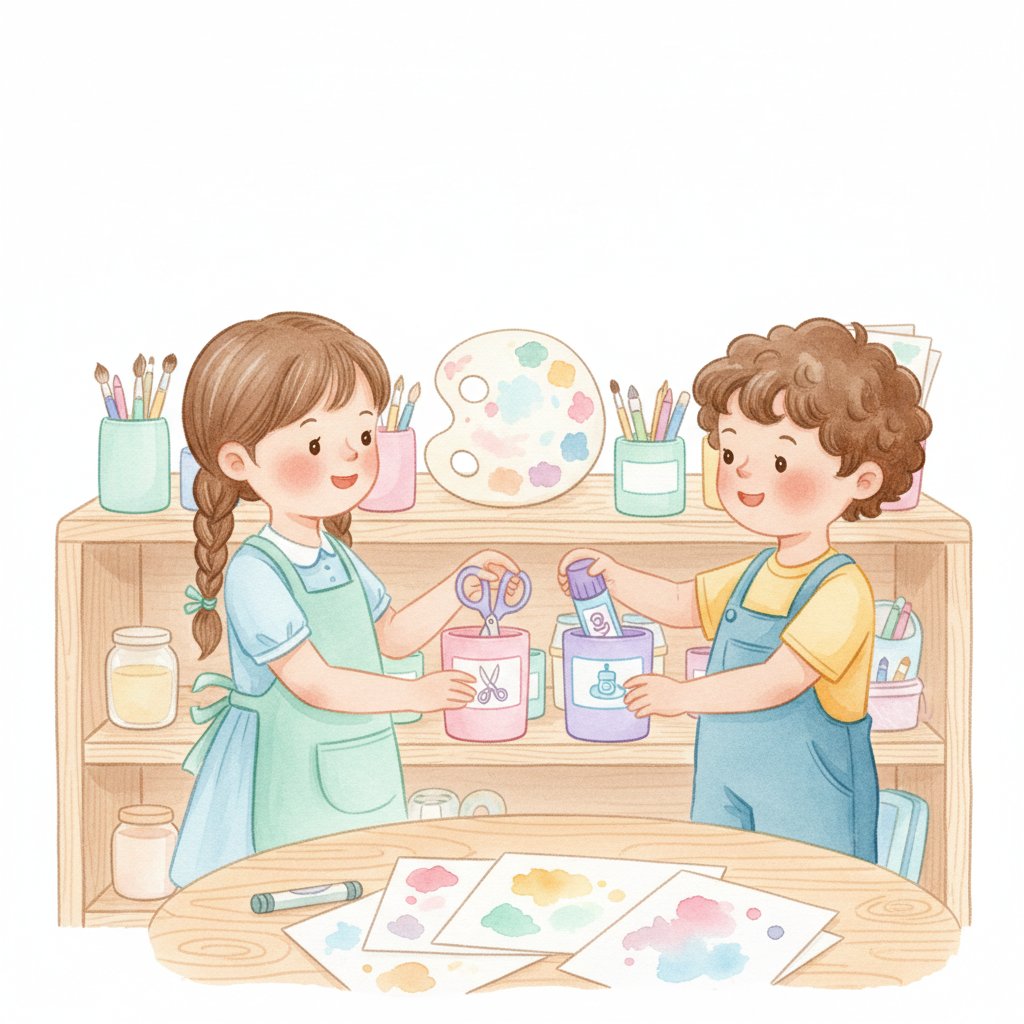
Children returning scissors and glue to their labeled homes as art-center helpers, cleanup as routine not punishment

The two mess-management rules I live by

  1. Contain before you start, not after you panic. A mat down and a wet cloth ready before the paint opens halves the stress.
  2. Lower your standard for the first session, then raise it. The first time a child uses a new material, expect chaos and say nothing corrective about it. By the third session, the same child will self-regulate — but only if the first session was free of anxiety.

Process Art FAQs

What's the difference between a process art activity and a craft? A craft has a target finished product the child is trying to reproduce (a cotton-ball snowman, a handprint turkey); a process art activity has no target — the materials are open-ended and the child directs the making. Crafts aren't bad, but when every art activity is a craft, children learn that art is a test of whether their work matches the model. Process art removes the test.

My child finishes in two minutes and loses interest — is process art not working? Two-minute sessions are normal for a new material and for younger threes. Try three things: reduce the materials (two colors, not six), increase the paper size (bigger paper extends sessions), and remove your own hovering (children shrink when watched). If engagement still stalls, the material may be mismatched to their stage — see the age table above.

My child won't engage at all and just wants me to do it for them. This is almost always a sign they've been corrected too often in the past and now fear "doing it wrong." Set the invitation, sit nearby with your own piece of paper, and make alongside them without commenting on theirs. Within a few sessions they'll start again — independence returns once the fear of failure does.

Is process art "enough," or does my preschooler need to learn to make something specific? Process art is the foundation, not the whole diet. Children need plenty of open-ended making to build creative confidence and fine motor control; they also, eventually, benefit from learning specific skills (cutting on a line, following multi-step directions). The two aren't in conflict — process art is what makes later skill work possible, because the child arrives at it with a confident hand and no fear of the blank page.

How do I manage the mess without killing the mood? Contain before you start (mat, wet cloth, defined surface), keep sessions short for younger children, and make clean-up a predictable routine rather than an emergency. The single biggest mood-killer is an adult's visible anxiety about mess — children read it instantly and withdraw. Calm containment protects the mood; hovering destroys it.

Can I do process art with a three-year-old and a five-year-old at the same time? Yes — this is one of process art's strengths, because the same invitation scales. Set out the same two-color paint; the three-year-old explores whole-arm stamping while the five-year-old works on deliberate mixing. The materials are shared; the developmental task each child extracts is different.

The Outcome You're Actually After

The point of these activities is not the art on the wall. The point is the child who, six months in, walks to the shelf, chooses their own materials, sits down, and makes something without asking permission or for an idea. That is creative confidence, and it is built one open-ended invitation at a time — by the adult who sets the table, names the boundary, and then gets out of the way.

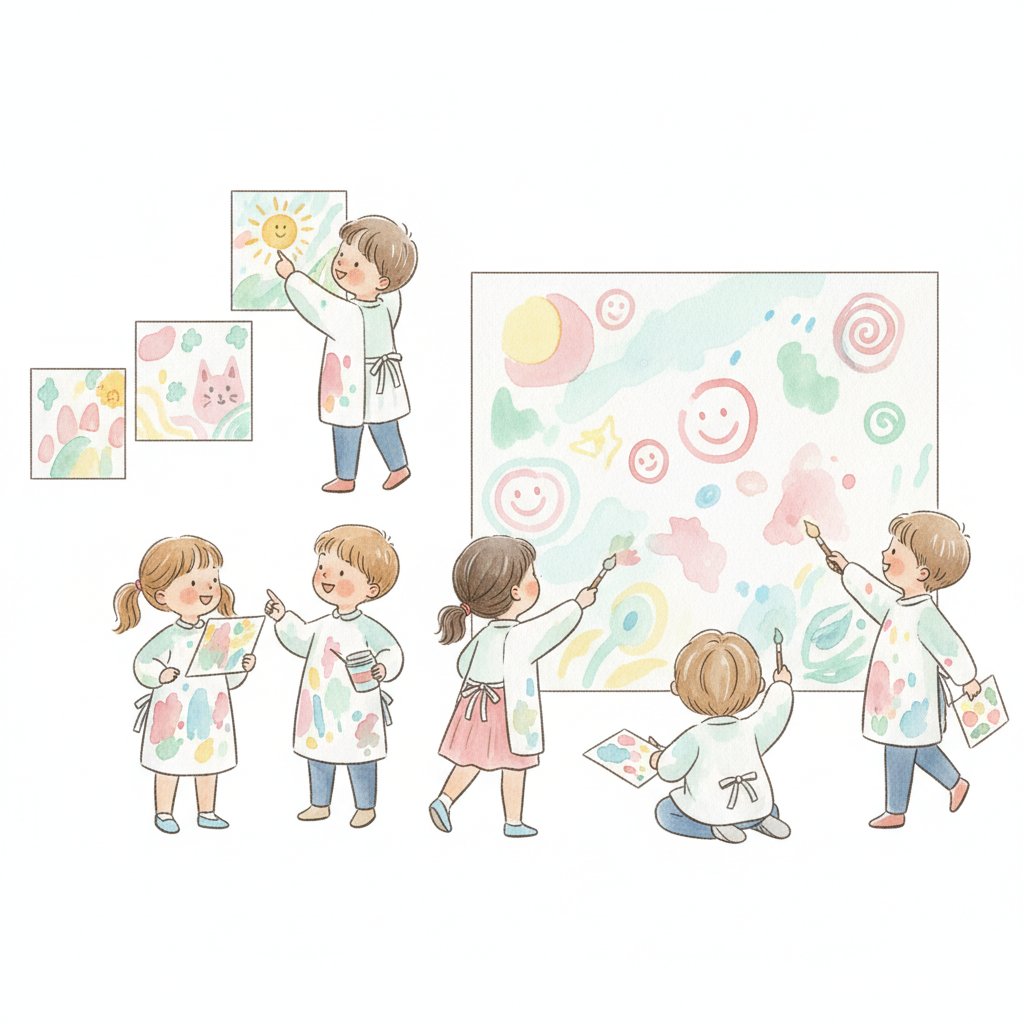
Preschoolers curating their artwork and painting a collaborative mural — the outcome process art is actually after

If you want to turn this bank of activities into a sequenced year of development — which skill to introduce in which week, how the materials build on each other across twelve months, and how to observe and document progress — that is exactly what our Process Art Curriculum for Preschoolers does, and it is the natural next step from this page. For a broader, quicker mix of all art types (drawing, seasonal projects, printables), browse the full 25 Easy Art Activities for Preschoolers, and explore the rest of our learning-through-play article library.